Listen to this lesson.
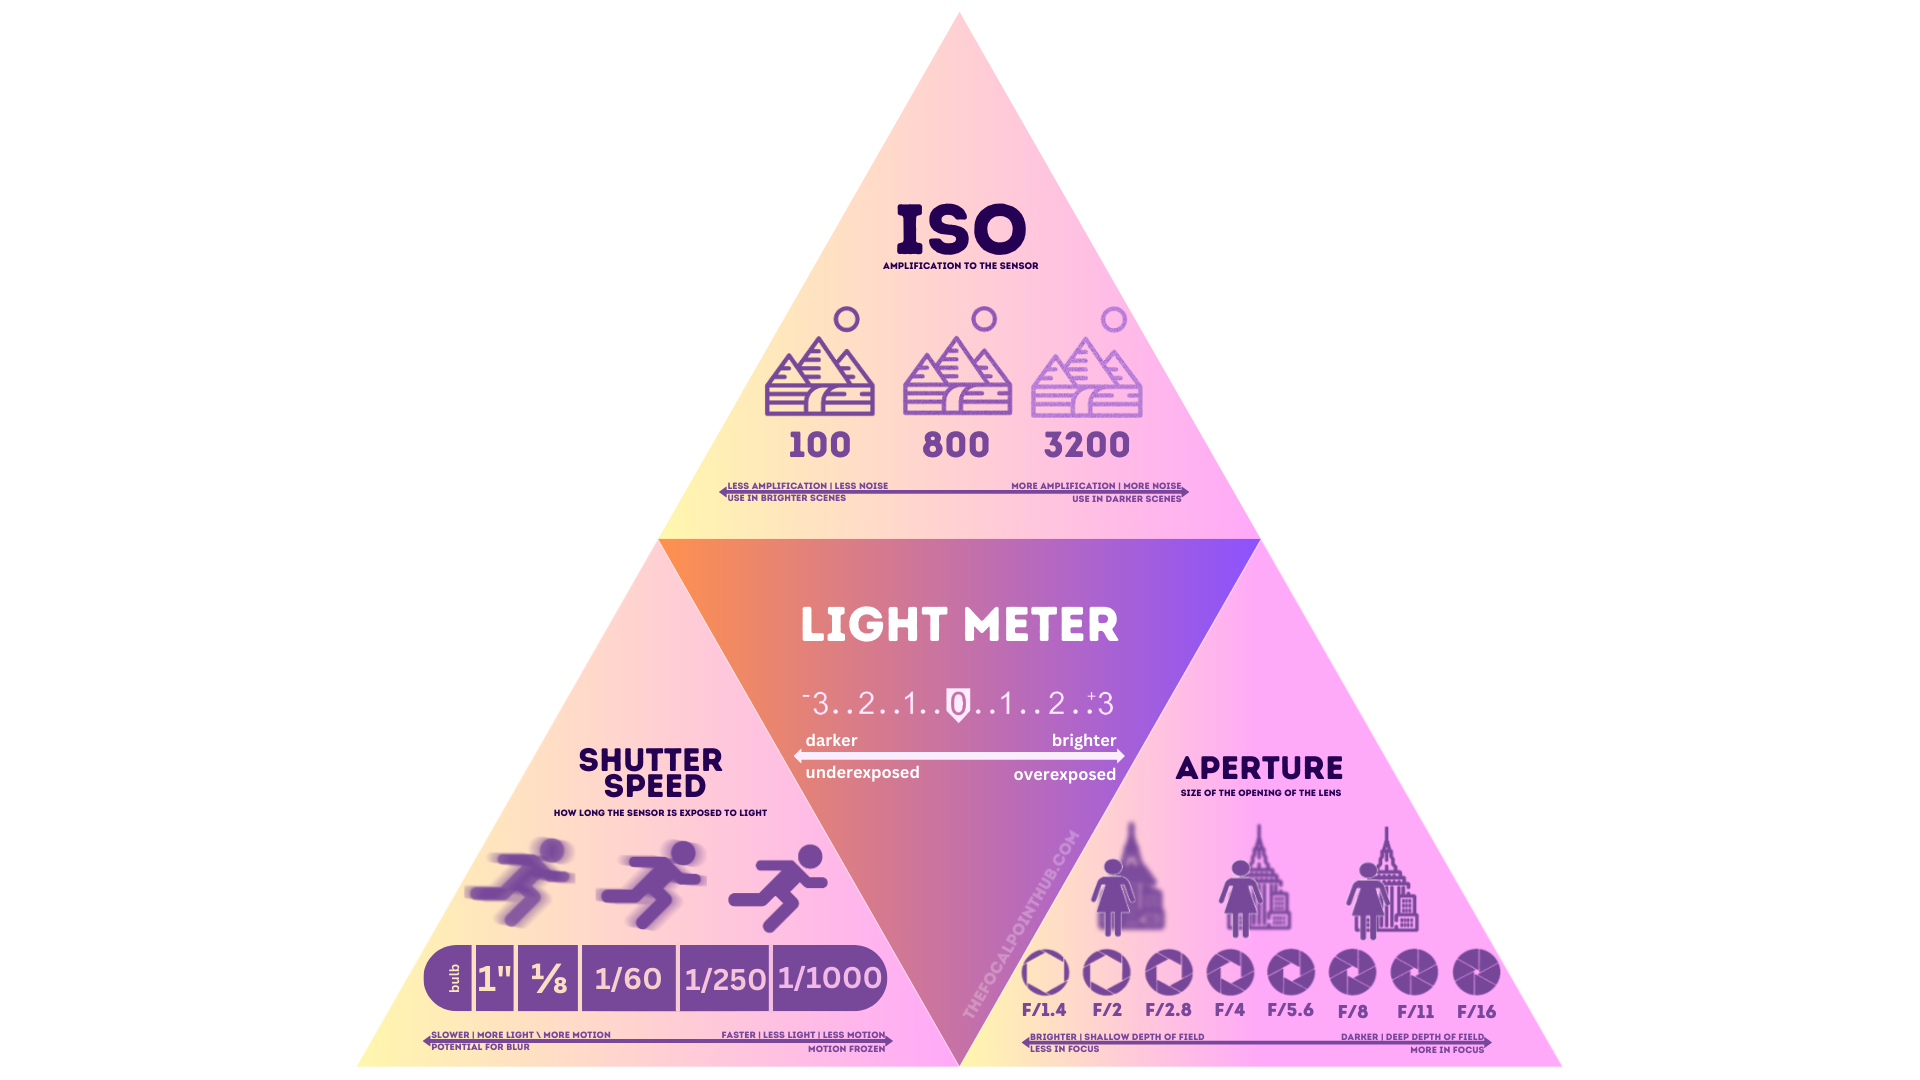
In this lesson, we will tackle the last of the three exposure controls: ISO, sometimes referred to as sensitivity, though this is a misnomer. Once you understand shutter speed, aperture, and ISO, you will know most of what you need to create technically sound images that reflect your vision.
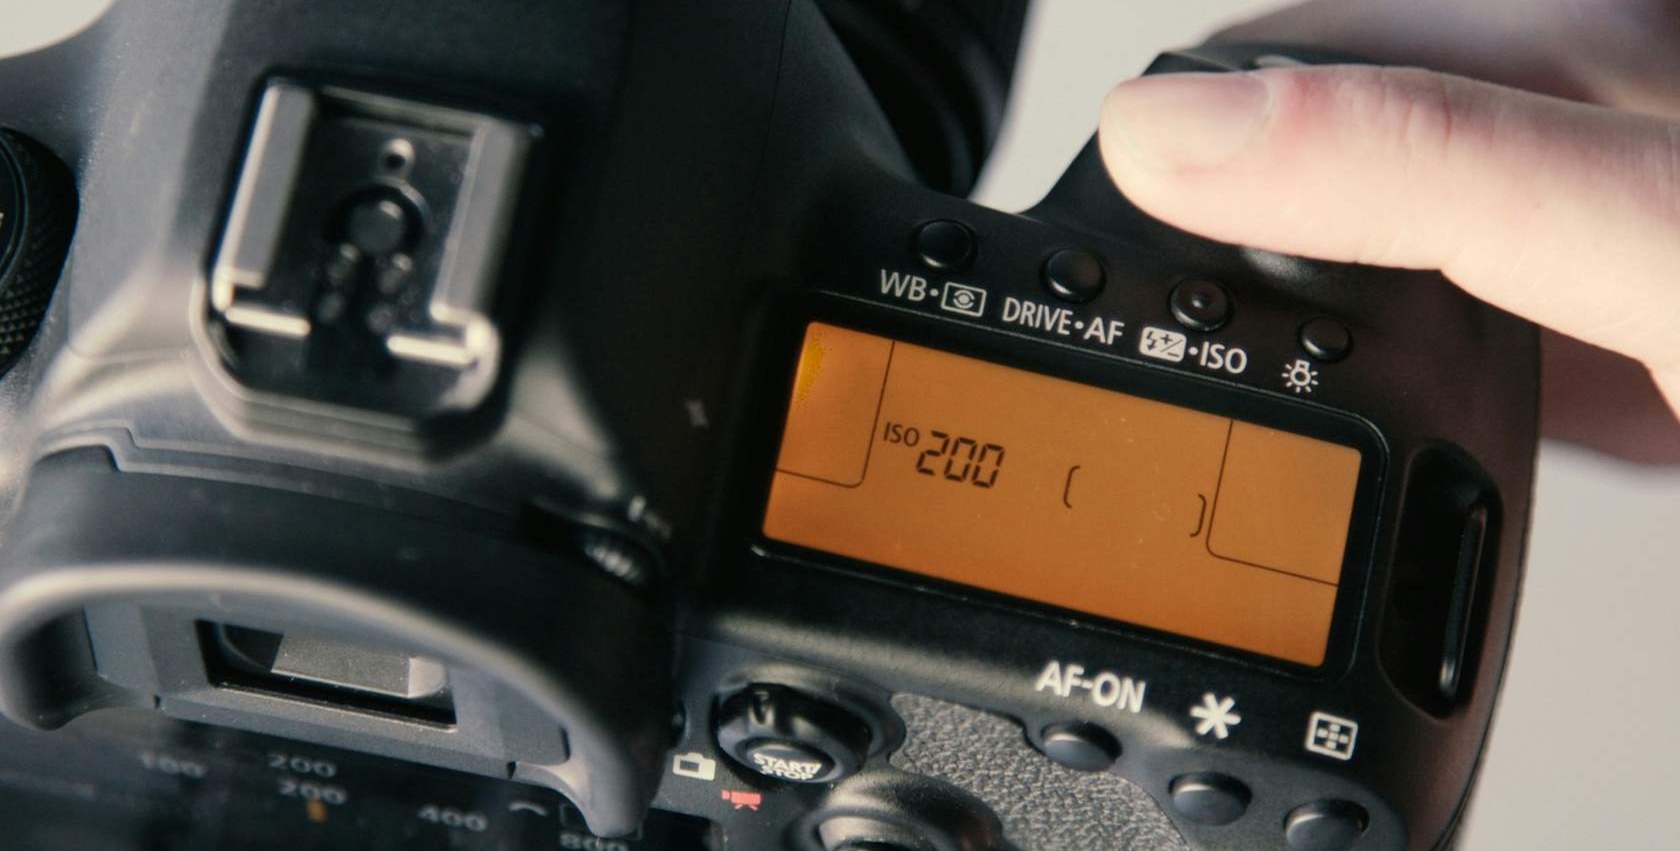
ISO is the only exposure control that differs fundamentally between film and digital photography. With film, ISO is a physical property of the film stock itself, and the only way to change it is to load a new roll. With digital cameras, ISO can be adjusted from shot to shot by turning a dial, pressing a button, or using a menu. This flexibility allows you to adapt quickly to changing light conditions. Photographers who worked with film may remember other terms for sensitivity, such as ASA or DIN. ASA is functionally identical to ISO and was simply renamed when the standard was unified. DIN used a different logarithmic scale and is now obsolete.
Like shutter speed, and unlike aperture, ISO is a linear value. This makes stops easy to calculate, since each full stop is a doubling or halving of the ISO value. For example, if you are shooting at ISO 800 and want one stop of underexposure while keeping shutter speed and aperture the same, you would move to ISO 400. If you want one stop of overexposure, you would move to ISO 1600.
A common misconception is that increasing ISO increases the sensitivity of a digital camera’s sensor. In reality, sensor sensitivity is a physical property determined by the sensor’s design and cannot be changed. Adjusting ISO instead changes how much the electrical signal generated by the sensor is amplified. When light hits a photosite, it produces a small electrical signal. Increasing ISO boosts that signal after it has been captured. In simpler terms, ISO controls how much the camera amplifies the light information it has already recorded.
The base ISO of a sensor, often ISO 100, applies little to no additional amplification. Higher ISO values apply increasing levels of amplification, which makes the image brighter but also increases noise and reduces image quality.
Noise
You have probably heard that increasing ISO makes your images noisier. This idea appears to be true when you compare images taken at very different ISO settings in different lighting conditions, but the reality is more nuanced.
Callout: Don’t fear the noise! Not only can it be a creative tool, but also modern camera noise even at relatively high ISO is not really a major issue anymore. It doesn’t mean you should consistently use high ISO, but given the choice between an unusably blurry image and one with some digital noise, most would take the noise.
At its core, image noise is closely related to light, or more specifically, the lack of it. Camera sensors are not perfect, and there are many sources of noise, including read noise, photon noise, hot pixels, and fixed pattern noise. We will not go deeper into these terms here, as they fall outside the scope of a beginner class.
What matters is this: when more light reaches the sensor, more photons are recorded by each photosite. This produces a stronger electrical signal. A stronger signal improves the signal-to-noise ratio (SNR), meaning the useful image information overwhelms the underlying noise, resulting in a cleaner image.
The idea that higher ISO causes noise usually comes from comparing images taken in different lighting conditions while keeping shutter speed and aperture the same. For example, imagine taking one photo at 1/250 and f/4 during the day at ISO 100, and another photo with the same settings in the evening at ISO 1600. In the second case, there is significantly less light in the scene, even though the image may appear correctly exposed. Because less light reached the sensor, the signal is weaker, the signal-to-noise ratio is lower, and noise becomes more visible.
This is not the ISO creating noise. It is the lack of light.
Now consider a different scenario where lighting stays the same. You take a photo at 1/250, f/4, and ISO 400, but the shutter speed is not fast enough to freeze motion. You increase the shutter speed to 1/1000 while keeping the aperture at f/4. To maintain the same image brightness, you raise the ISO to 1600.
In this case, the increase in noise comes from the faster shutter speed, not the higher ISO. By increasing shutter speed by two stops, you allowed two stops less light to reach the sensor. The higher ISO simply amplified a weaker signal to reach the same brightness.
The key takeaway is this:
Noise increases when less light is captured. ISO does not create noise on its own, it amplifies whatever signal is already there.
This distinction becomes increasingly important as you learn to make informed exposure decisions in challenging lighting conditions.
What does this mean — practically?
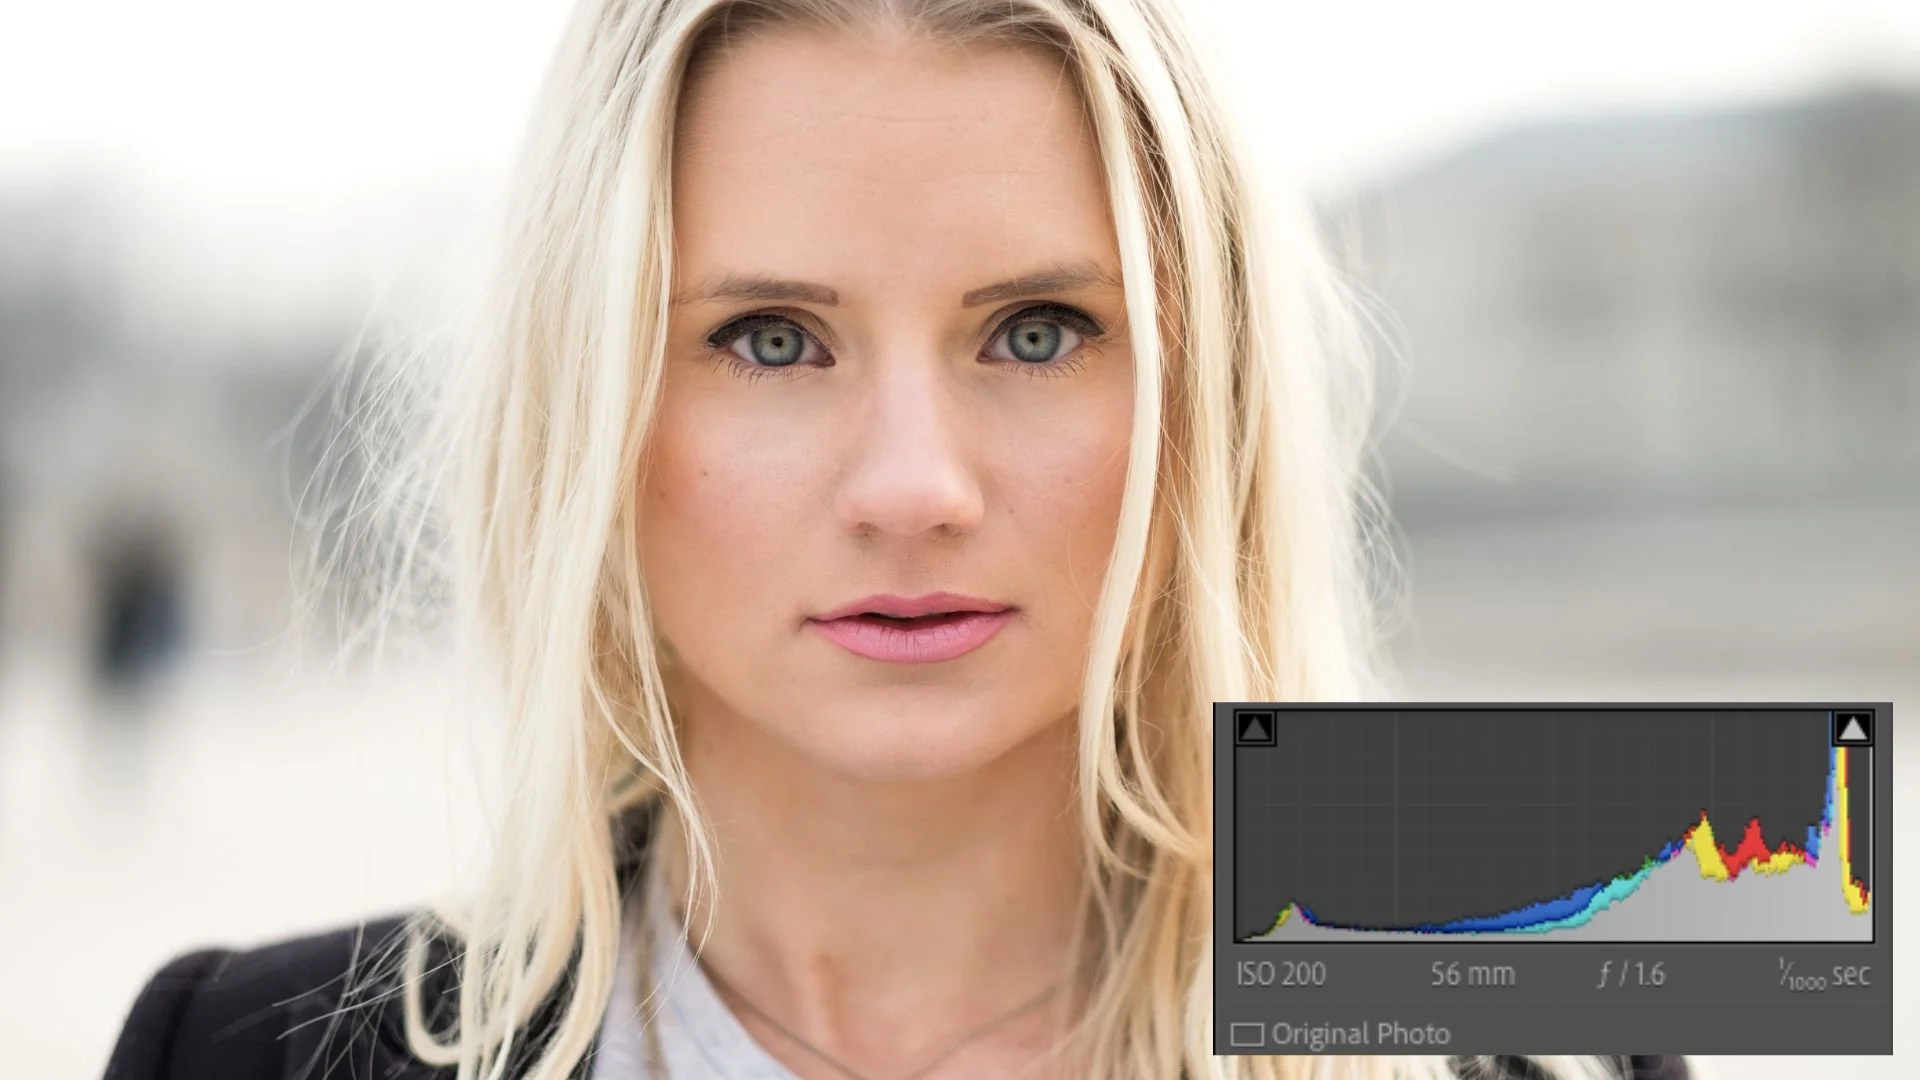
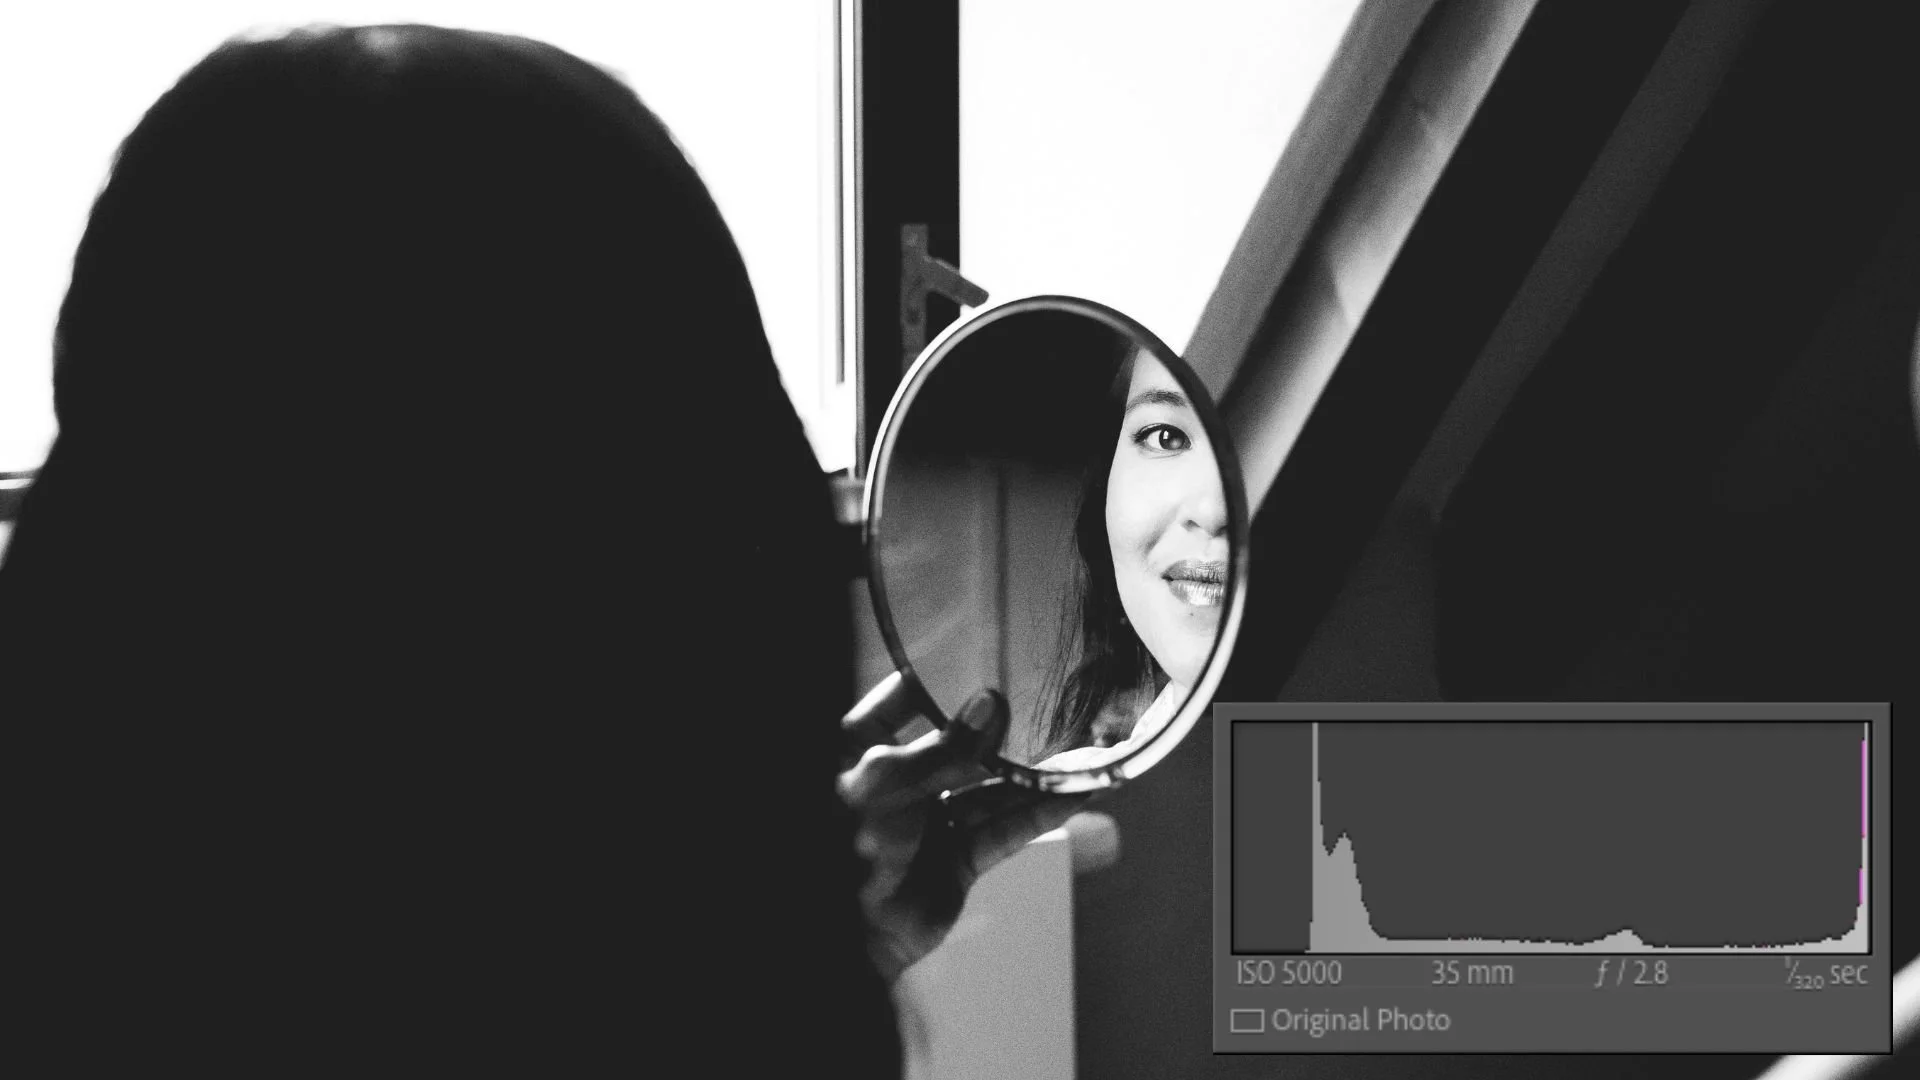
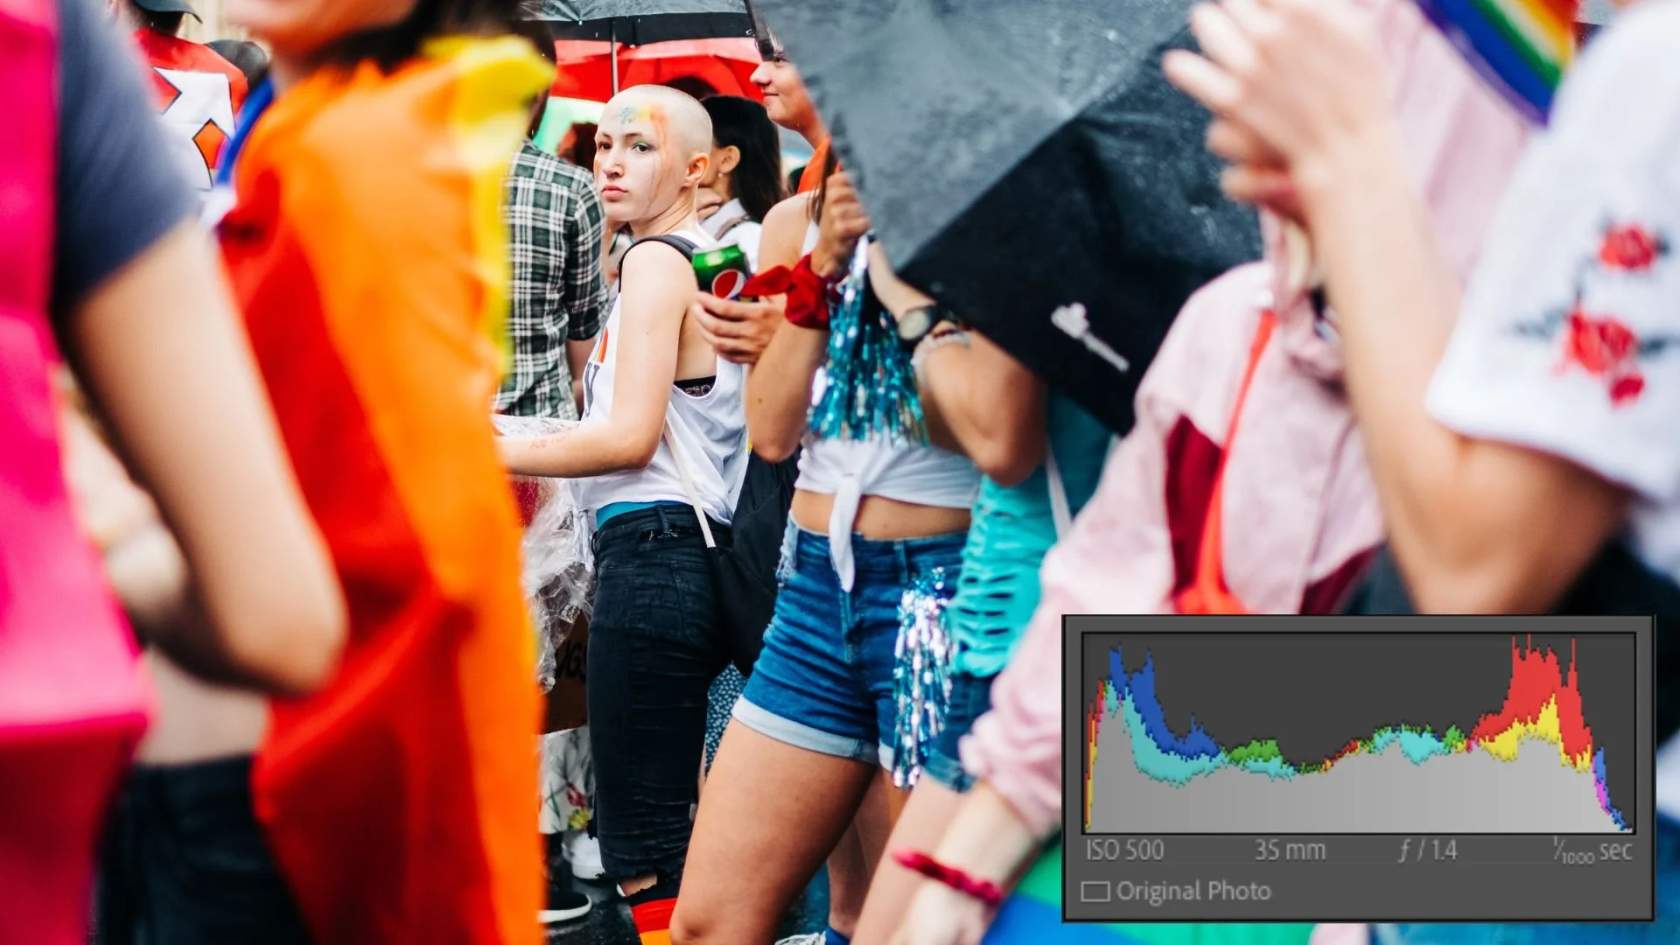
Setting aside the technical details, photographers are often constrained by a minimum shutter speed to avoid blur and a chosen aperture based on the lens and the desired depth of field. Together, these choices determine how much light can be captured. When there is not enough light to achieve a usable exposure, increasing ISO allows the camera to amplify the signal produced by the sensor.
It can be useful in practice to associate higher ISO values with more visible noise, not because ISO creates noise, but because higher ISO settings are typically used in darker environments where less light reaches the sensor. With less light, the signal-to-noise ratio is lower, making noise more noticeable.
For this reason, many photographers become familiar with a practical range of ISO values for their camera. This often includes the base ISO, the point where noise first becomes noticeable, the highest ISO they consider acceptable for good image quality, and a maximum ISO reserved for situations where capturing the image matters more than image quality.
Noise Reduction
So now you have some noise in your image. Is there anything you can do about it?
As discussed in the RAW vs. JPEG lesson, in-camera JPEG files always have processing applied. Noise reduction is one of those processes. This is why, if you shoot RAW+JPEG, the RAW file will usually look grainier or noisier at first glance. The RAW file has not had any noise reduction applied, while the JPEG has already been processed by the camera.
When working with RAW files, noise reduction is handled during post processing. Most RAW editors include built-in noise reduction tools, and some photographers choose specific software primarily for this purpose. In recent years, there have also been advances in neural network based noise reduction tools, including Adobe Lightroom AI Denoise, Topaz DeNoise AI, DxO, and Luminar Neo.
We will return to noise reduction in more detail during the editing lessons. For now, it is enough to know that noise is not necessarily permanent, and that modern software offers effective ways to reduce it when needed.
Dynamic Range
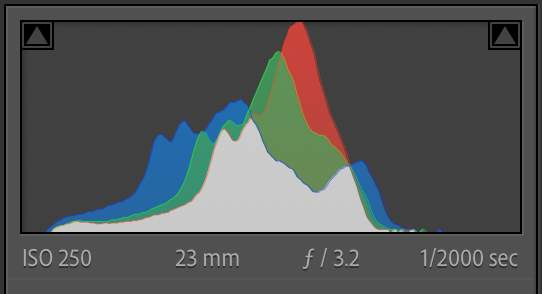
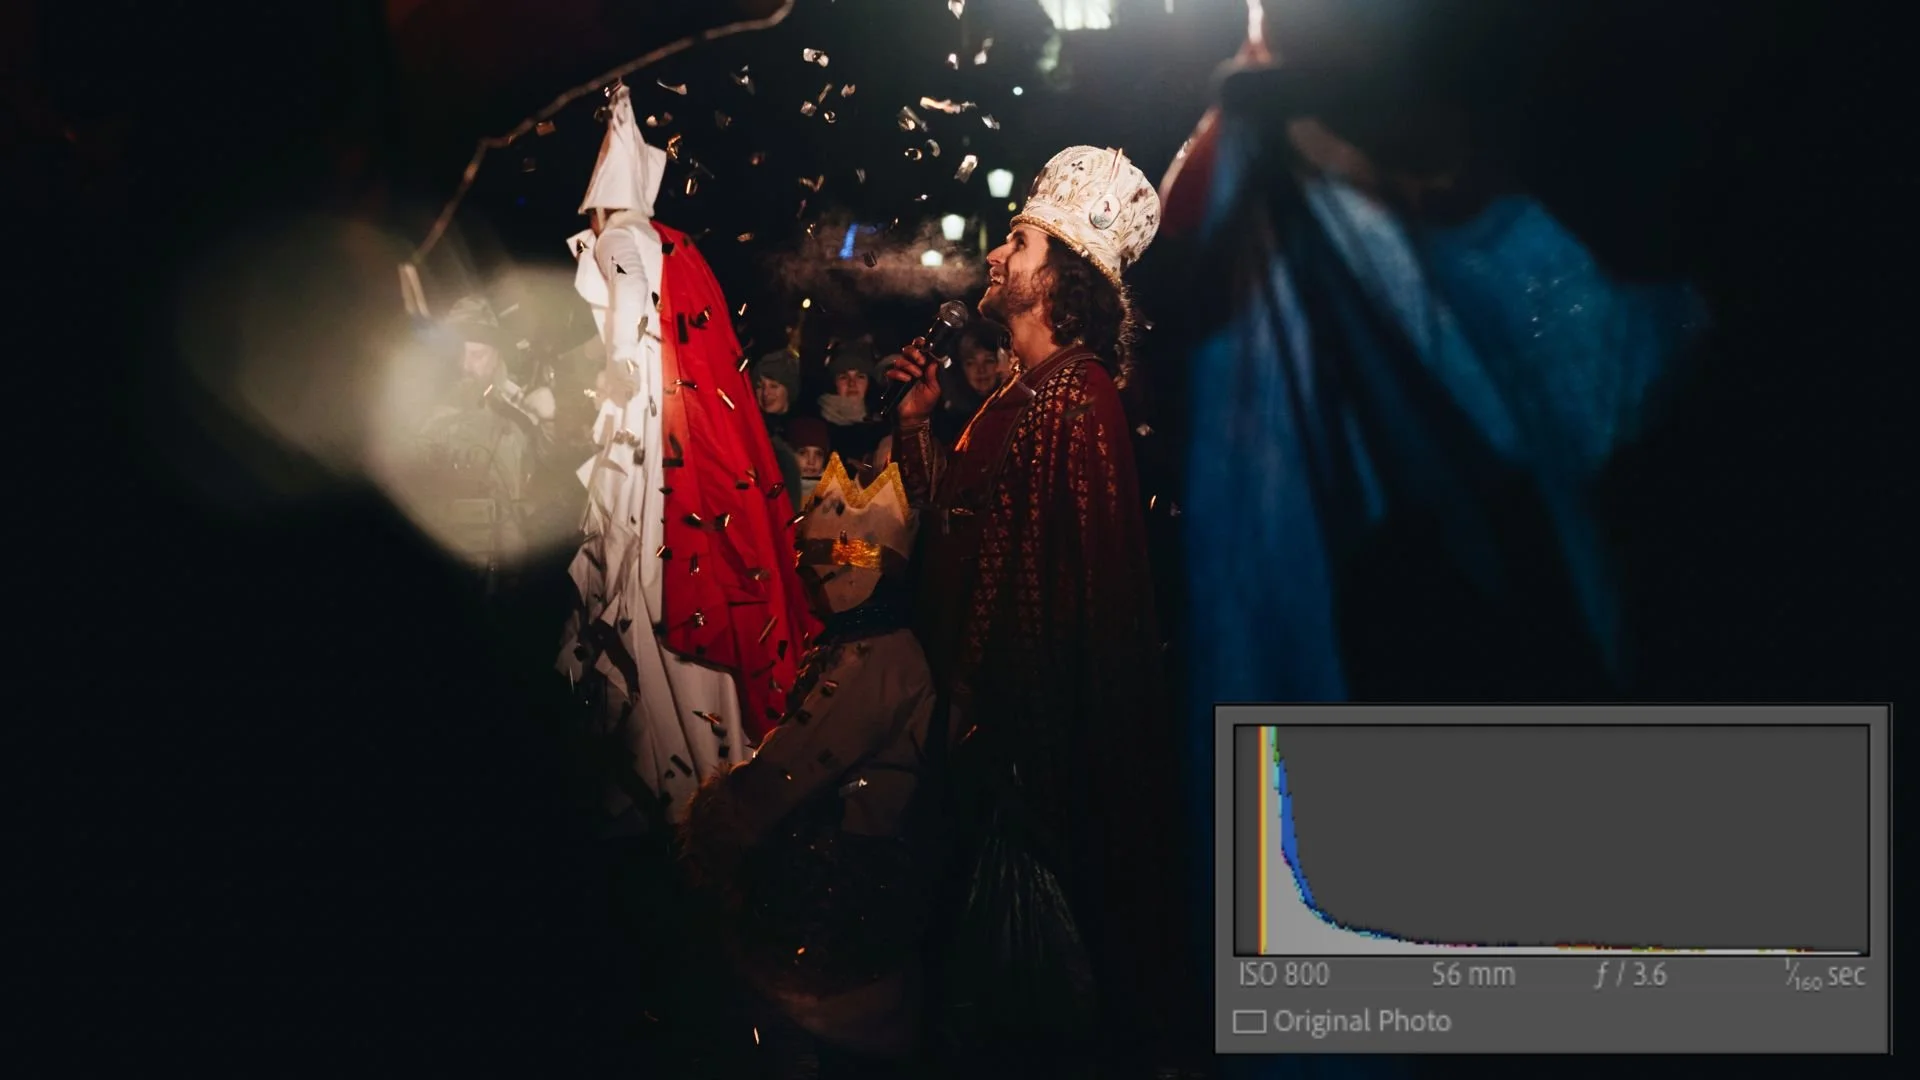
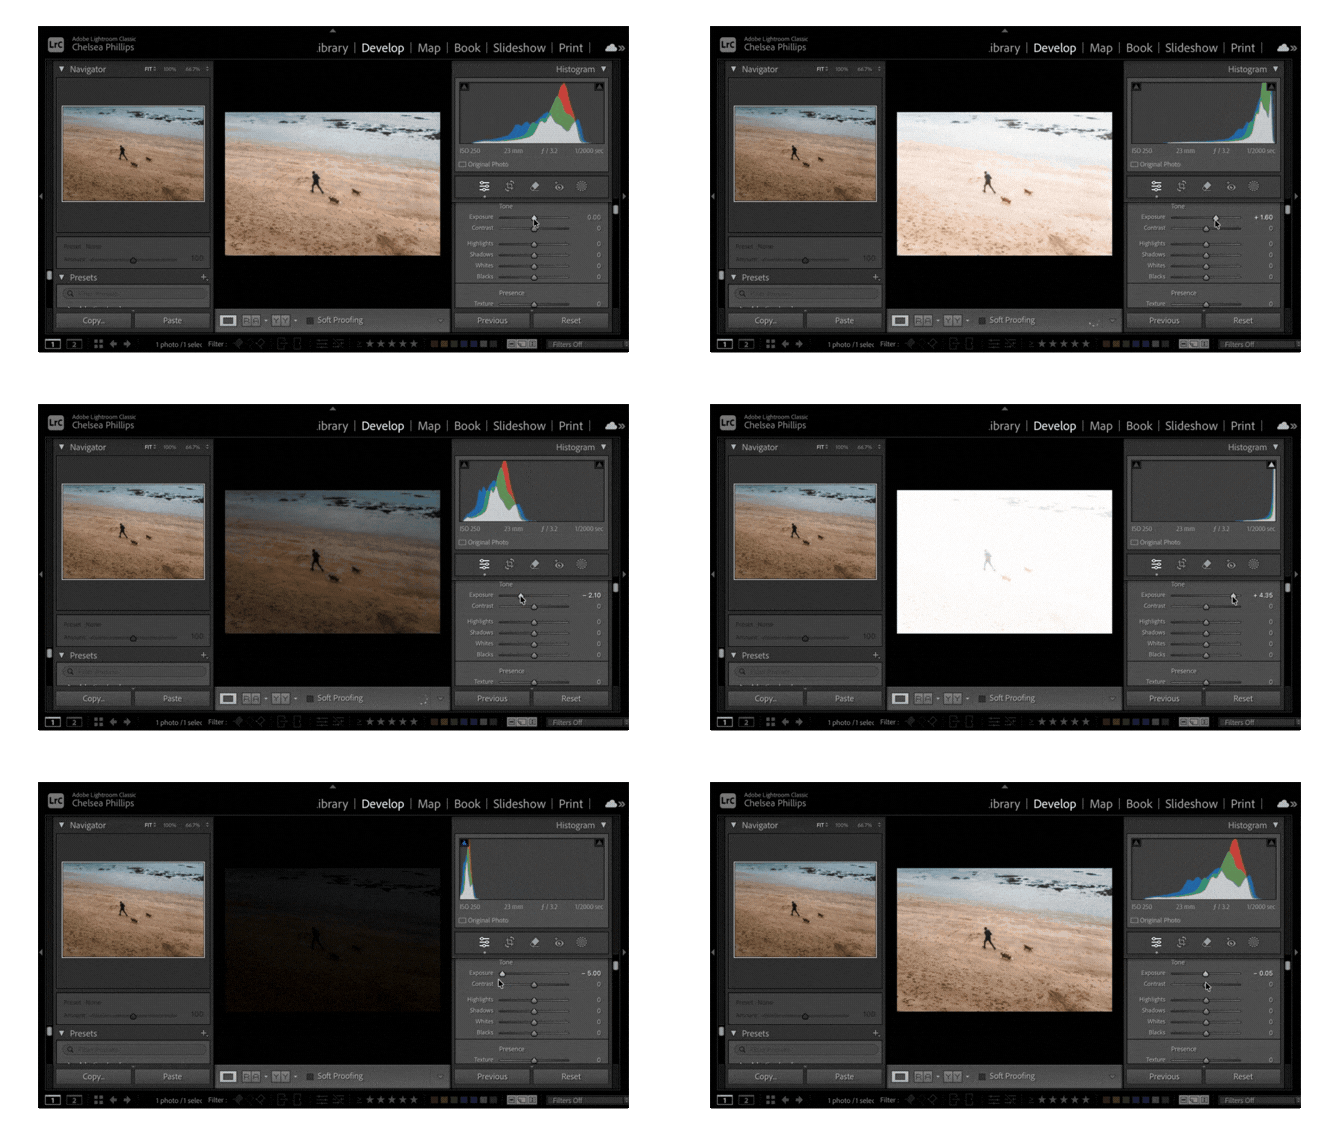
Changing ISO affects the amount of usable dynamic range in an image, meaning how much detail can be preserved from the darkest shadows to the brightest highlights. A higher dynamic range allows more detail to be retained across this range, even in scenes with strong contrast. A lower dynamic range increases the risk of losing detail in very bright or very dark areas.
In practical terms, increasing ISO above the camera’s base setting reduces dynamic range. As the signal is amplified, highlight headroom is reduced and shadow detail becomes more fragile. This means you need to be more careful in high-contrast scenes, since bright areas may clip more easily and shadows may contain less recoverable detail.
Because of this, higher ISO settings require greater attention to exposure, especially when a scene contains both bright highlights and deep shadows. You can see how changing ISO affects dynamic range in the example shown here.
Dual ISO
One additional nuance worth knowing is dual (or dual base) ISO, which is built into many modern cameras. These sensors are designed with two native ISO levels, each optimized for low noise and strong dynamic range. Once you cross a specific ISO threshold, the camera switches to a second amplification circuit rather than simply boosting the signal digitally. In practice, this means that certain higher ISO values can actually produce cleaner files than the numbers below them. For example, on some cameras it is better for both noise performance and dynamic range to shoot at ISO 500 than ISO 400. The takeaway is simple: ISO is not always a smooth, linear climb, and knowing your camera’s base ISO points can help you make smarter exposure decisions.
ISO Invariance
ISO invariance in digital cameras means that the amount of read noise remains relatively consistent across the ISO range of the camera's sensor. This is helpful because it allows you to take a darker photo and brighten it later without losing much quality. This can be advantageous when you want to preserve highlights, if you prefer to adjust exposure in post-processing, or if you accidentally didn't get the exposure right.
It's important to note that not all cameras are equally ISO invariant. The extent to which you can adjust brightness without losing quality can vary between different camera brands and models. Generally, cameras with modern Sony-made sensors (used in Sony, Nikon, and Fujifilm) show good ISO invariance. On the other hand, even the latest Canon sensors usually don't exhibit as much ISO invariance. Some cameras may become ISO invariant only after a certain ISO setting (like ISO 400-1600), depending on the specific camera and sensor.