Natural Light
Listen to this lesson.
Understanding light is essential for any photographer. Light is the fundamental element that shapes the mood, composition, and visual impact of a photograph. In this lesson, we will look at the basics of light, including its properties, behavior, and how to manipulate it. Whether you're a beginner or an experienced photographer, mastering light is key to creating your desired final image.
Natural light refers to the illumination provided by the sun. It's constantly changing throughout the day and affected by weather conditions. Knowing how to read the light will help you to control it, creating your desired final image.
The quality of natural light varies based on time of day, weather, and geographical location. For example, the golden hour, which occurs shortly after sunrise and before sunset, provides soft, warm light ideal for portraits and landscapes. Different times of the day offer different types of natural light: harsh midday light can create strong shadows, while overcast skies can provide soft, diffused light with minimal shadows.
Note: Positioning of your subject in different natural light also impacts light quality. For example, a large white wall can reflect strong sunlight, softening it and acting as a modifier.
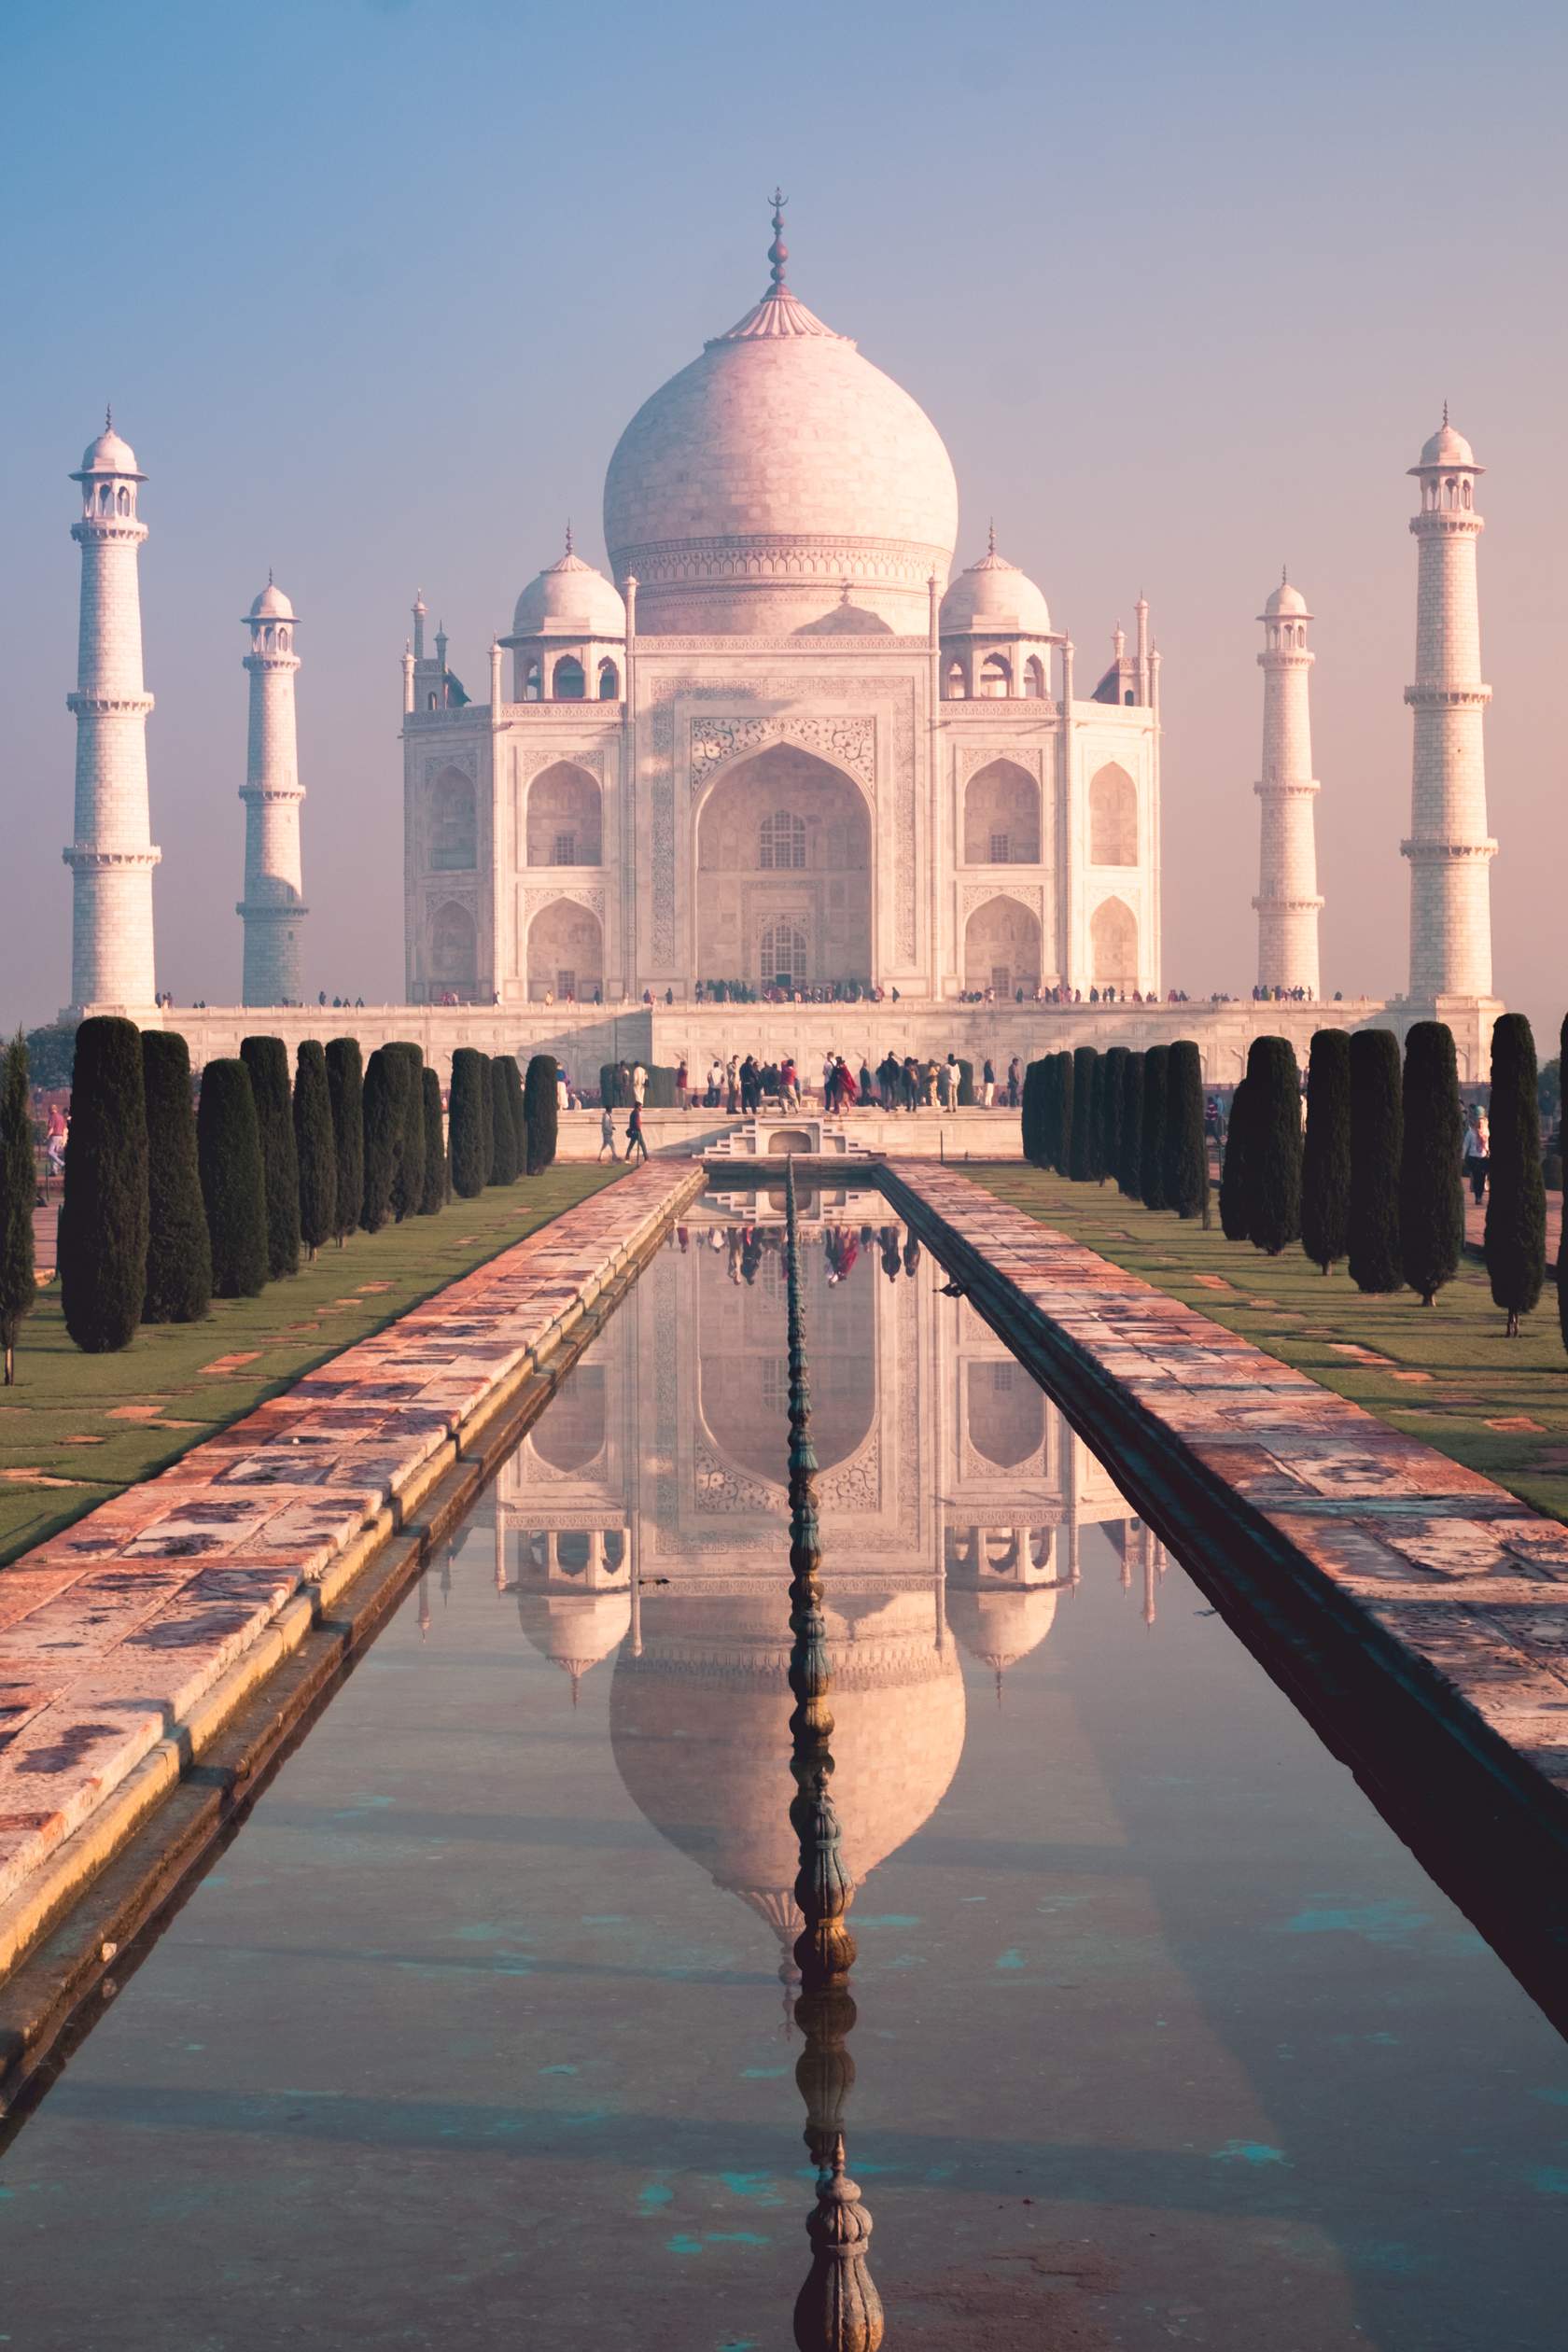
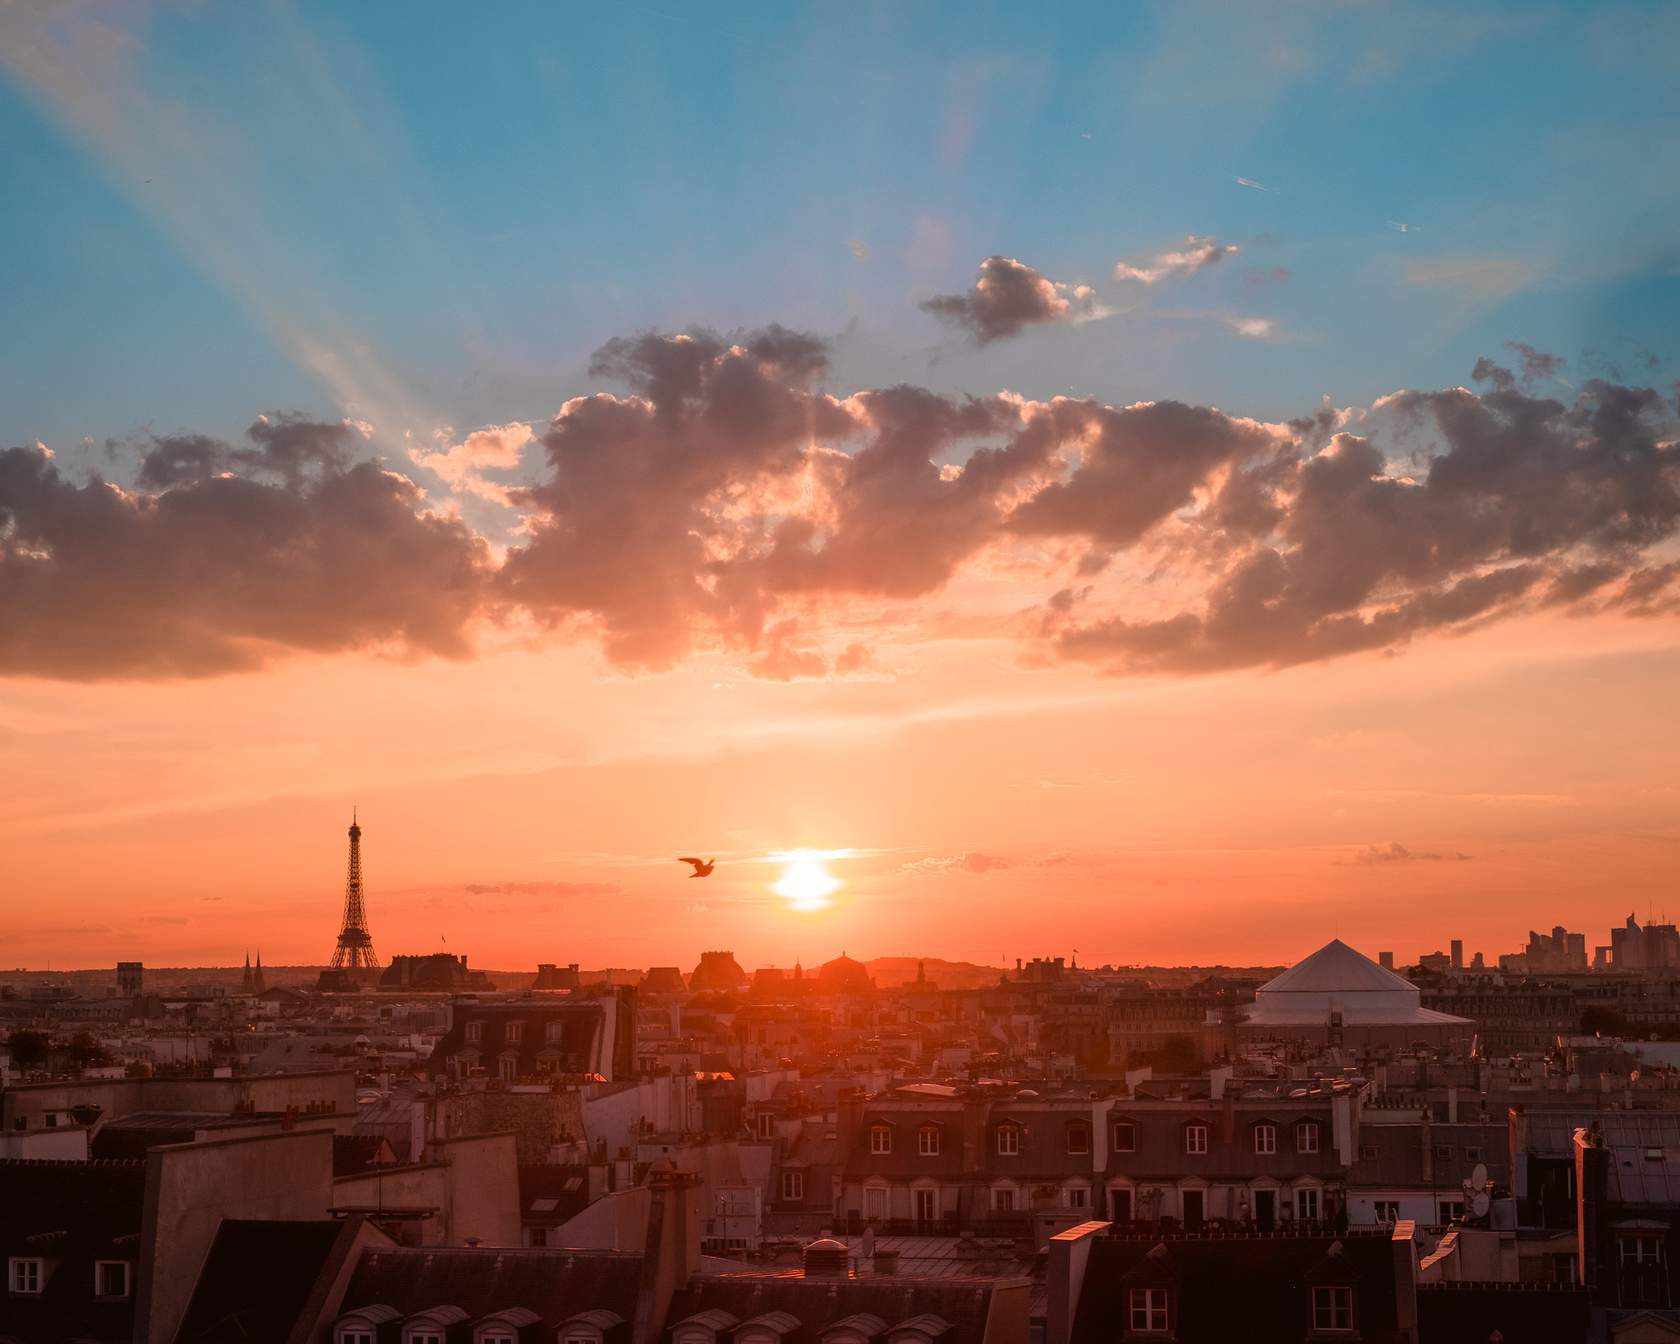
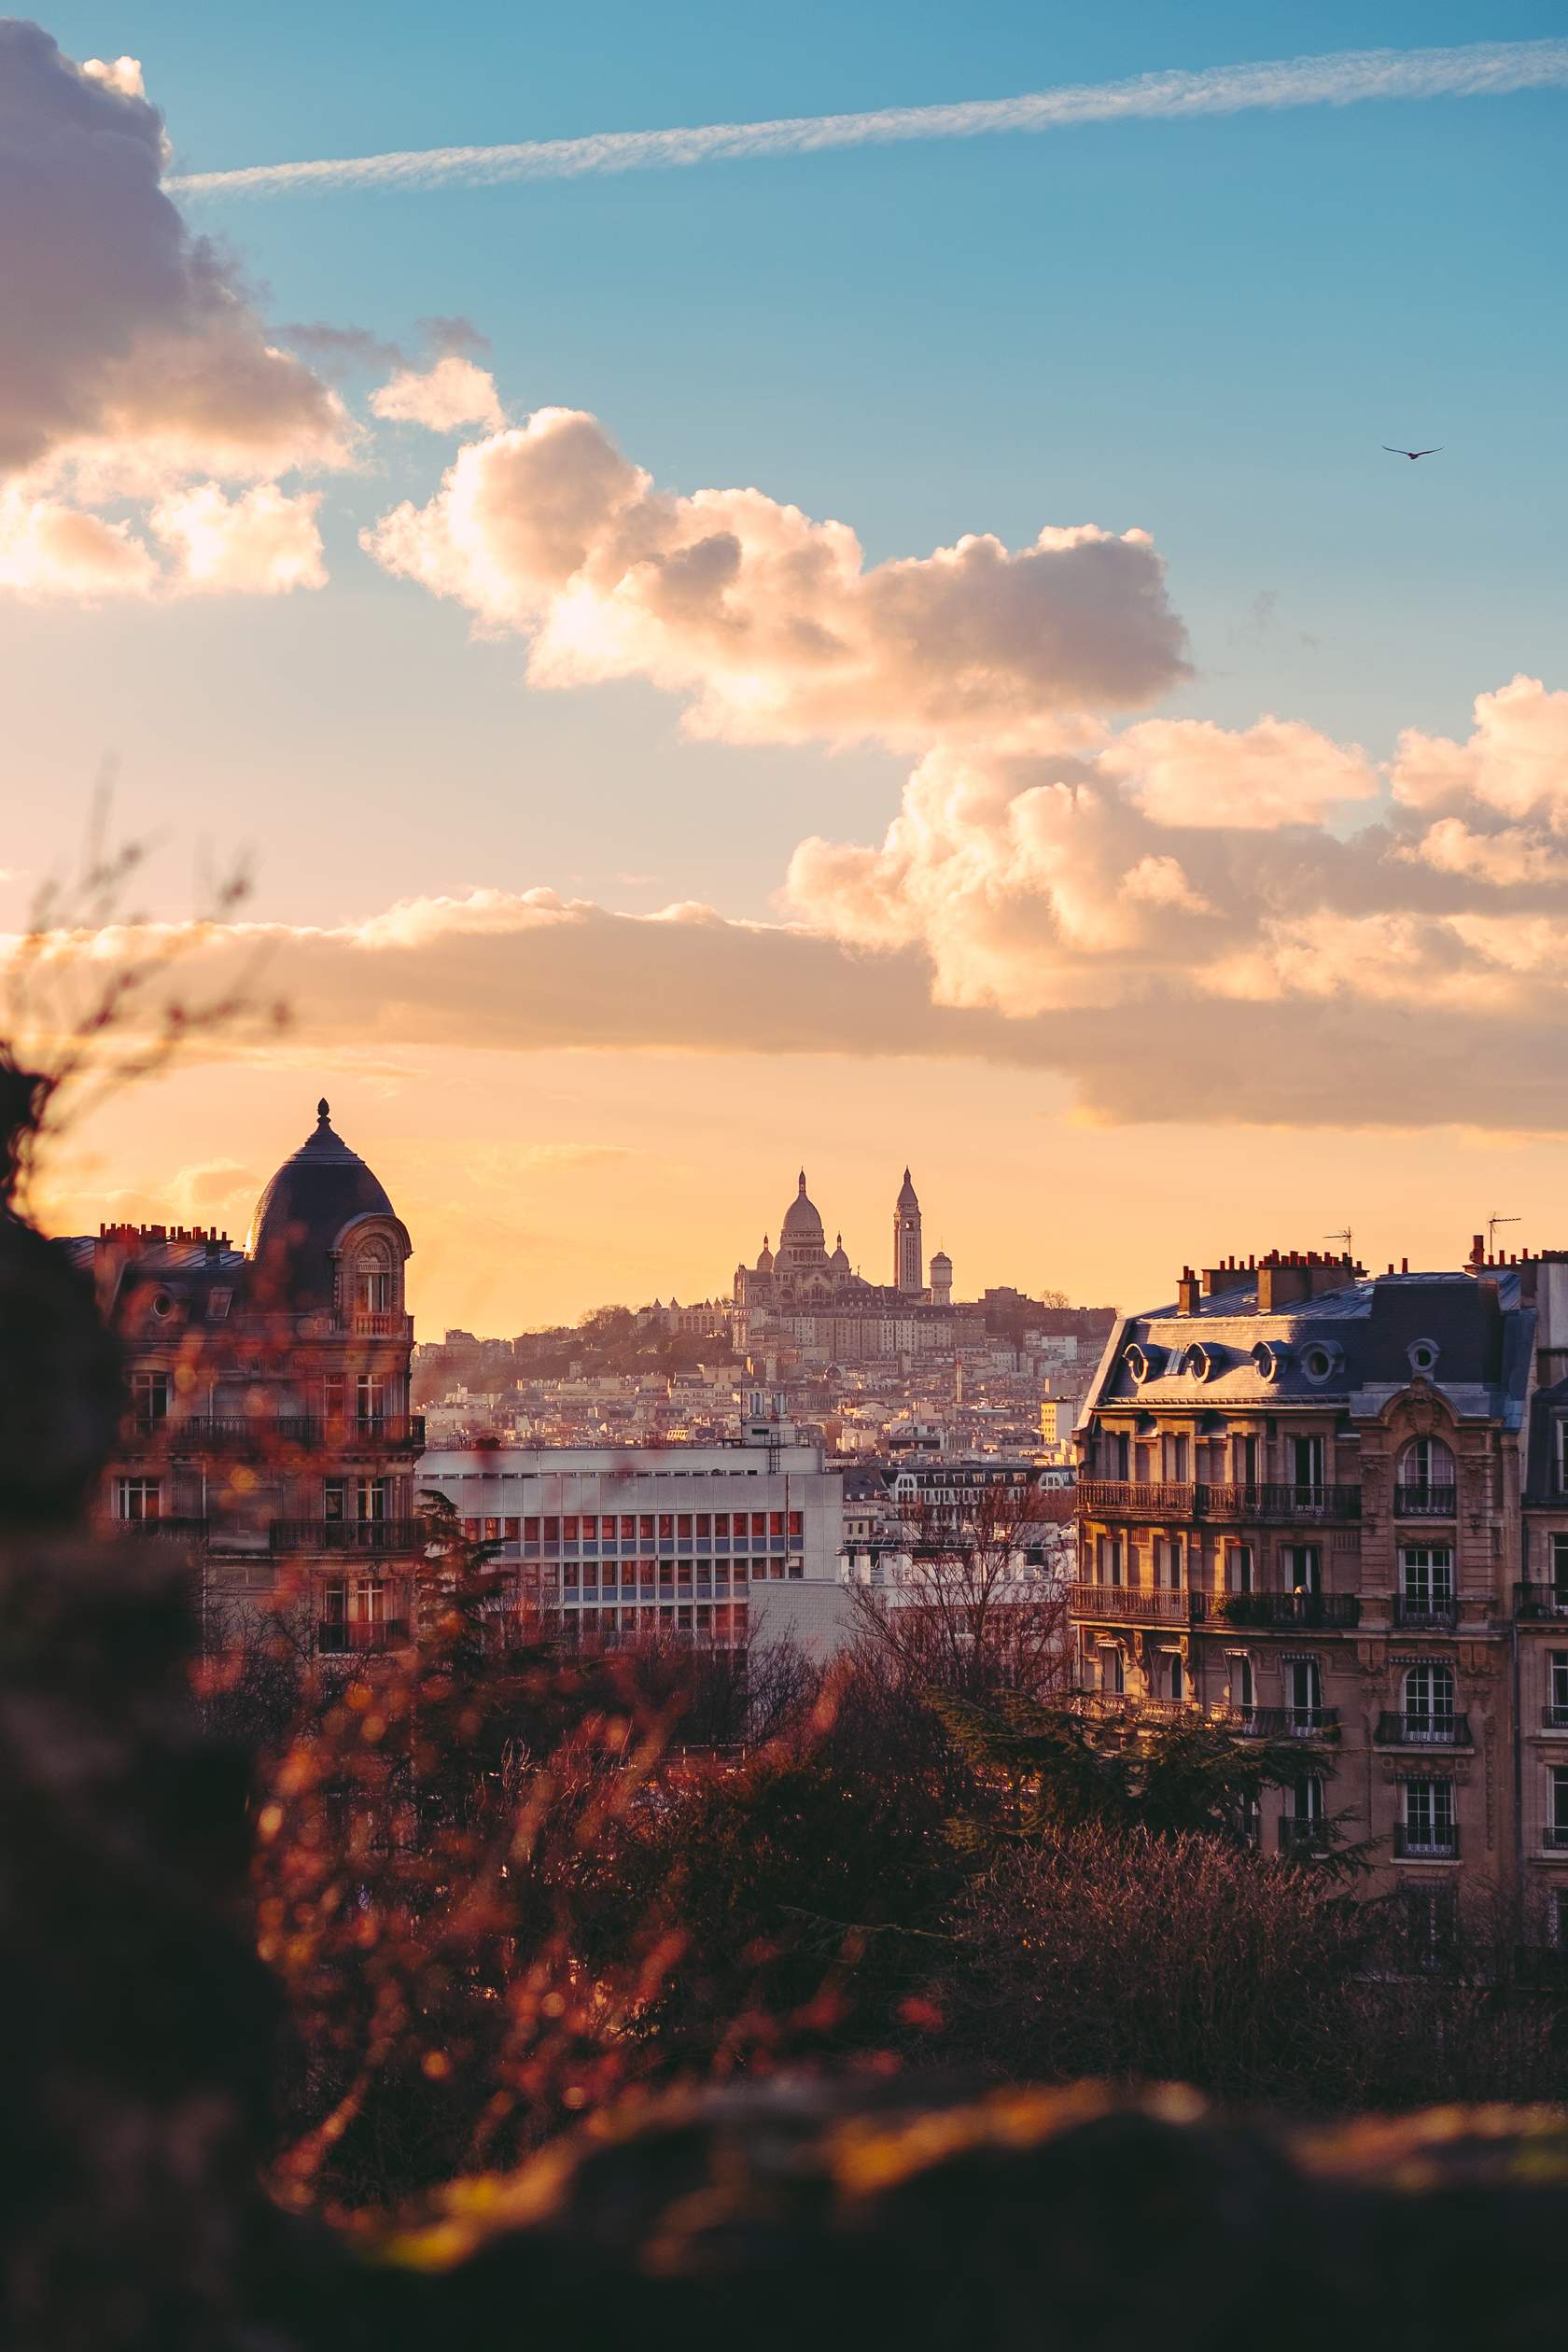
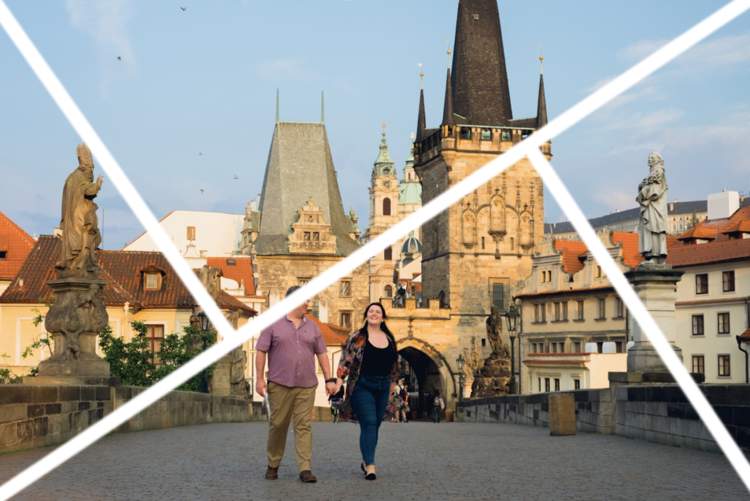
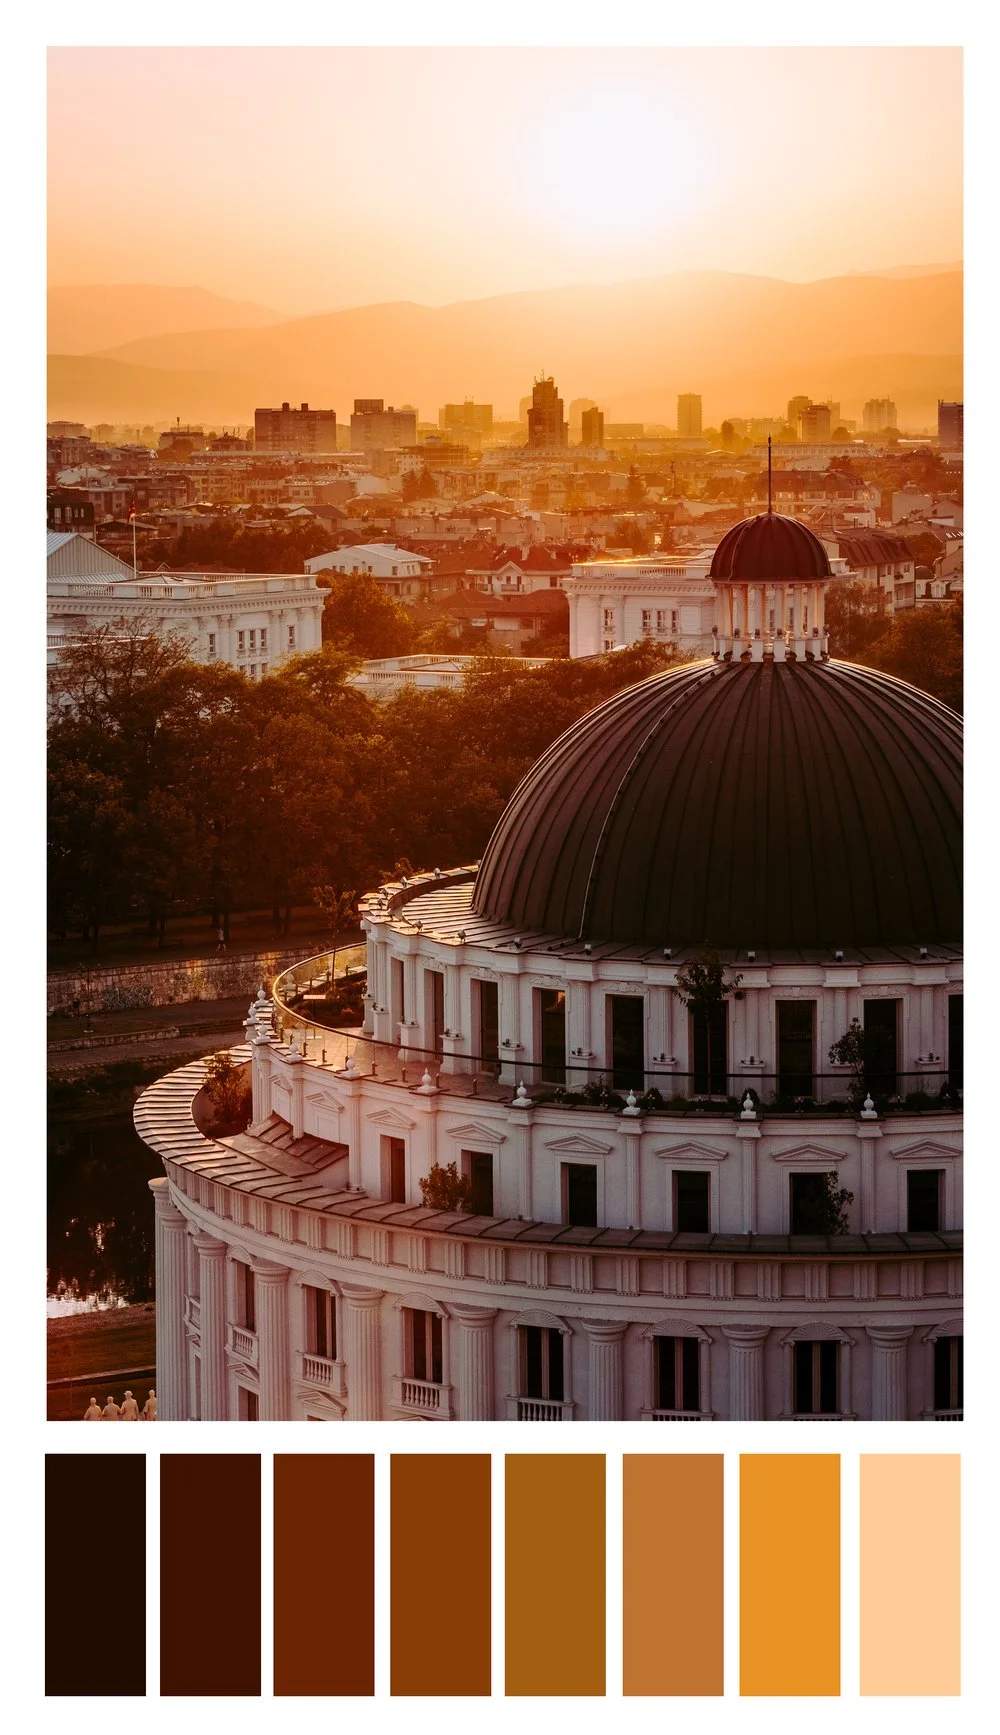
The source of light in this image is the sun and is directly in front of the lens. This, along with the structure of the lens, is causing the flaring you may have noticed. It also adds to the warmth of the overall image, the blown out sky, and the washed out look.
Direction of Light
The direction from which natural light comes can dramatically affect the mood and appearance of your photographs. Front lighting illuminates the subject evenly, while side lighting creates depth and texture through shadows. Backlighting, where the light comes from behind the subject, can create silhouettes or halo effects. Experimenting with different angles and directions of natural light can help you convey various emotions and narratives in your photographs.
Lighting direction plays a crucial role in shaping the mood and visual impact of a photograph. Observing the direction of light, whether it's front, side, or backlit, can significantly influence the overall look and feel of the image. Frontal lighting, where the light source is directly facing the subject, tends to minimize shadows and reveal details with clarity. This type of lighting is often used in portrait photography to create a flattering and evenly lit portrait.
On the other hand, side lighting can add depth and texture to the scene by casting shadows that define shapes and contours. This directional light creates a sense of drama and emphasizes the three-dimensional aspects of the subject. Photographers often utilize side lighting in landscapes or still life compositions to enhance the texture and visual interest of the elements in the frame.
Backlighting, where the light source is behind the subject, can create silhouettes or halo effects, adding a sense of mystery or ethereal beauty to the photograph. This lighting direction can be particularly effective in capturing subjects against a dramatic sky or creating a sense of warmth and nostalgia in outdoor scenes during golden hour. Understanding how different lighting directions affect a photo allows photographers to creatively manipulate light to convey specific emotions or narratives in their images.
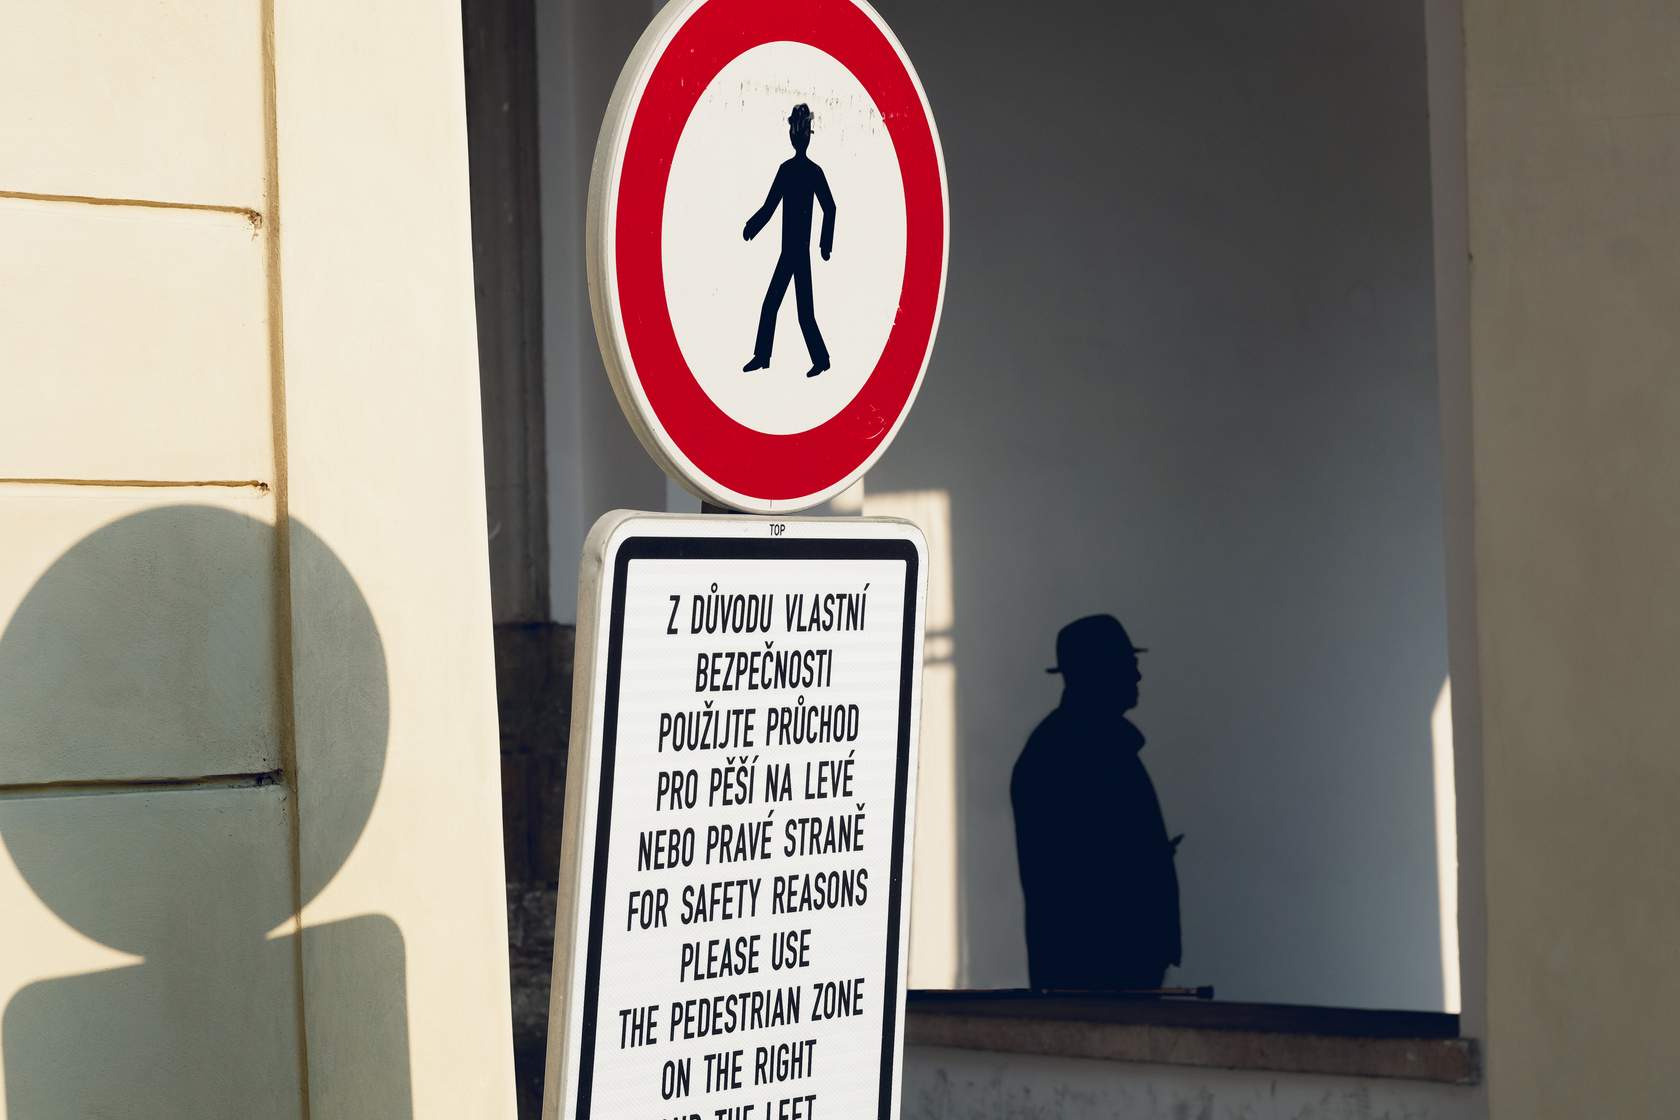
What direction do you think the light is coming from? What clues do you see in the image lead you to that conclusion?
Reading Light
As photographers, it's essential to observe and understand how natural light interacts with the environment. Pay attention to how light falls on different surfaces, how shadows form, and how colors appear under different lighting conditions. Being observant allows you to anticipate and adapt to changes in light, enabling you to capture compelling photographs even in challenging situations.
Understanding how to read light is crucial in photography. Light can dramatically change the mood and impact of a photograph, influencing everything from exposure to color rendition. One fundamental aspect of reading light is to observe its direction and quality. Directional light, such as that from the sun or a lamp, creates distinct shadows and highlights, adding depth and dimension to the scene. On the other hand, diffused light, like on a cloudy day or through a sheer curtain, produces soft and even illumination, ideal for capturing details without harsh contrasts.
Another key aspect is understanding the intensity of light. Bright light can result in high contrast and vivid colors, while low light conditions can create a moody and atmospheric effect. By paying attention to these elements of light, photographers can make informed decisions about exposure settings, composition, and timing to achieve the desired visual impact in their photographs.
Understanding light is essential for any photographer. Light is the fundamental element that shapes the mood, composition, and visual impact of a photograph. In this lesson, we will look at the basics of light, including its properties, behavior, and how to manipulate it. Whether you're a beginner or an experienced photographer, mastering light is key to creating your desired final image.
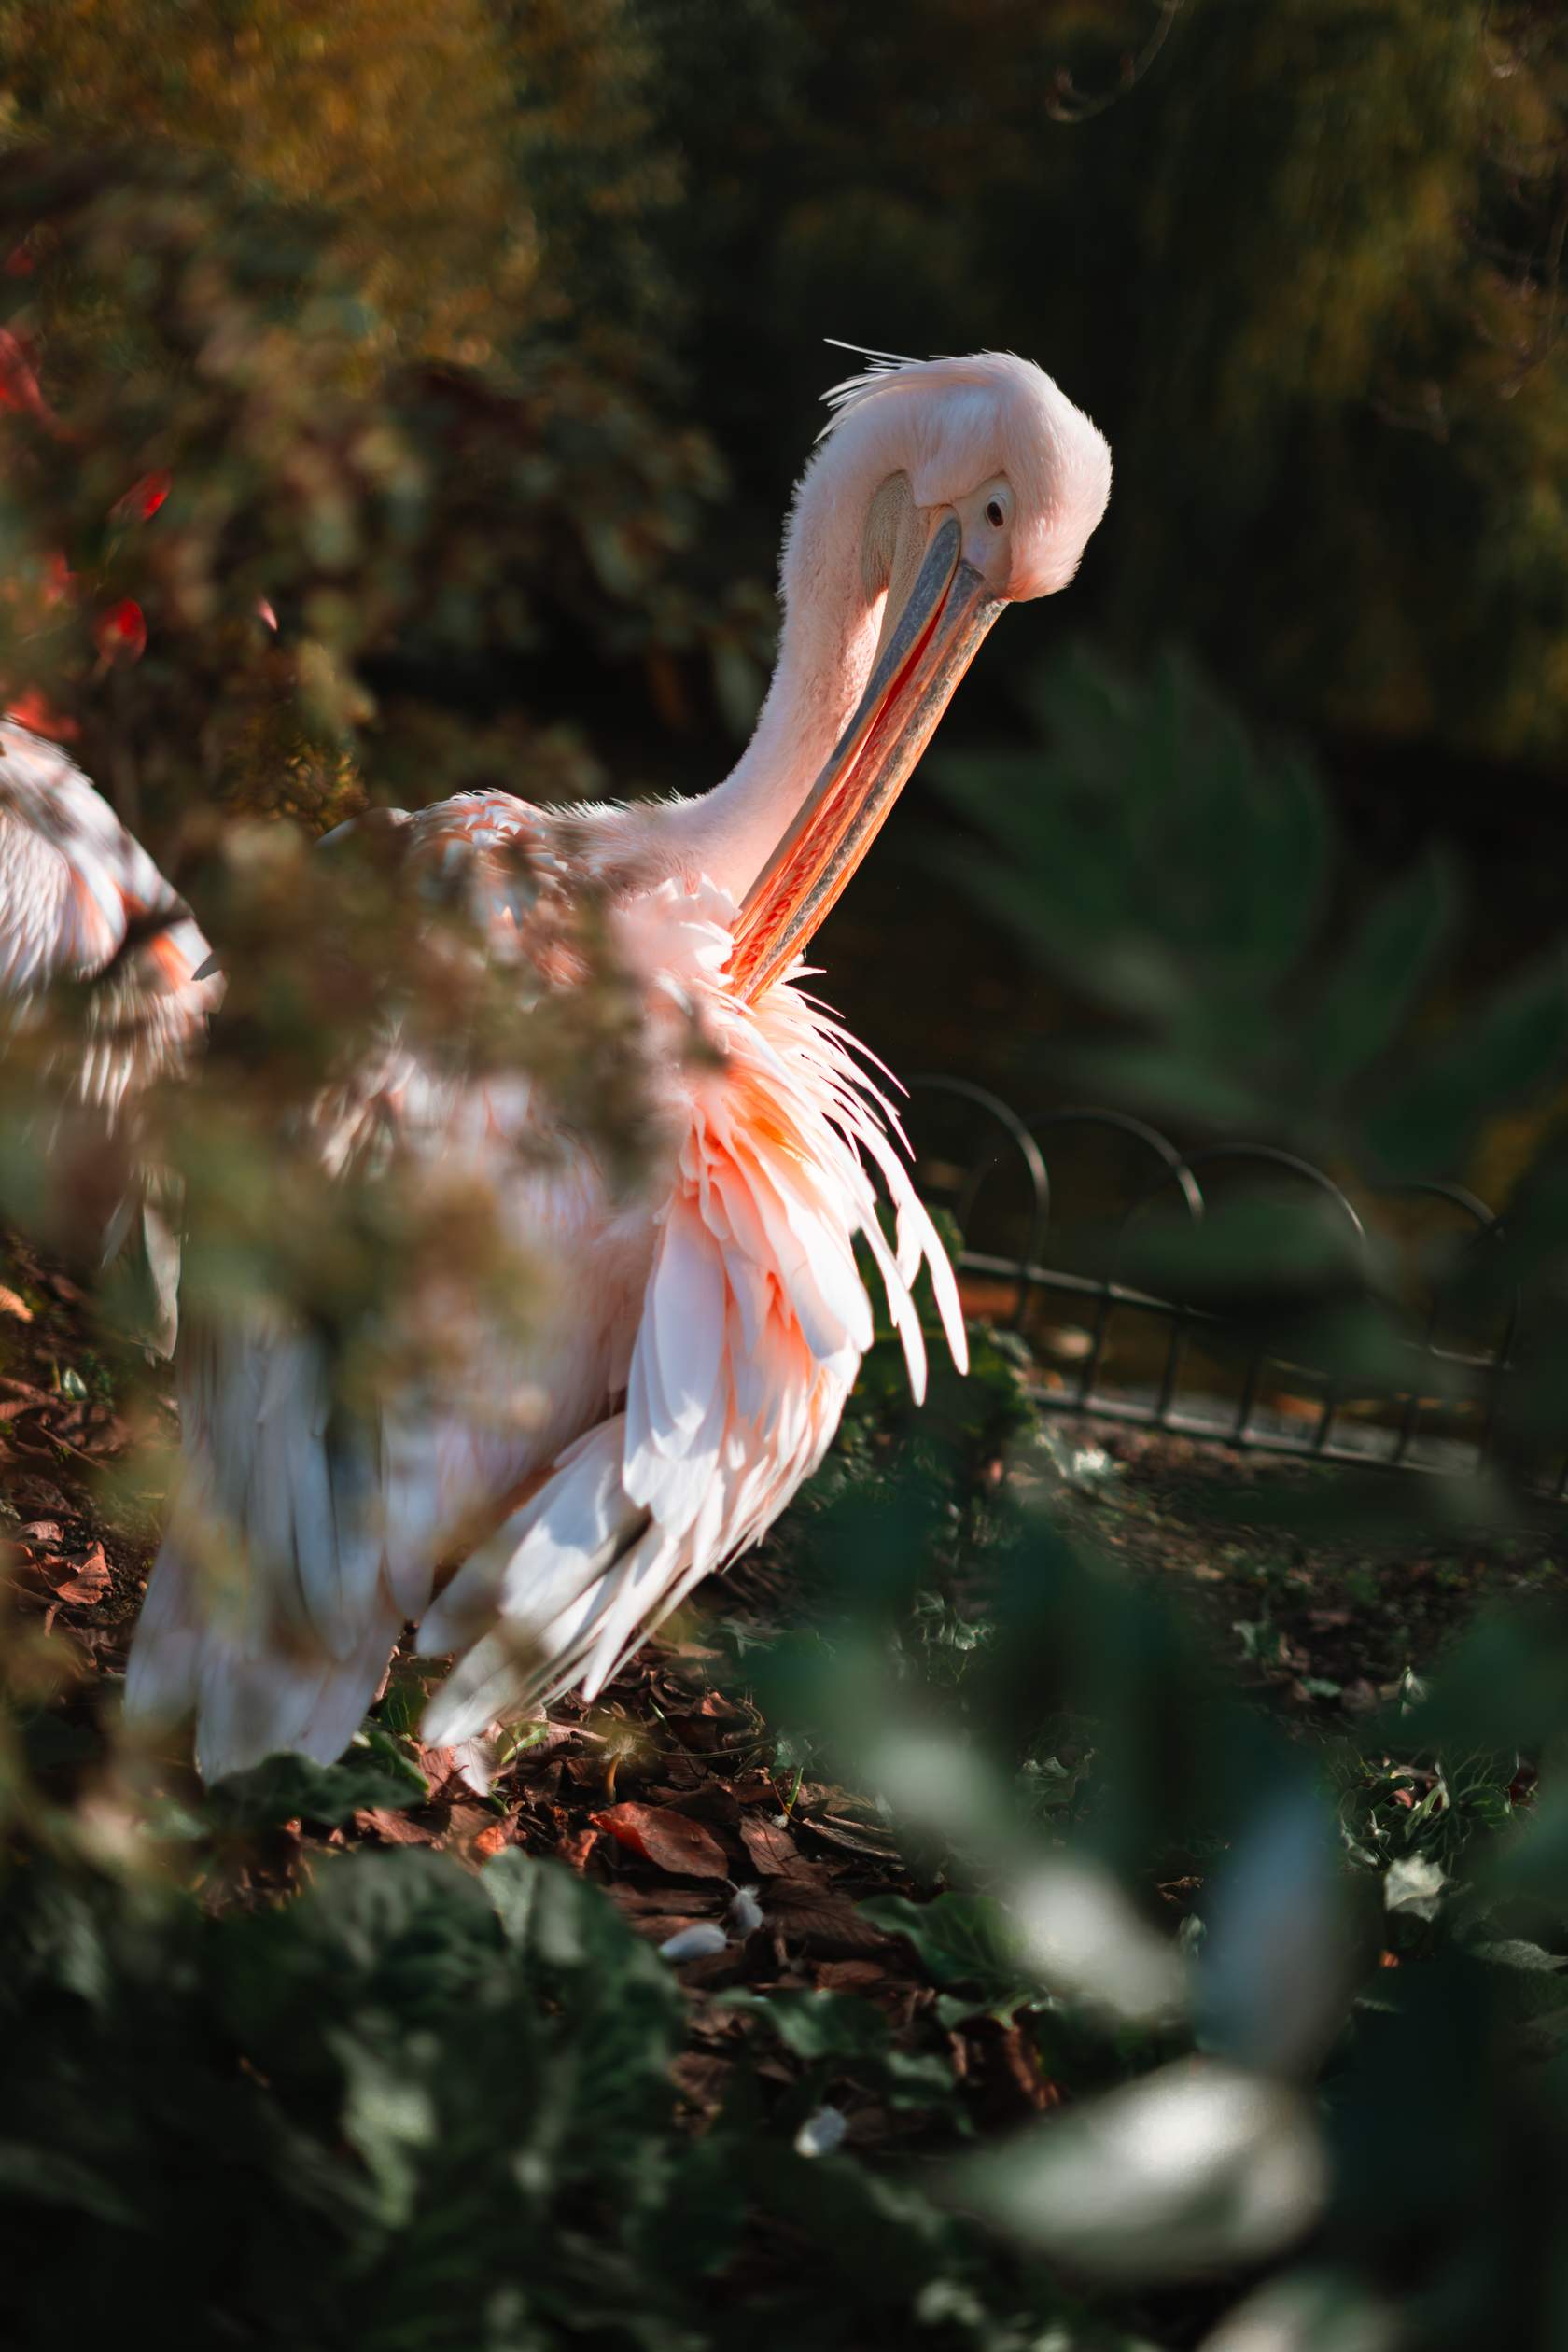
Natural light refers to the illumination provided by the sun. It's constantly changing throughout the day and affected by weather conditions. Knowing how to read the light will help you to control it, creating your desired final image.
The quality of natural light varies based on time of day, weather, and geographical location. For example, the golden hour, which occurs shortly after sunrise and before sunset, provides soft, warm light ideal for portraits and landscapes.
Different times of the day offer different types of natural light: harsh mid-day light can create strong shadows, while overcast skies can provide soft, diffused light with minimal shadows.
Positioning of your subject in different natural light also impacts light quality. A large white wall can reflect strong sunlight, softening it and acting as a modifier, for example.
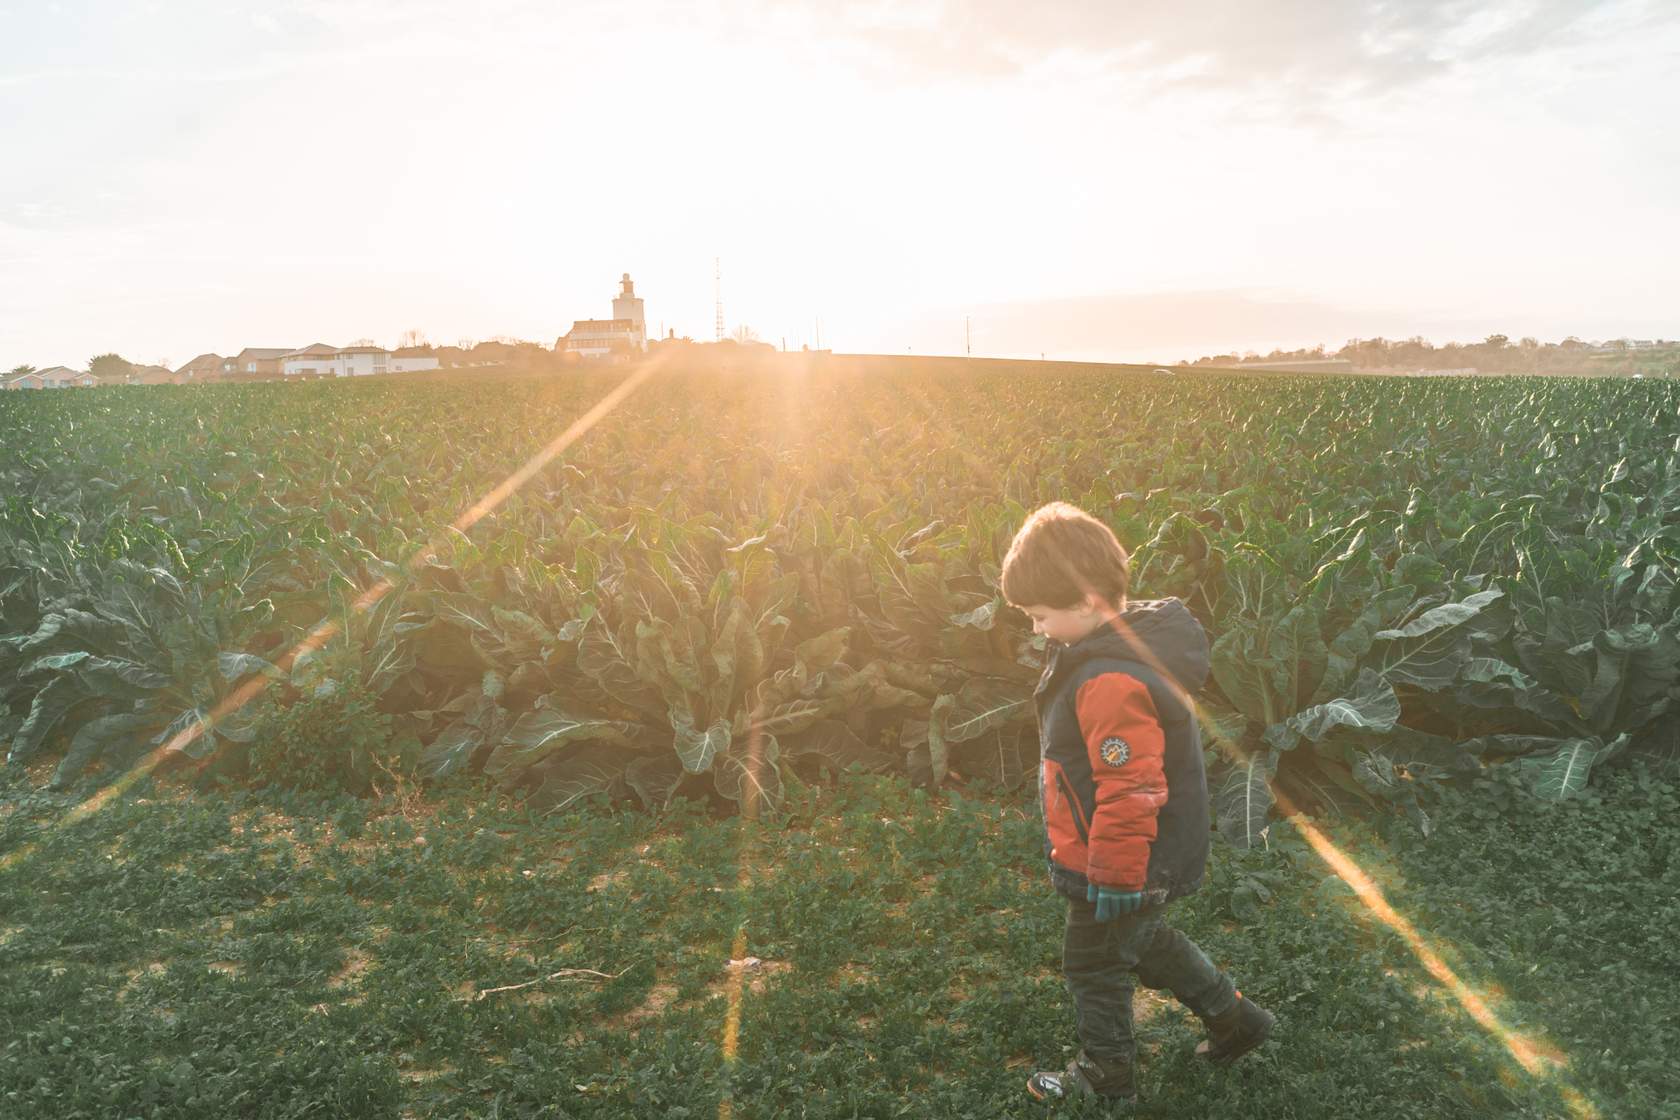
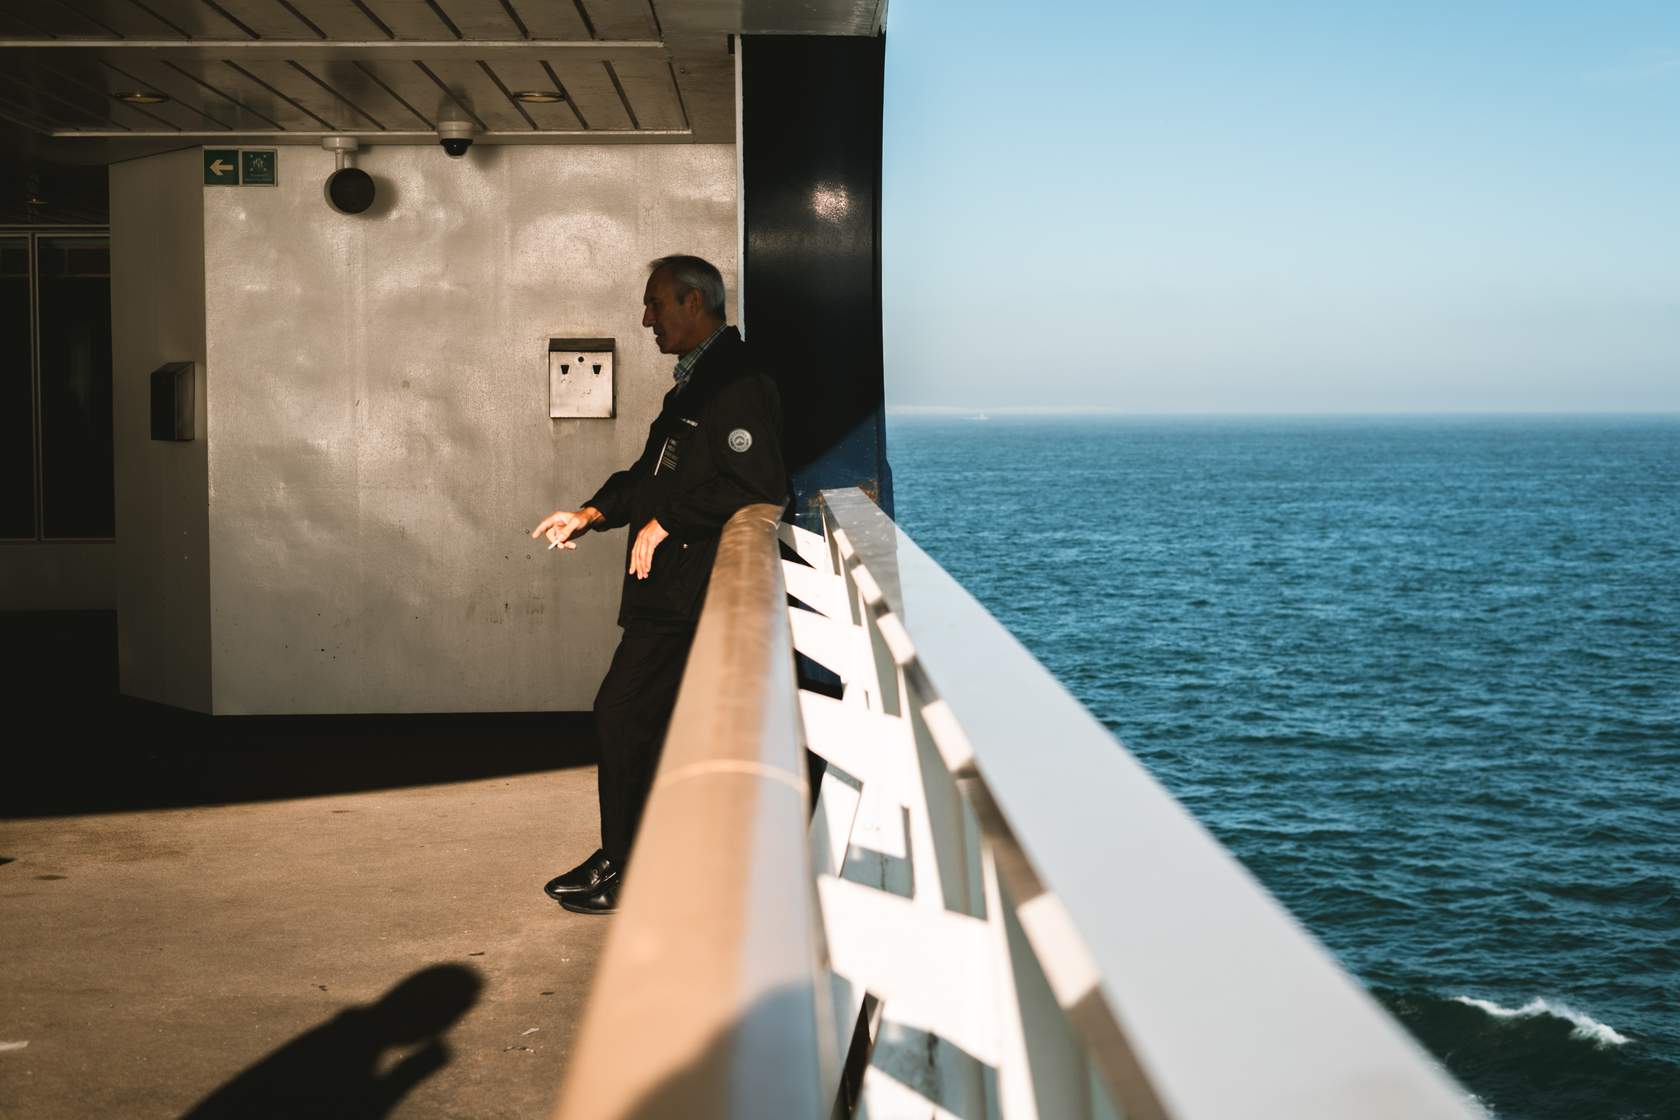
Sony A7 III | 28mm| ƒ/4.5 | 1/640s | ISO 125
The source of light in this image is the sun and is directly in front of the lens. This, along with the structure of the lens, is causing the flaring you may have noticed. It also adds to the warmth of the overall image, the blown-out sky, and the washed-out look.
Direction of Light
The direction from which natural light comes can dramatically affect the mood and appearance of your photographs.
Click each '+' to learn more.

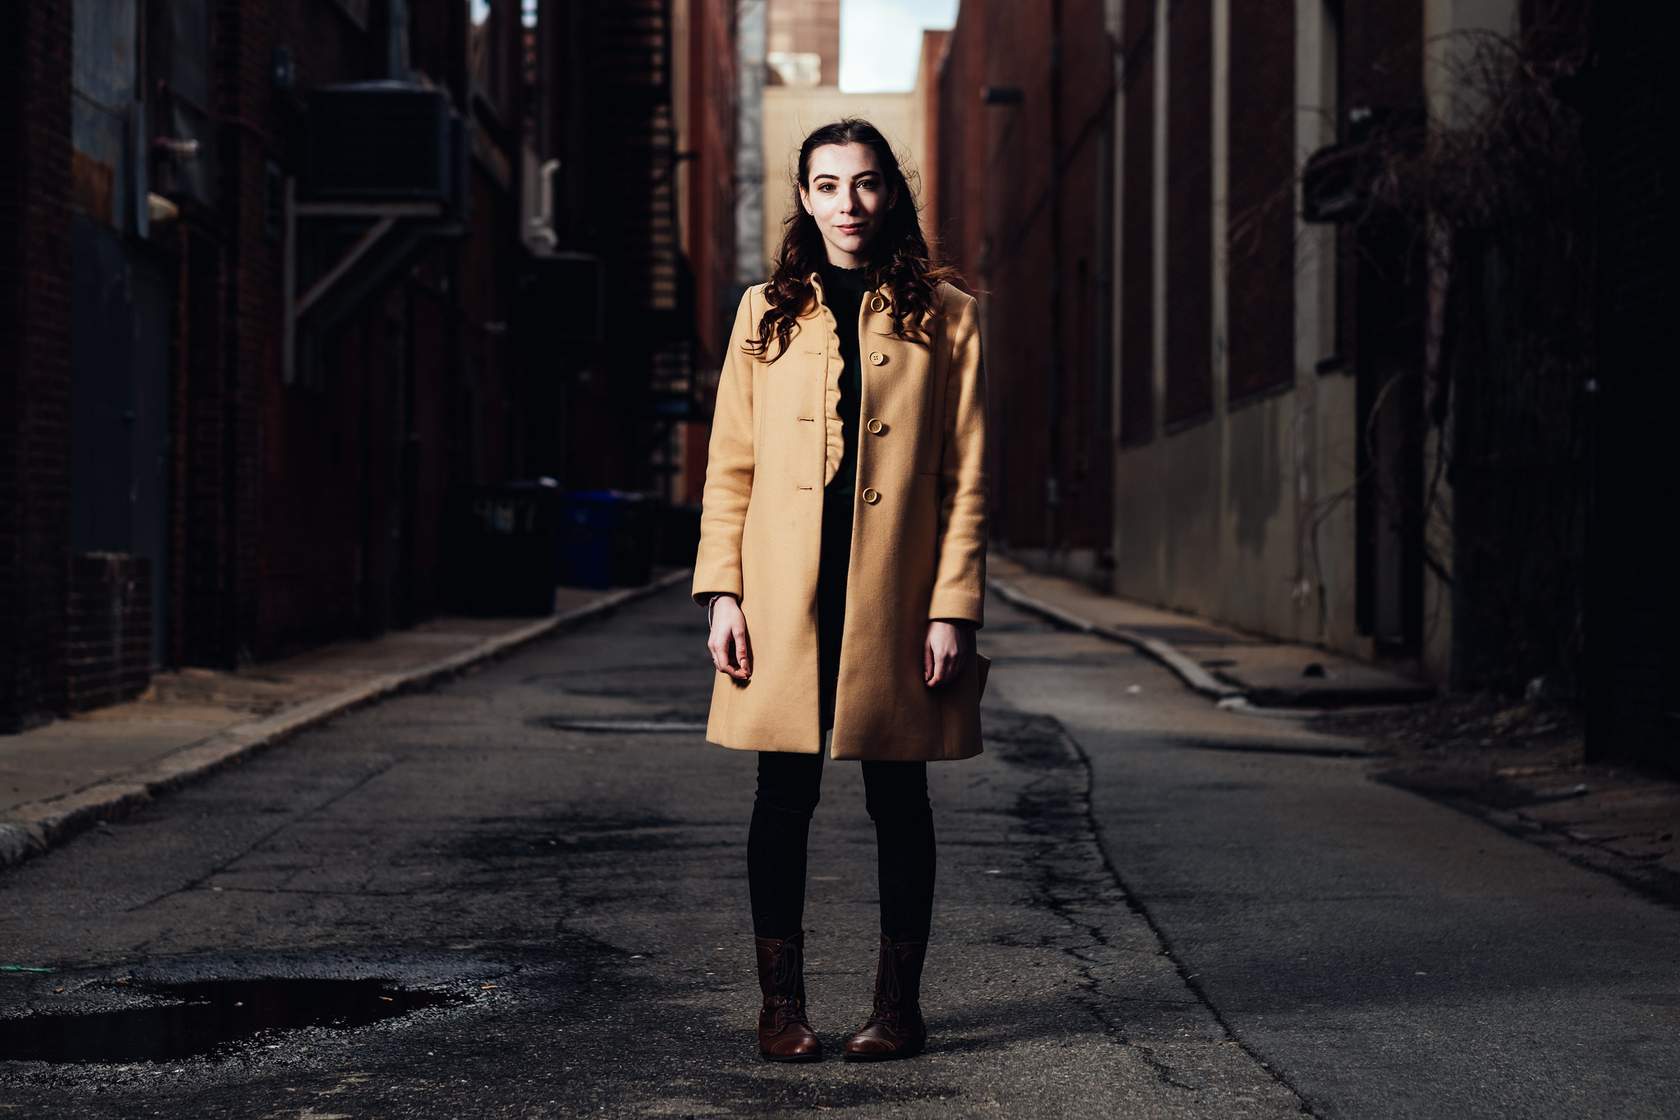
Front lighting illuminates the subject evenly. In this image, you can see that the light is soft and diffused, coming from the front of the subjects.
The dark background is because the subjects are standing on the very edge of an archway. The direct light fades away into the shadows.

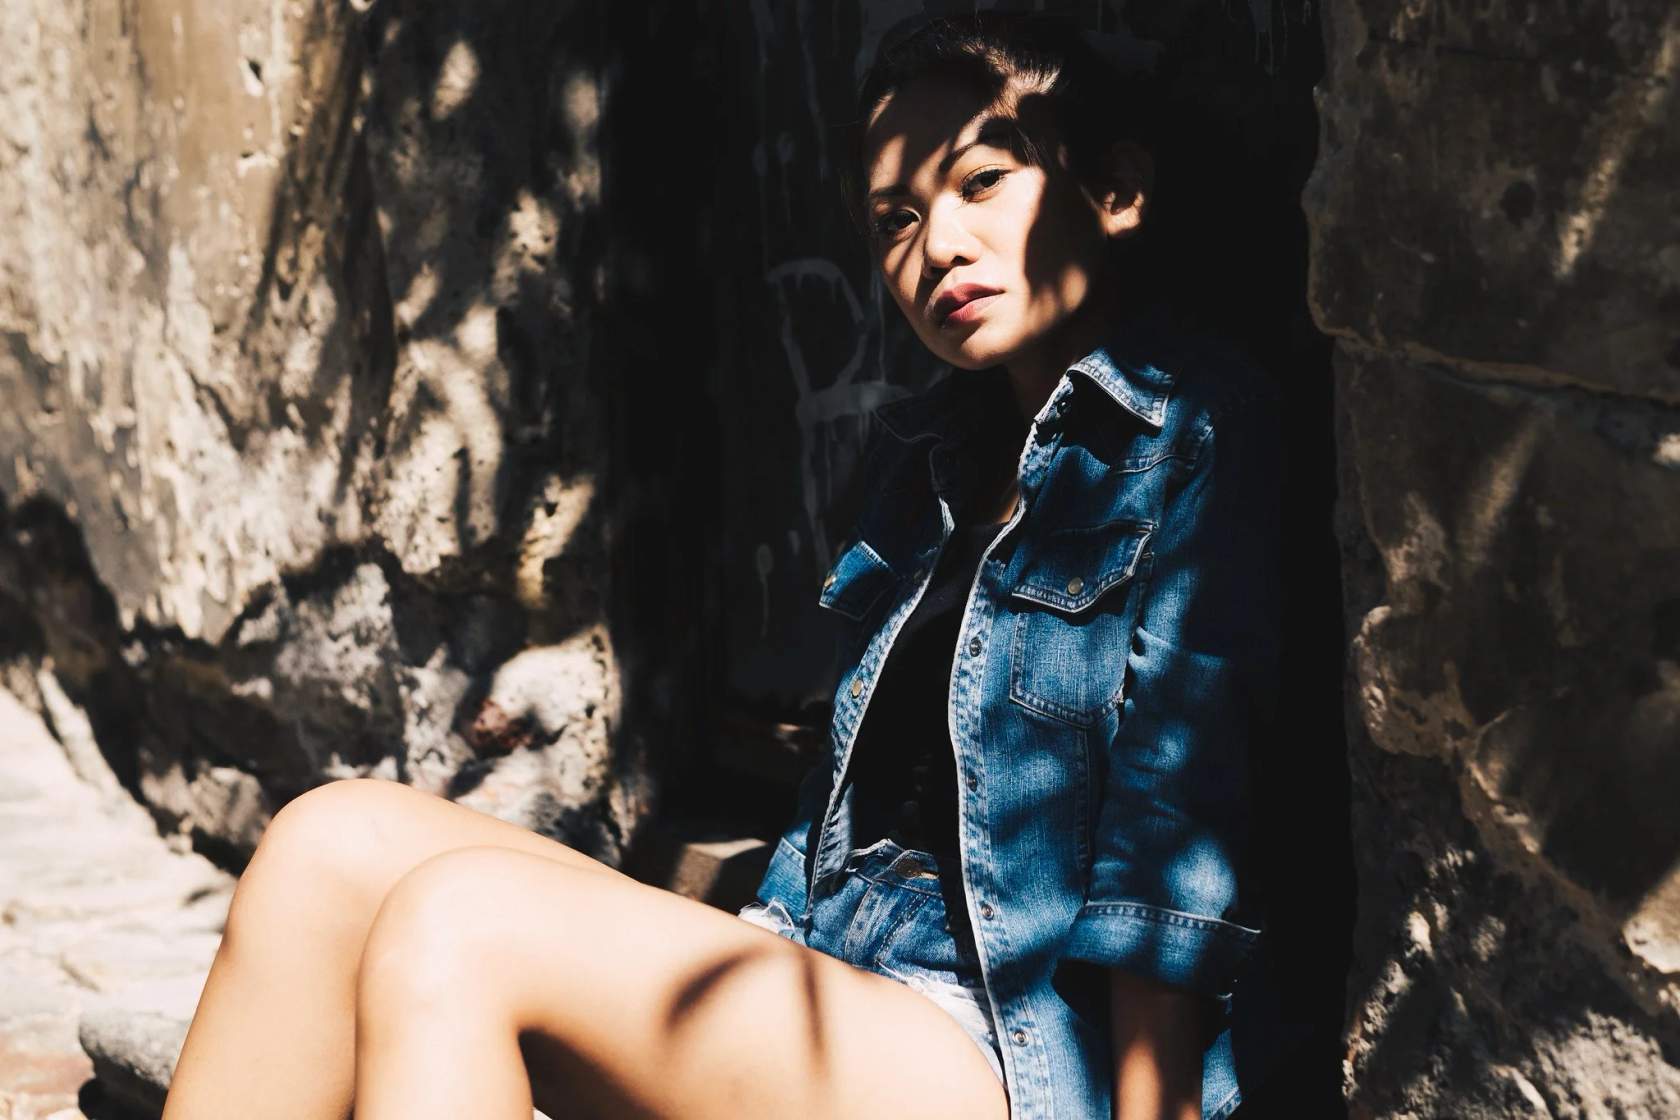
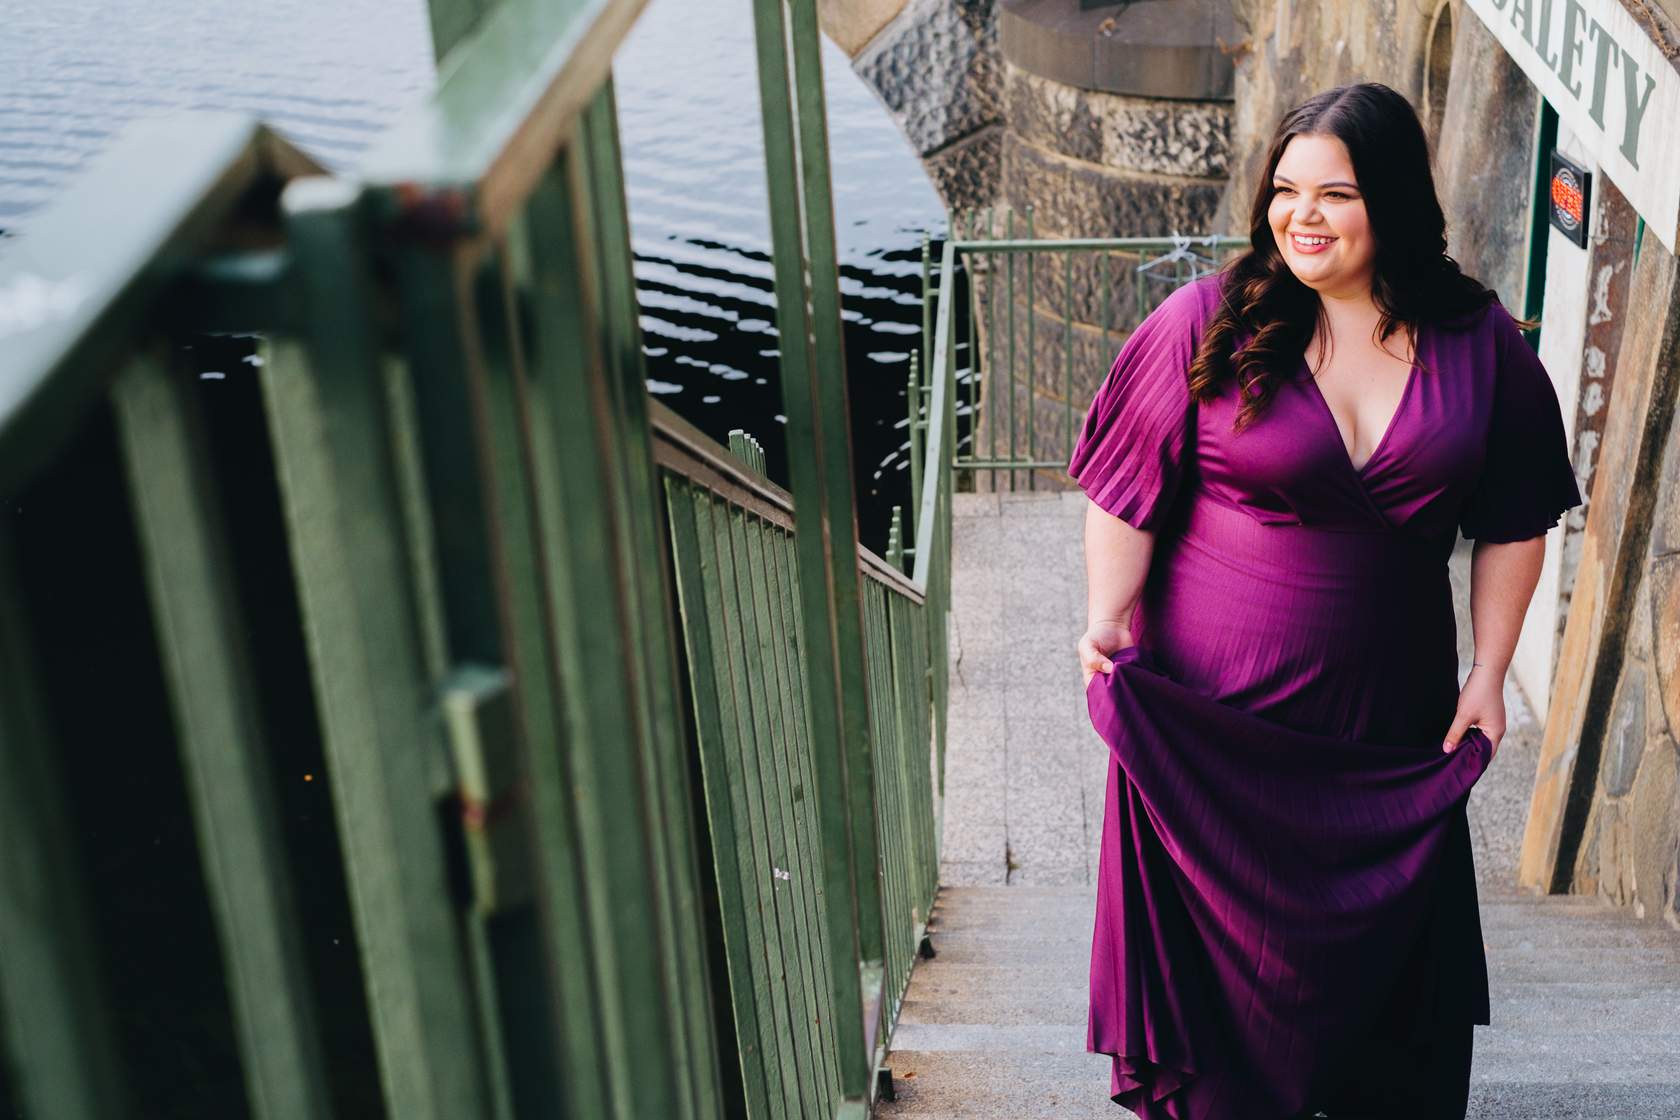
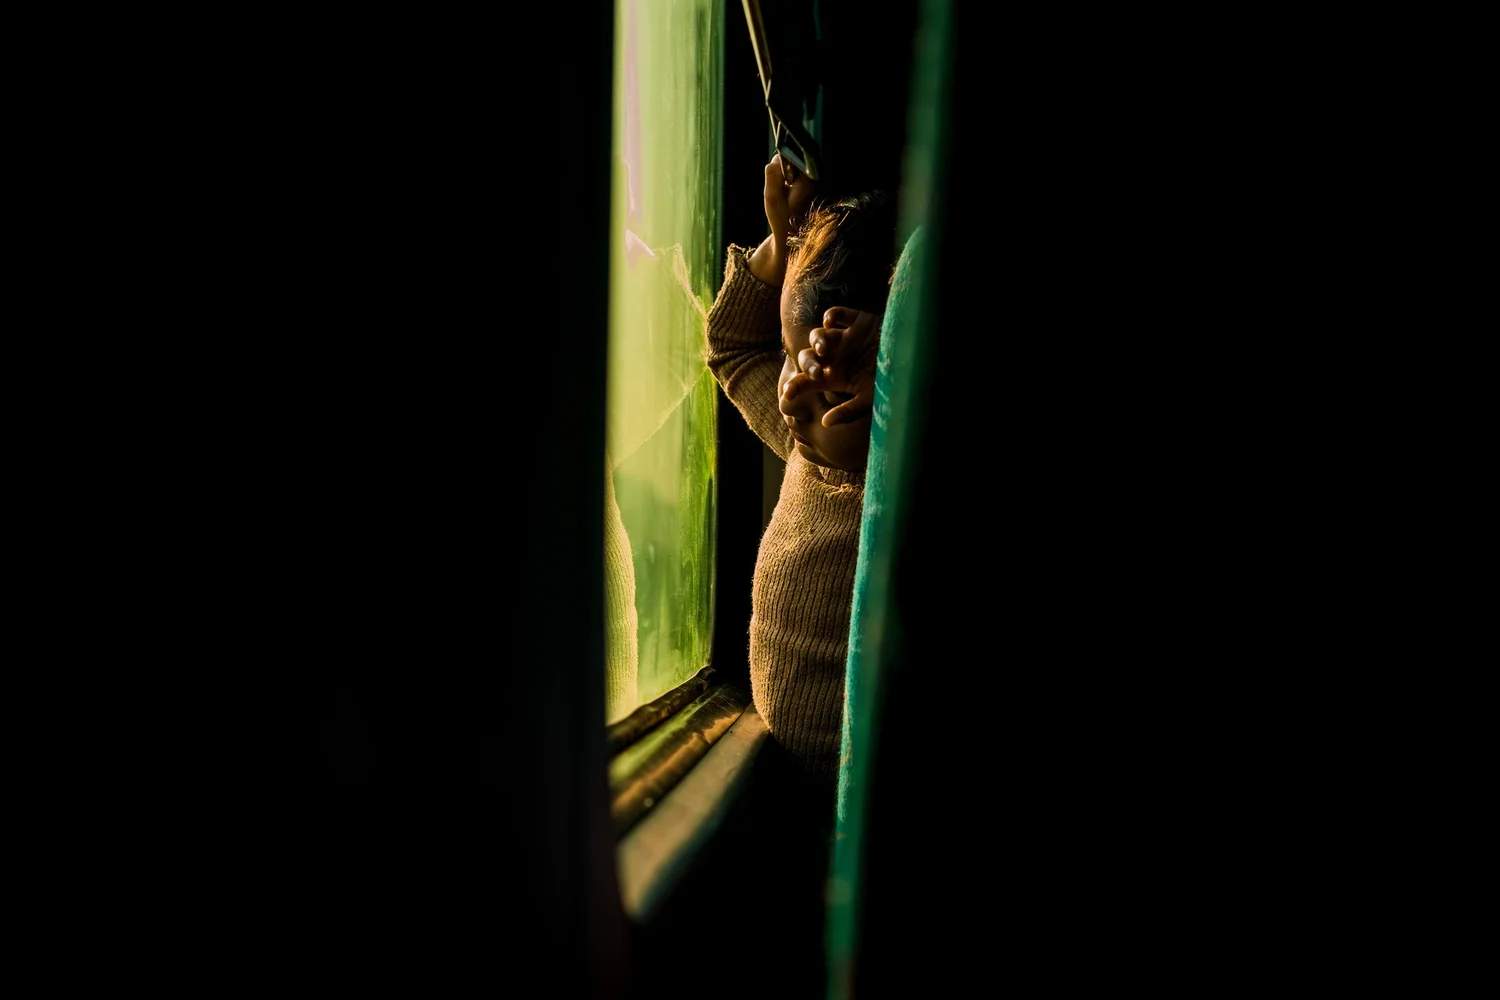
Side lighting creates depth and texture through shadows. Notice how the light 'falls off' on the left side of the face in this image.
Now, look at the eyes, can you see that dot of light? That's called a 'catch light' and it can help you deduce both the direction of the light, and what kind of light it is. More on this later on!
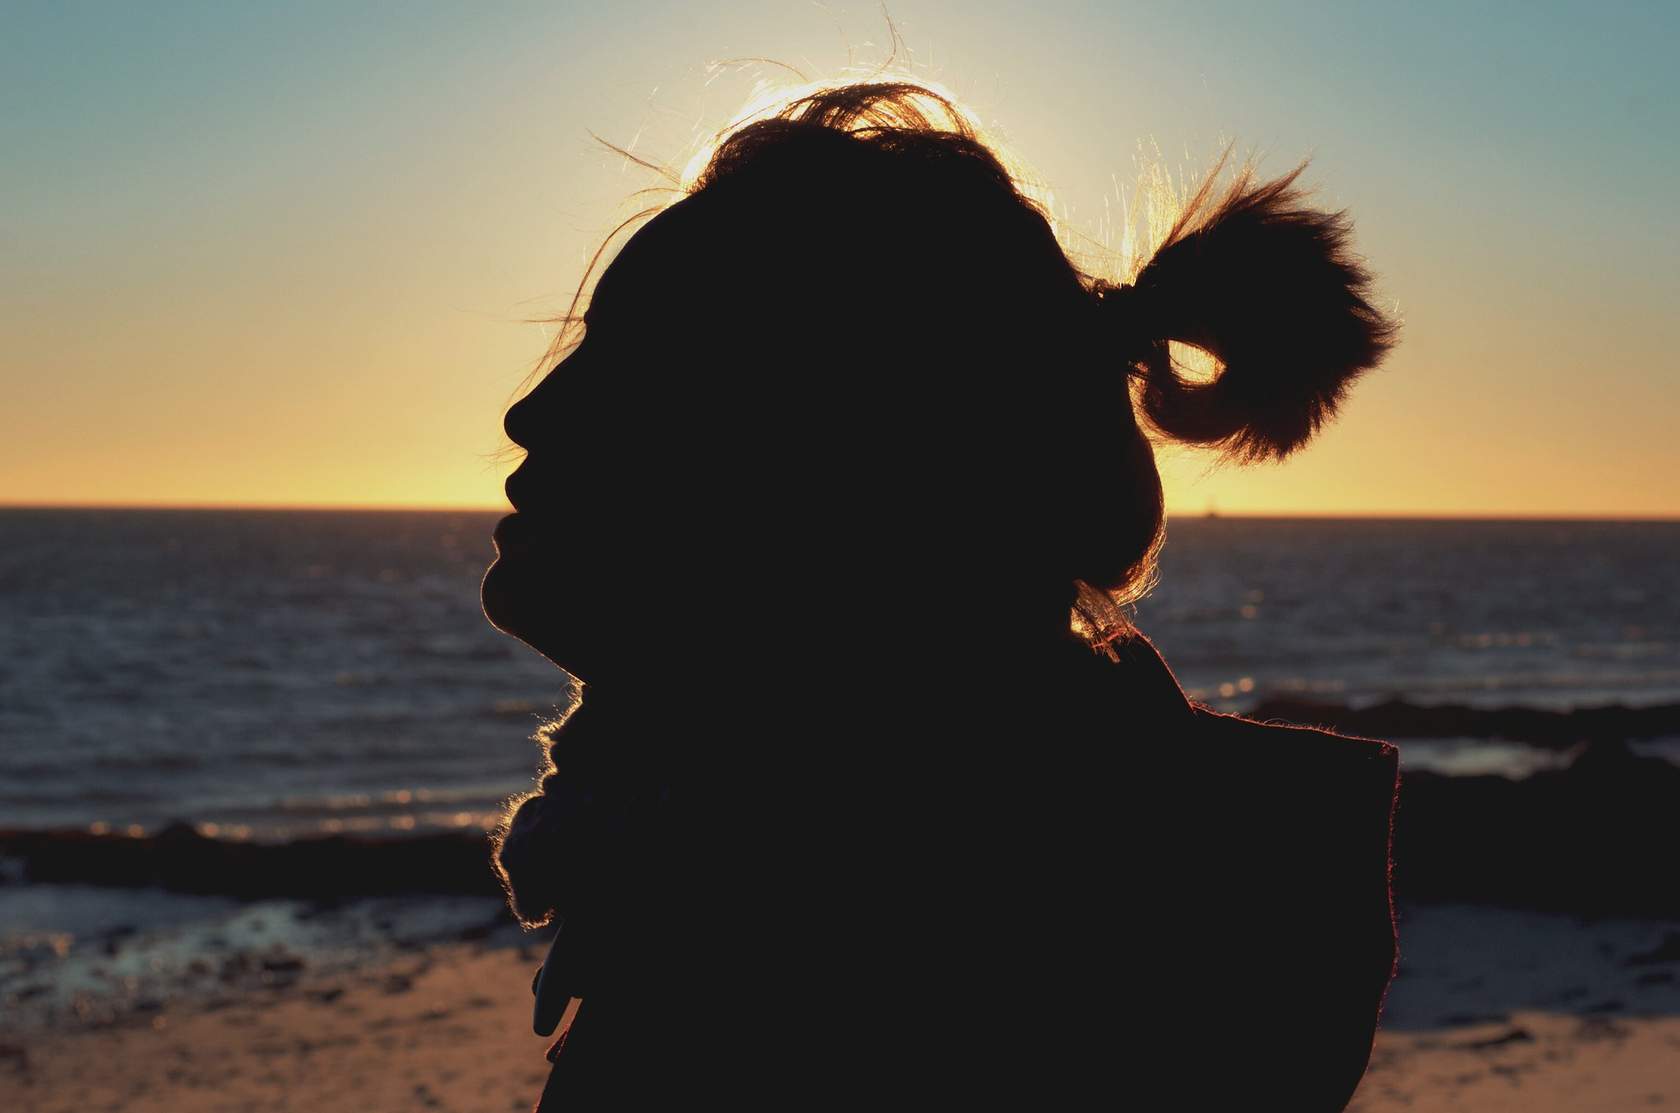
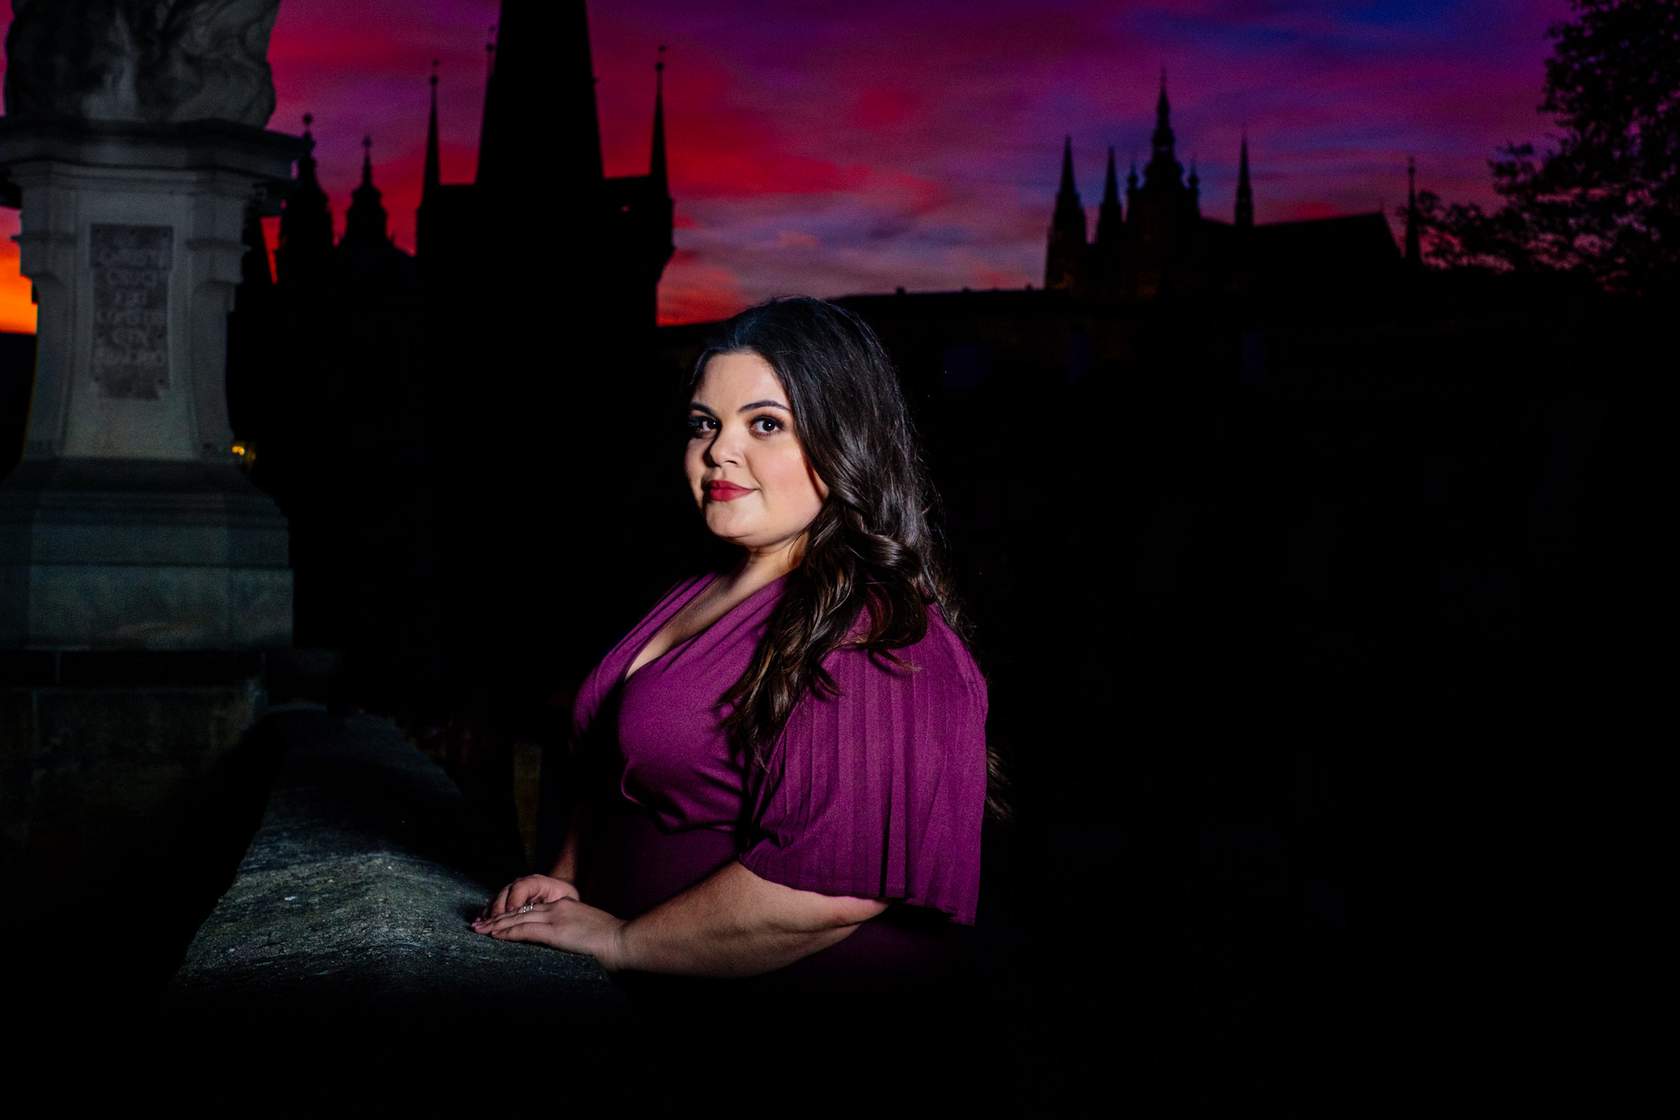
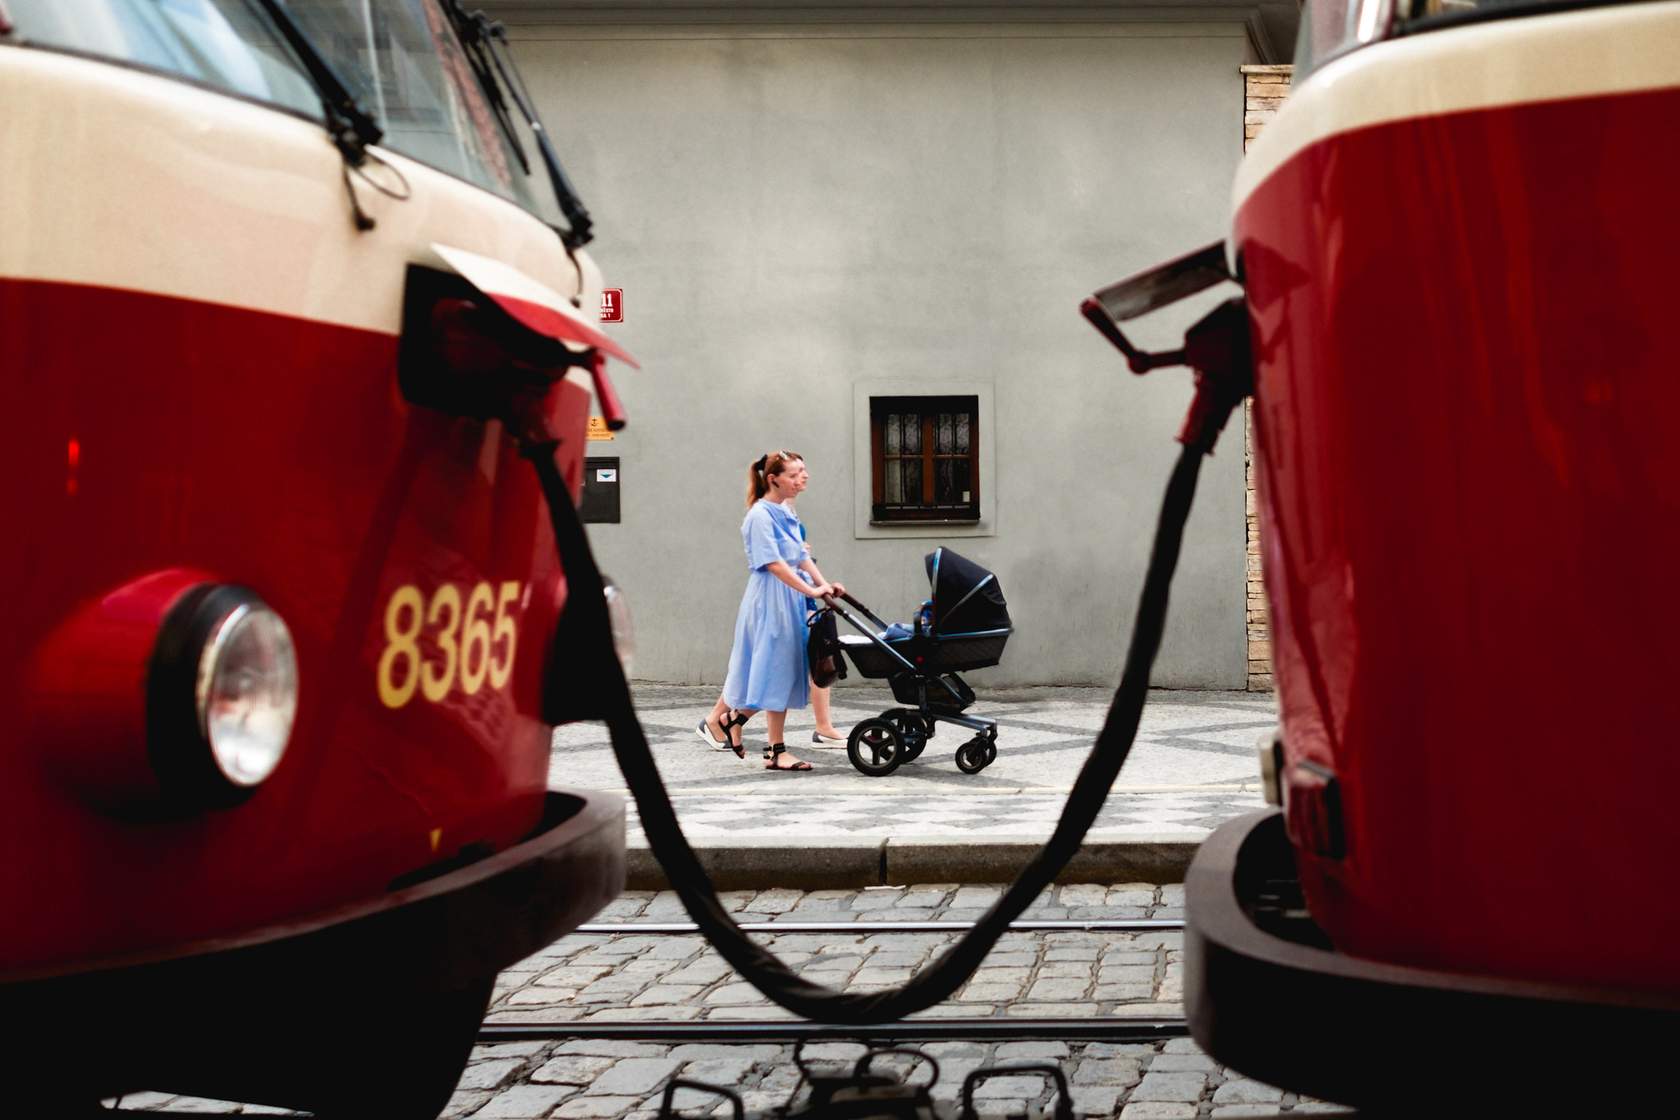
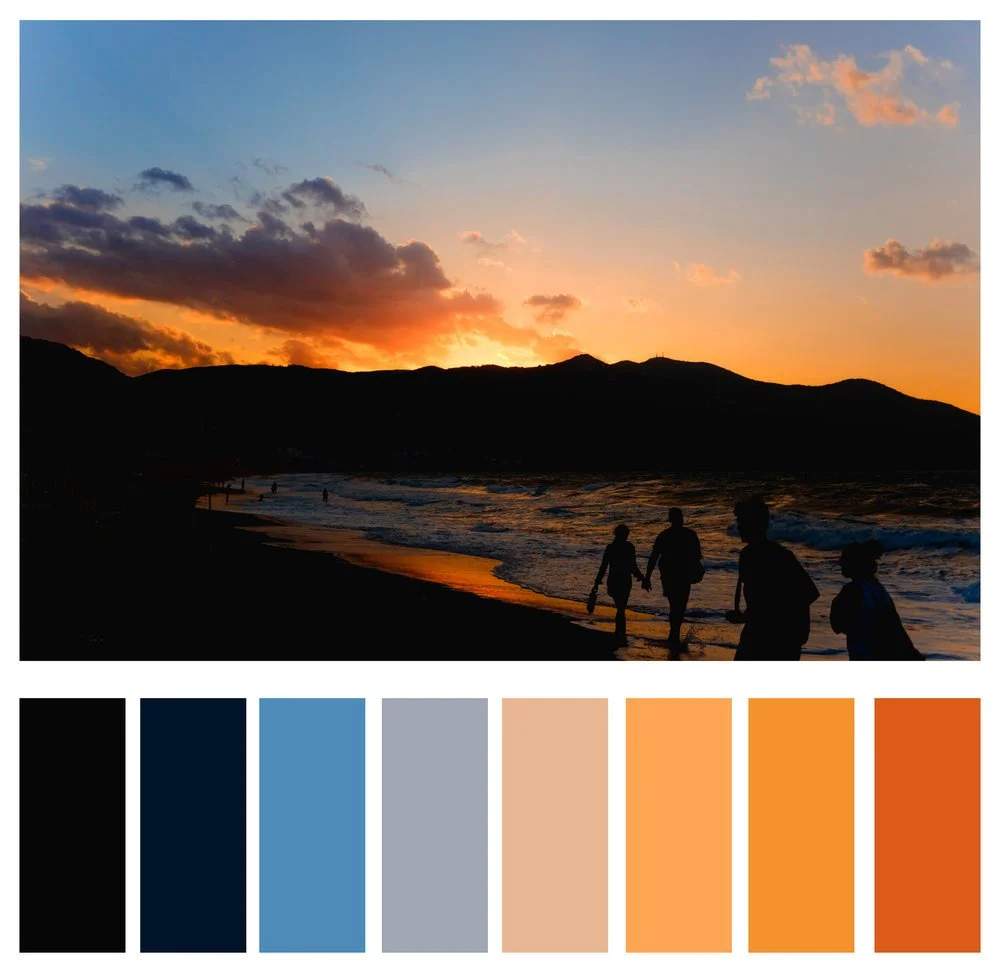
Backlighting, where the light comes from behind the subject, can create silhouettes or halo effects.
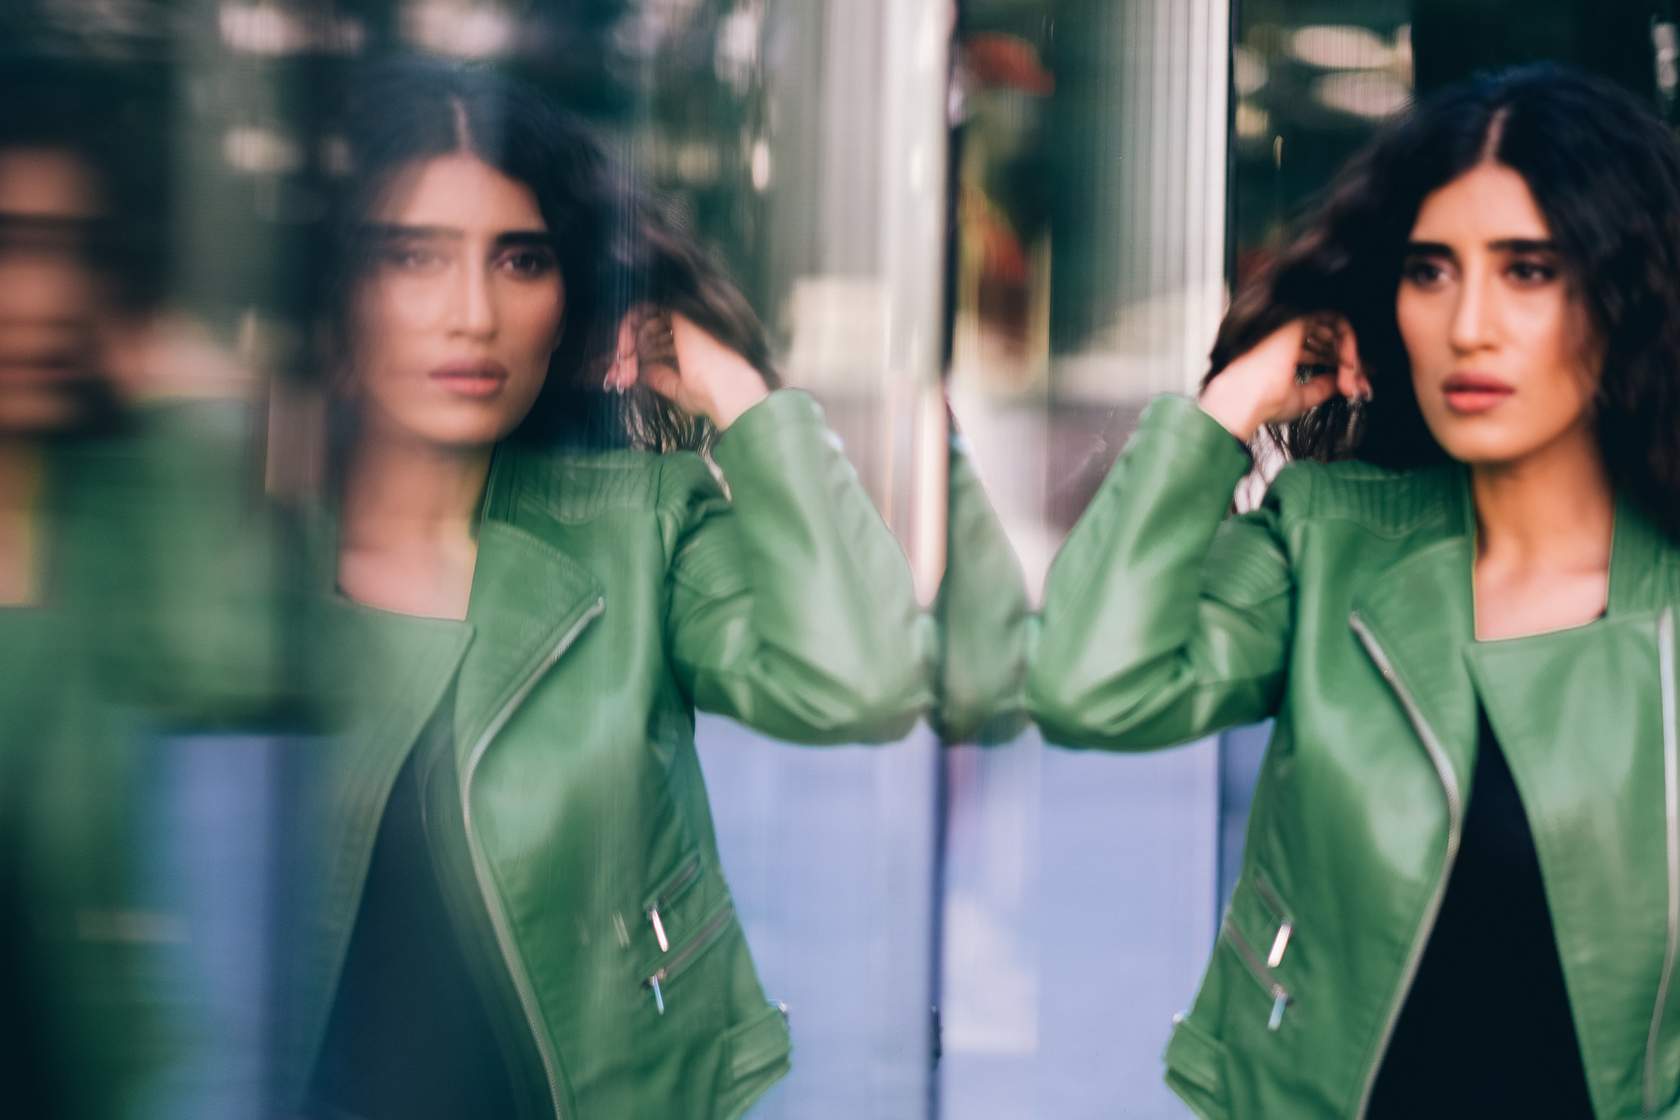
In this image, the light source is the setting sun directly behind the subject, low enough that it skims along the edge of her hair and jacket rather than landing on her face.
That's what produces the halo effect around the flyaway strands and the ponytail.
Her face gets no direct light, so it reads as a clean silhouette, with just enough of her profile left to make out her expression.
Experimenting with different angles and directions of natural light can help you convey various emotions and narratives in your photographs
Lighting direction plays a major role in shaping the mood and visual impact of a photograph. Observing the direction of light, whether it's front, side, or backlit, can significantly influence the overall look and feel of the image.
Frontal lighting happens when the light source faces the subject directly, most often the sun behind the photographer. It flattens shadows across the face, which sounds like a win until you notice what's missing: those small shadows are what give a portrait its shape and texture, so flattening them out can leave the image looking dull.
A subject facing into a high sun also tends to squint, highlights blow out, and shadows fall in unflattering places, like right under the eyes. It's a setup most photographers avoid. Overcast skies are the exception. The clouds diffuse the light before it reaches your subject, so frontal lighting works well there without any of those problems.
We'll go much more in depth about flattering light for portraits later on in the course.
On the other hand, side lighting can add depth and texture to the scene by casting shadows that define shapes and contours. This directional light creates a sense of drama and emphasizes the three-dimensional aspects of the subject. Photographers often utilize side lighting in landscapes or still life compositions to enhance the texture and visual interest of the elements in the frame.
Backlighting, where the light source is behind the subject, can create silhouettes or halo effects, adding a sense of mystery or ethereal beauty to the photograph. This lighting direction can be particularly effective in capturing subjects against a dramatic sky or creating a sense of warmth and nostalgia in outdoor scenes during golden hour. Understanding how different lighting directions affect a photo allows photographers to creatively manipulate light to convey specific emotions or narratives in their images.
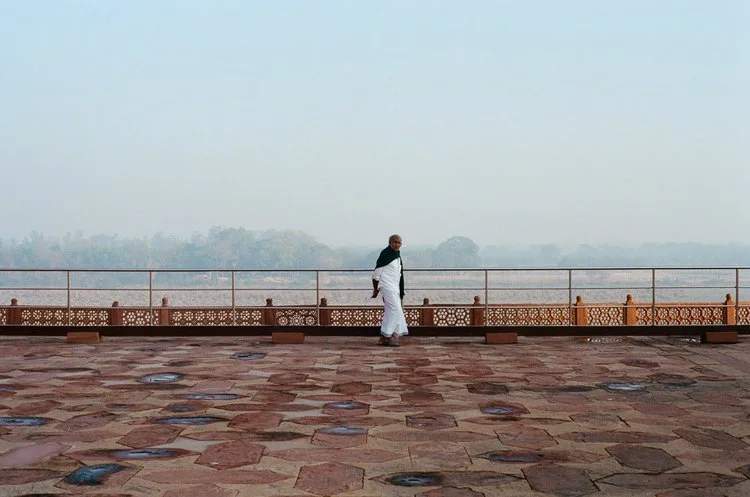
Sony A7 III | 50mm | ƒ/4 | 1/1250s | ISO 100
Light direction
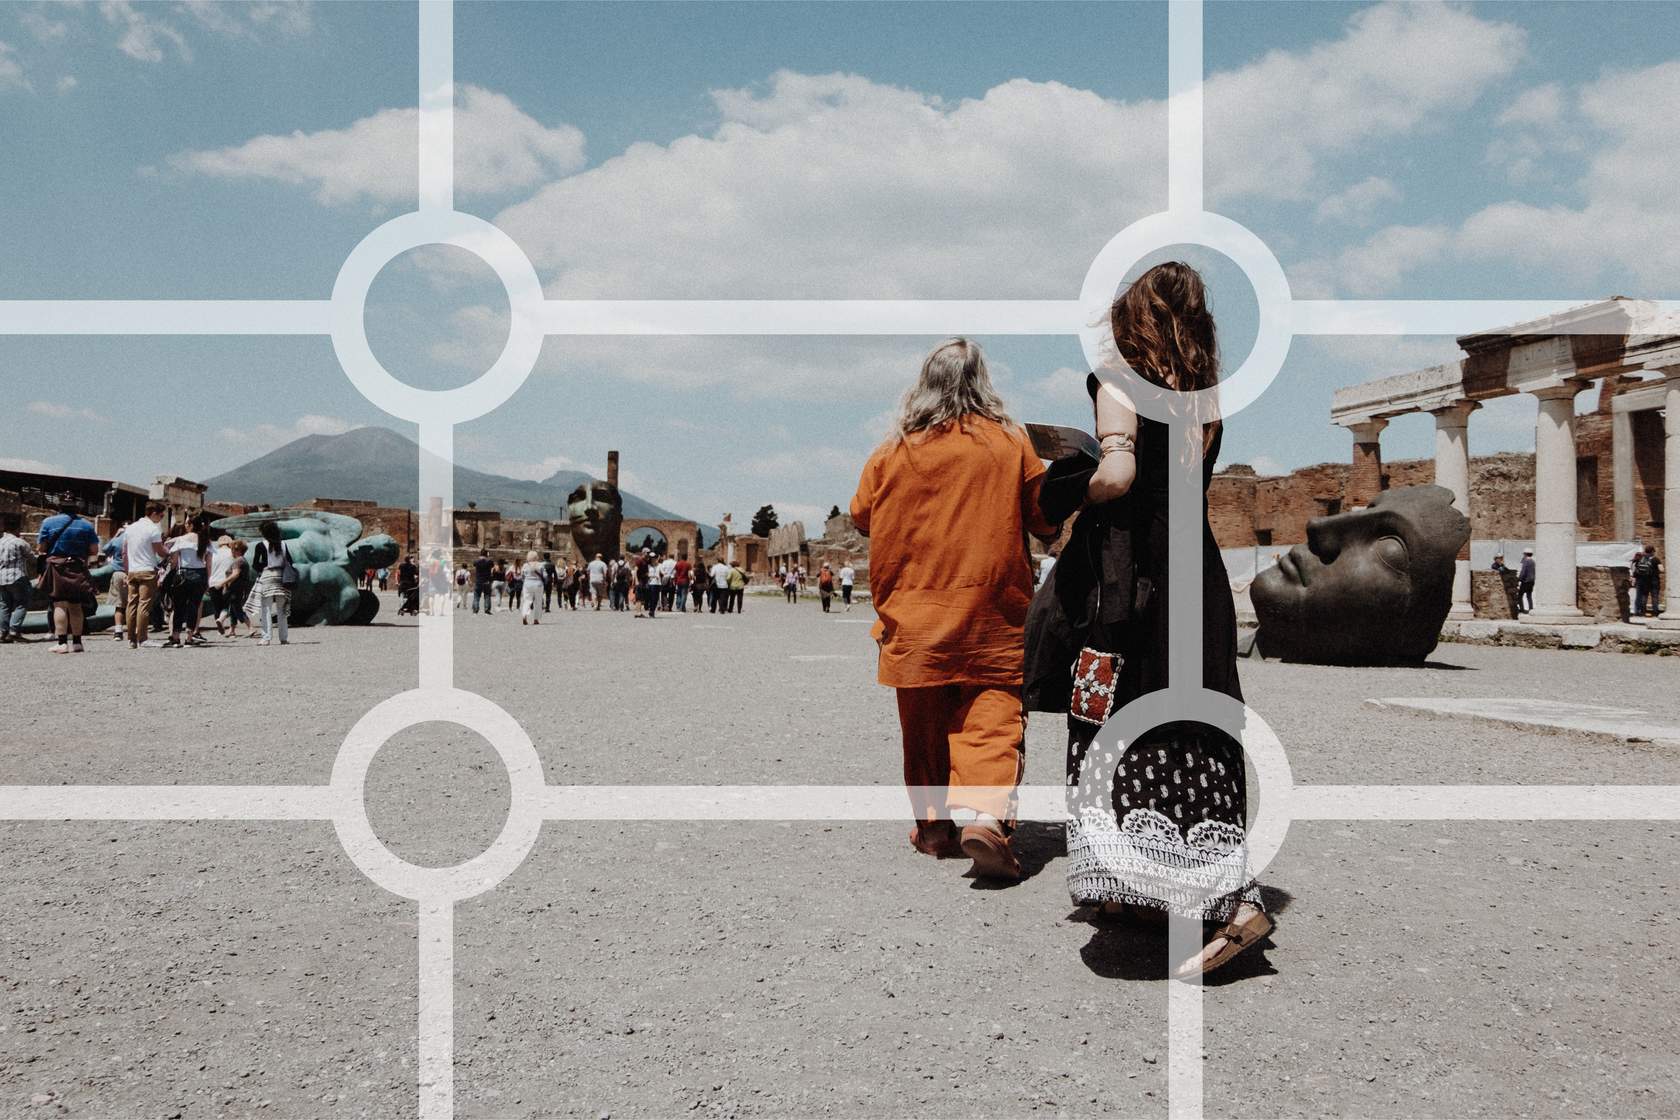
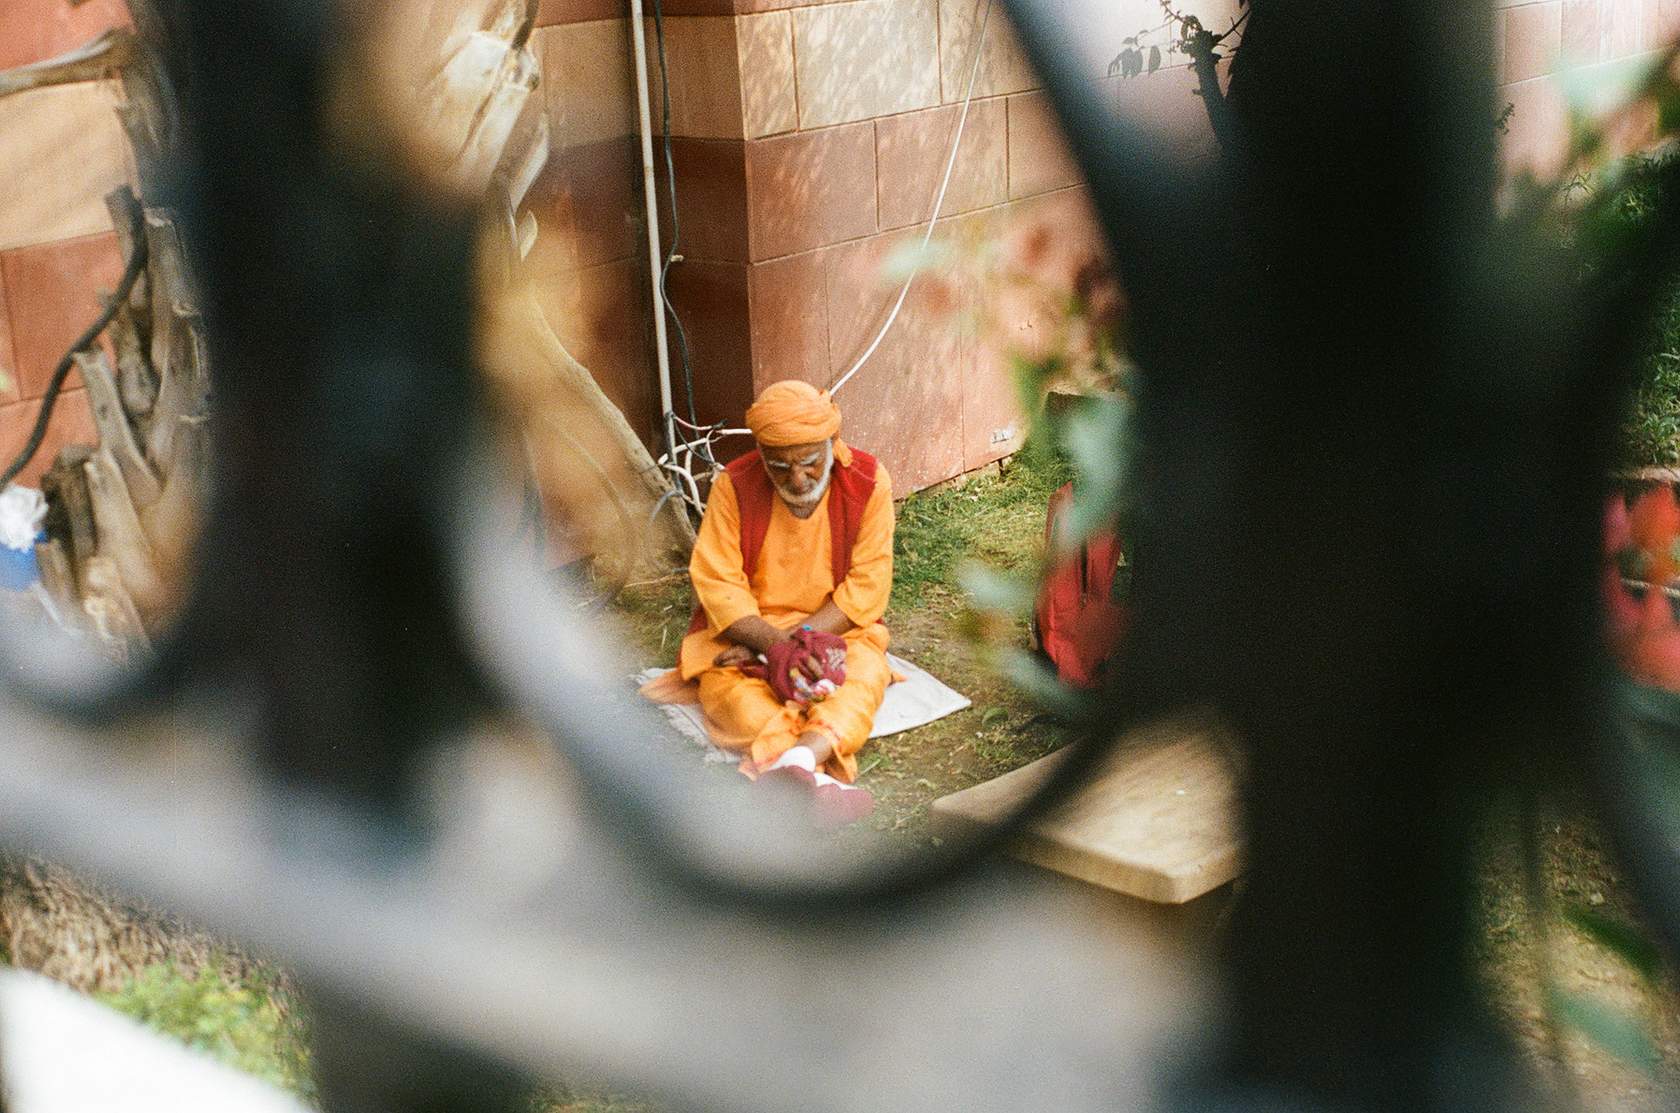
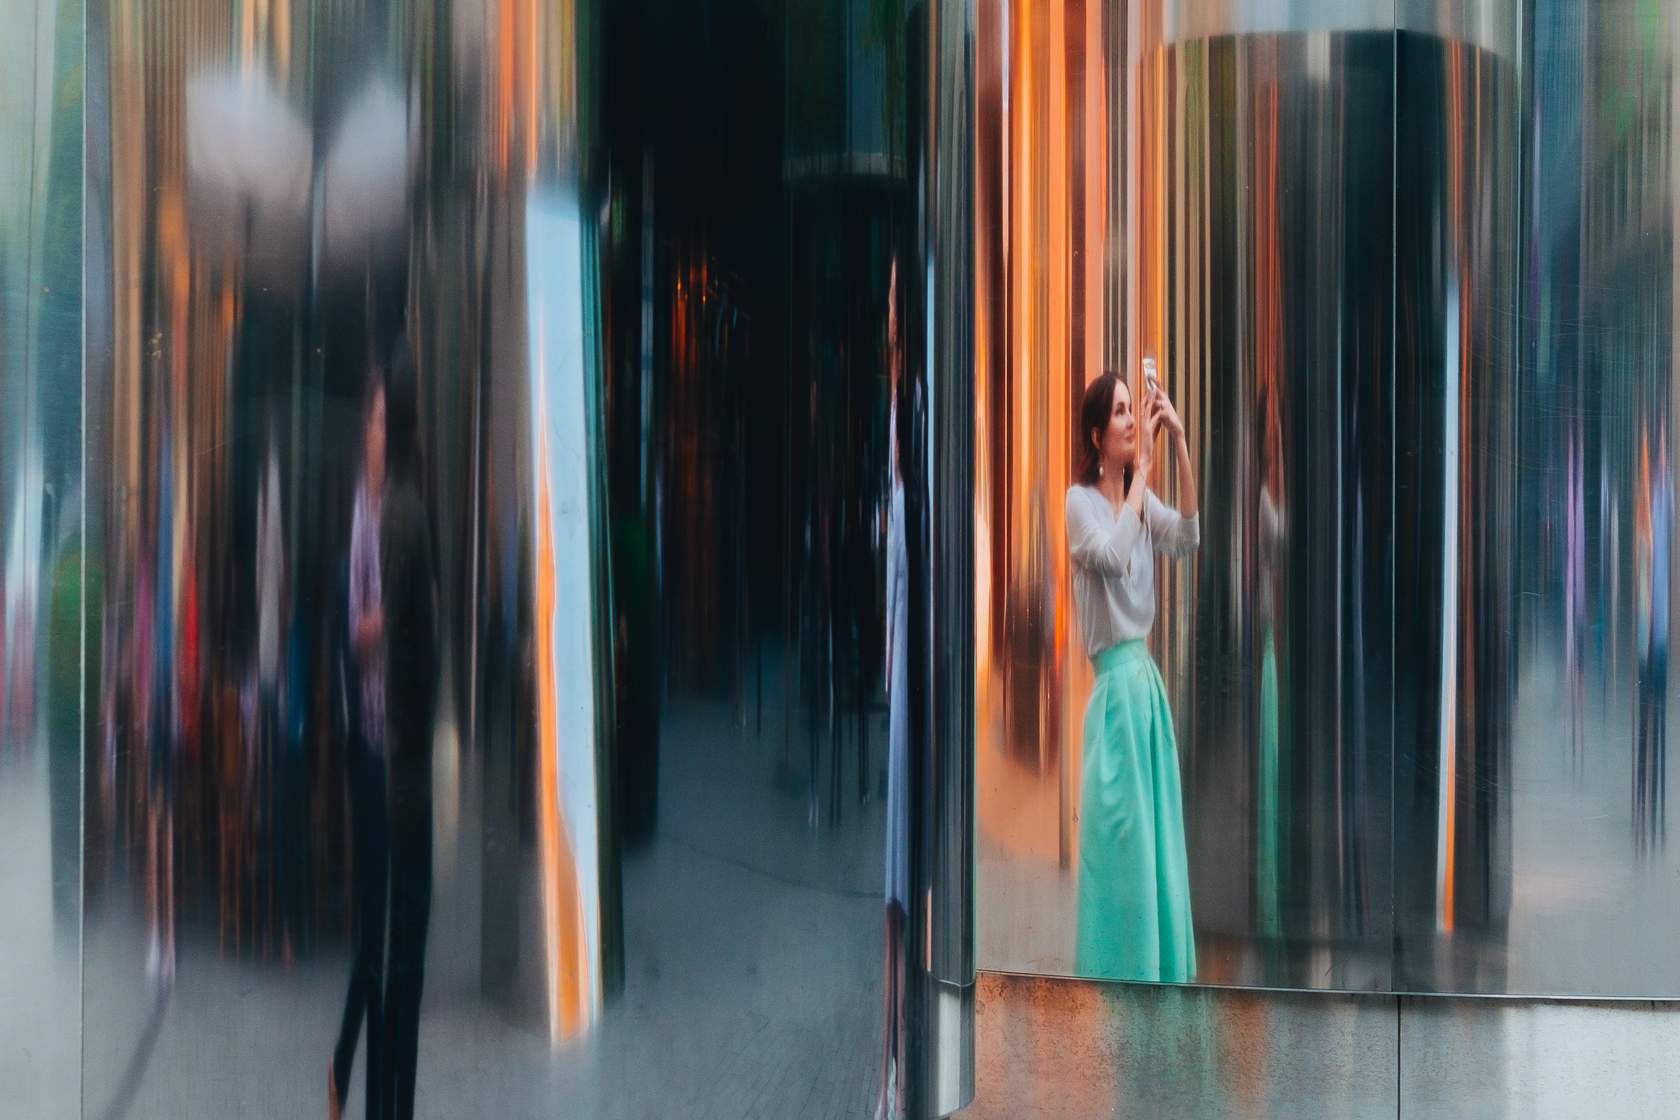
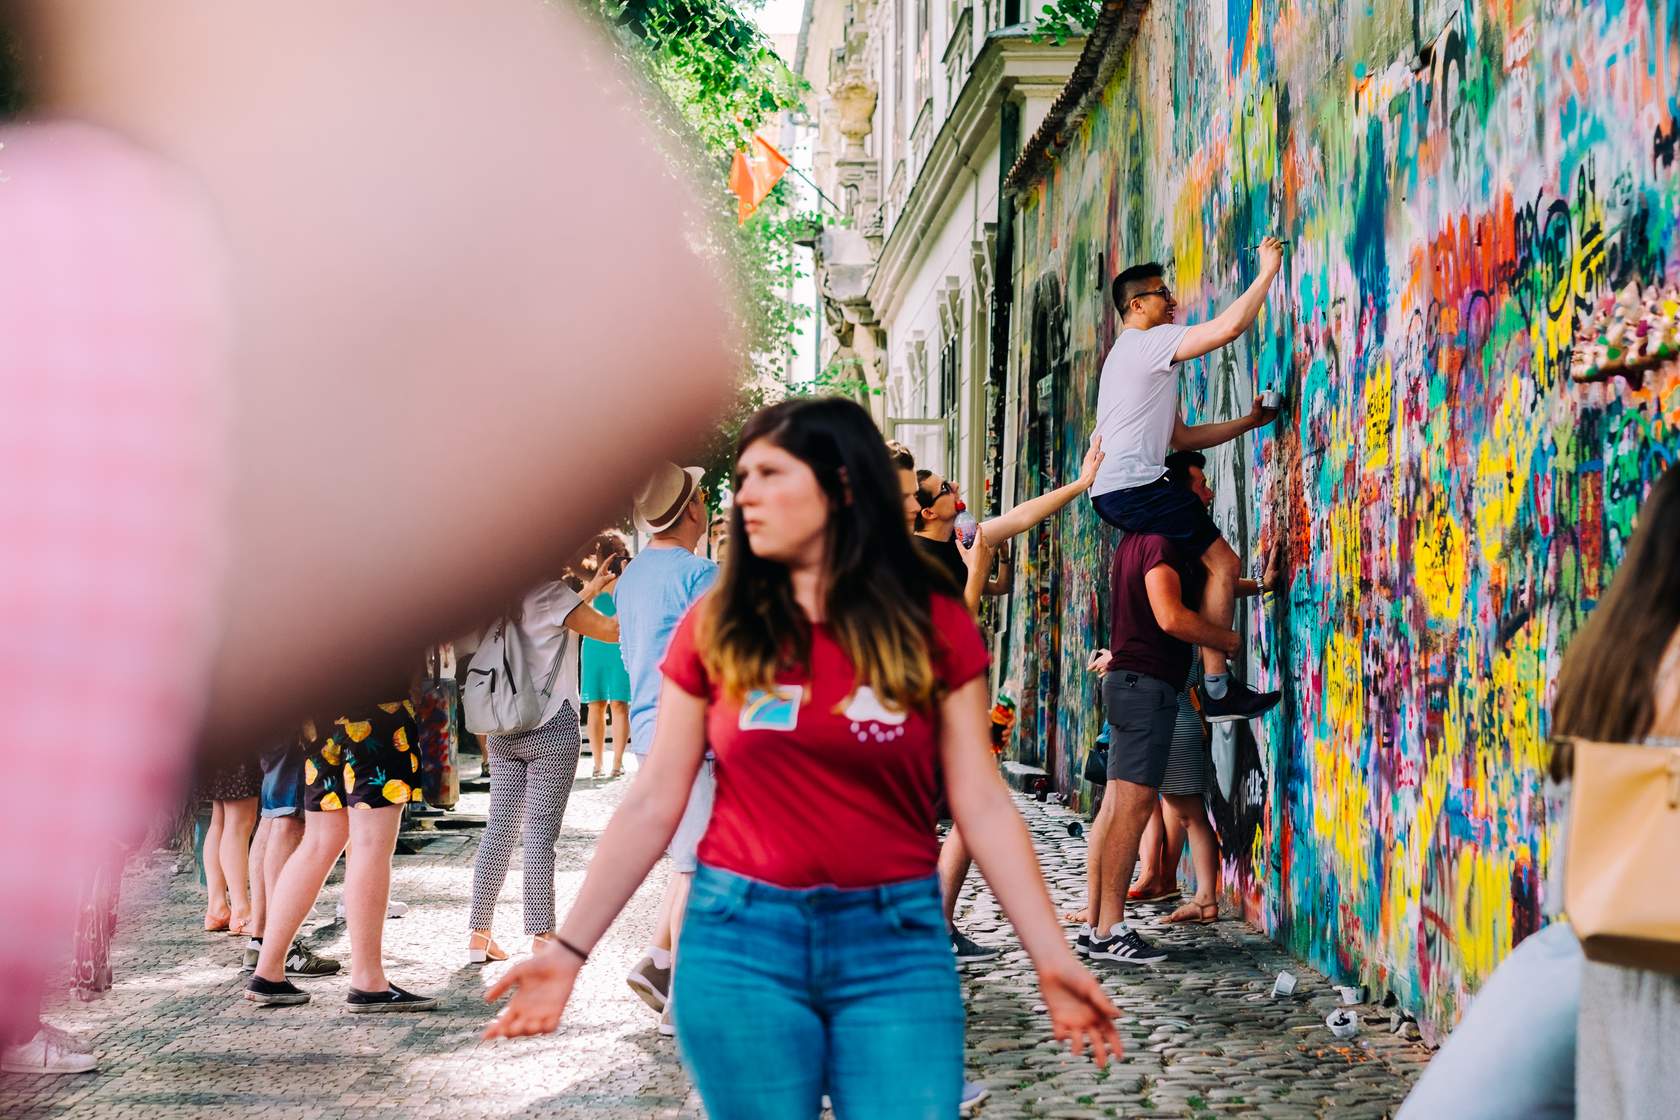
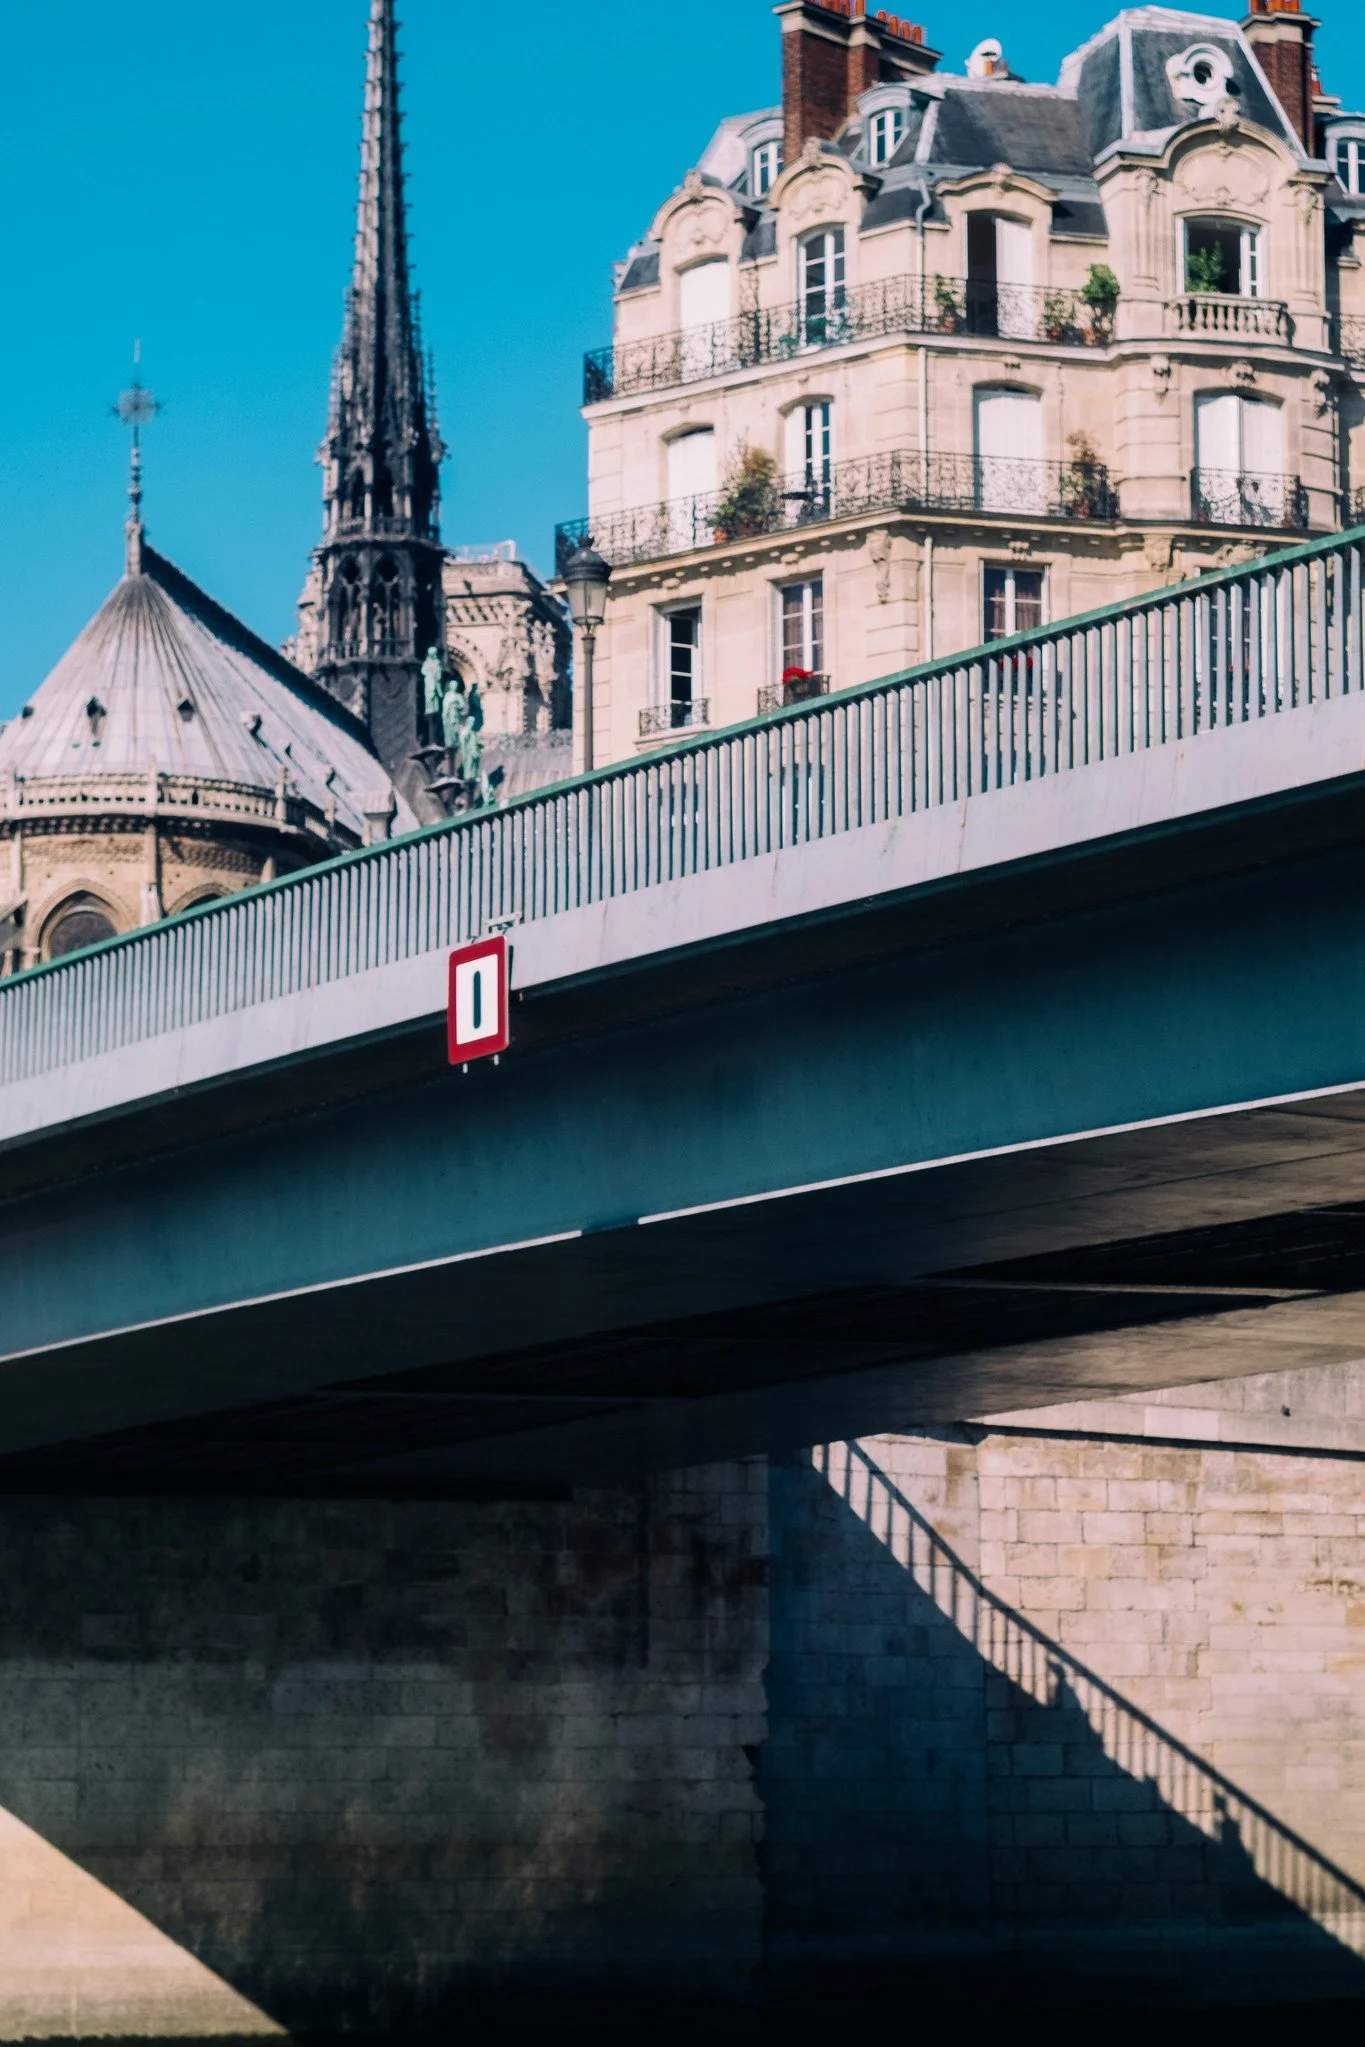
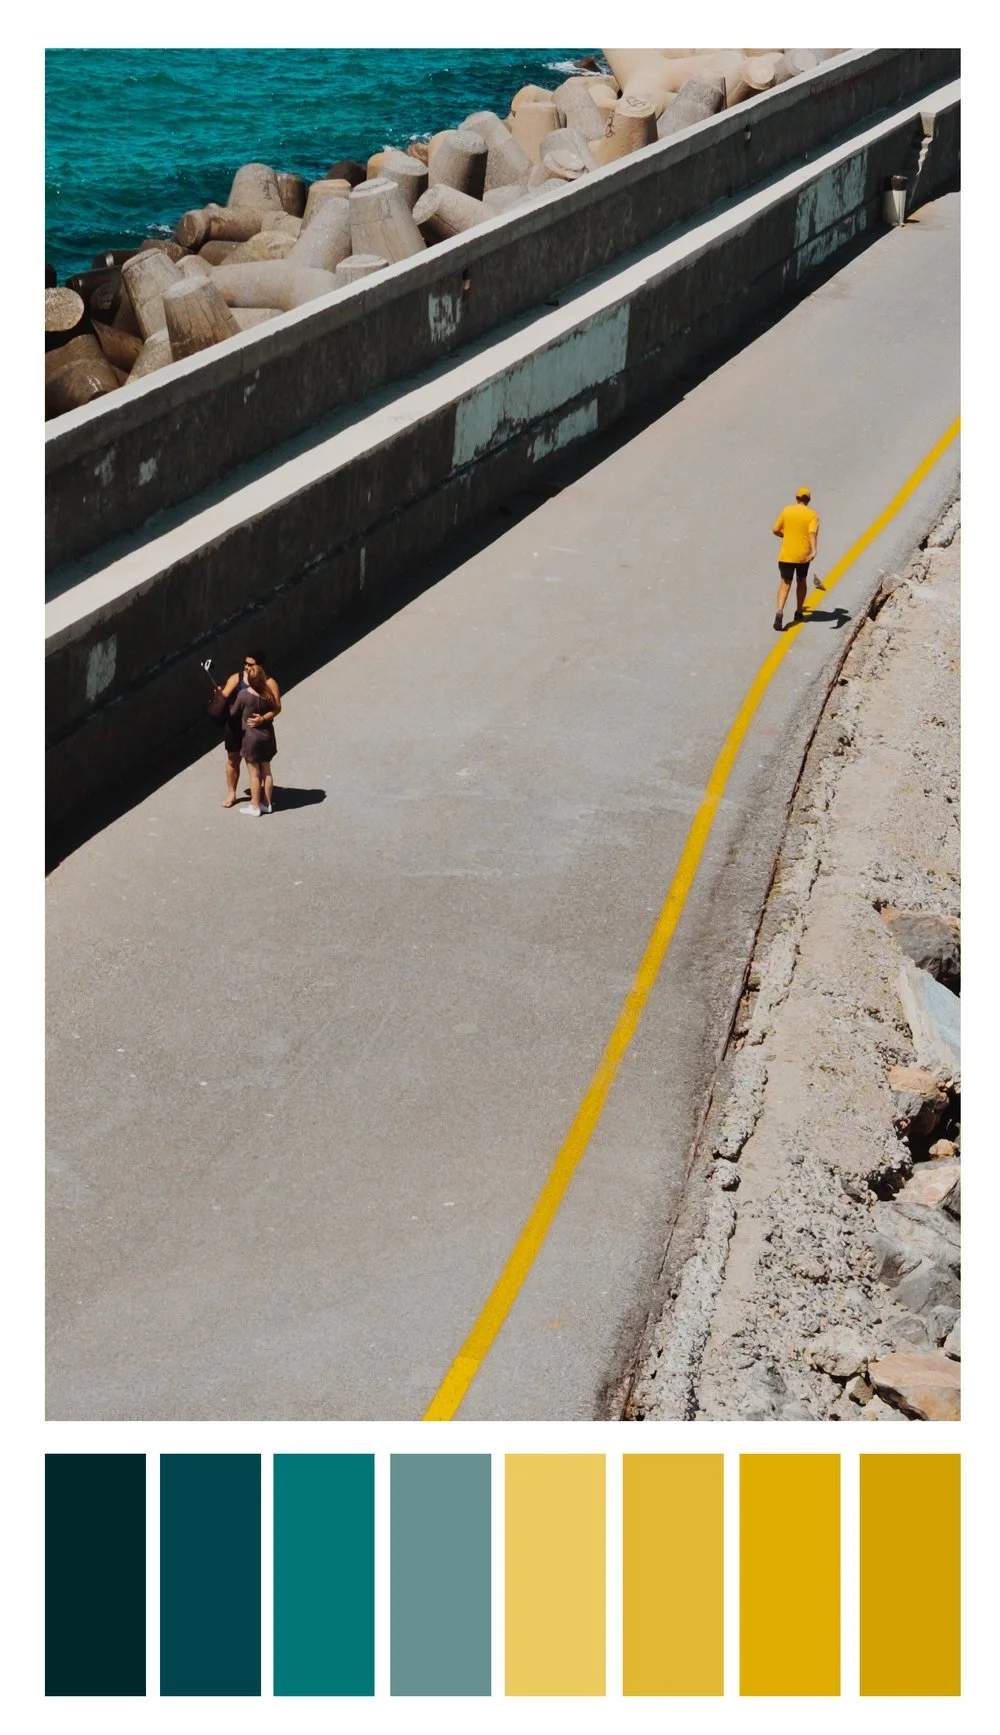
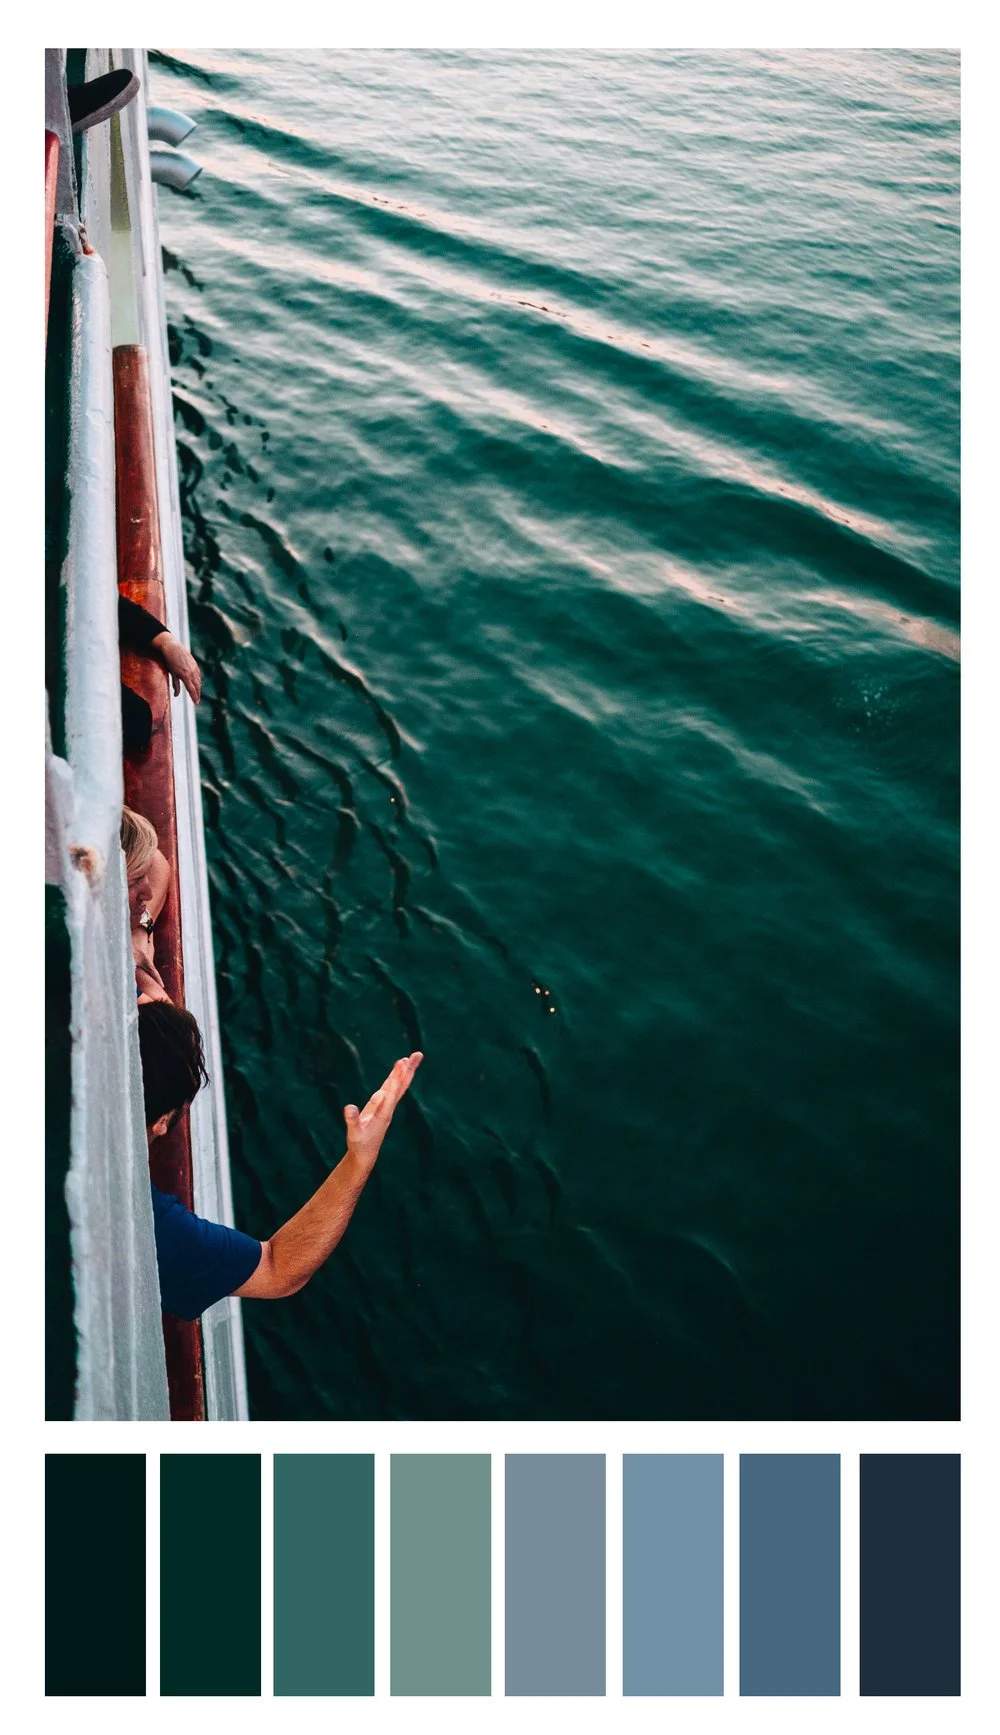
The light is coming from the left side of the frame, and slightly behind the camera.
The clearest clue is the shadow in the lower left corner, cast by someone standing just to the left of the photographer. A shadow always points away from the light source, so the light has to be behind and to the right of where this photo was taken. That reading holds up in the rest of the scene too: the metal wall behind the man is brightest on its right-hand side, and the top edge of the railing catches a thin rim of light along the same direction.
Reading Light
As photographers, it's extremely helpful to be able to observe and understand how natural light interacts with the environment. Pay attention to how light falls on different surfaces, how shadows form, and how colors appear under different lighting conditions.
Being observant allows you to anticipate and adapt to changes in light, enabling you to capture interesting photographs even in challenging situations.
Understanding how to read light is crucial in photography. Light can dramatically change the mood and impact of a photograph, influencing everything from exposure to color rendition.
One fundamental aspect of reading light is to observe its direction and quality.
Directional light, such as that from the sun or a lamp, creates distinct shadows and highlights, adding depth and dimension to the scene. On the other hand, diffused light, like on a cloudy day or through a sheer curtain, produces soft and even illumination, ideal for capturing details without harsh contrasts.

Another key aspect is understanding the intensity of light. Bright light can result in high contrast and vivid colors, while low light conditions can create a moody and atmospheric effect.
By paying attention to these elements of light, photographers can make informed decisions about exposure settings, composition, and timing to achieve the desired visual impact in their photographs.
Modifiers: Natural Light
There are several light modifiers that photographers can use with natural light to enhance their photographs.
Modifiers do not have to be expensive photographic equipment.
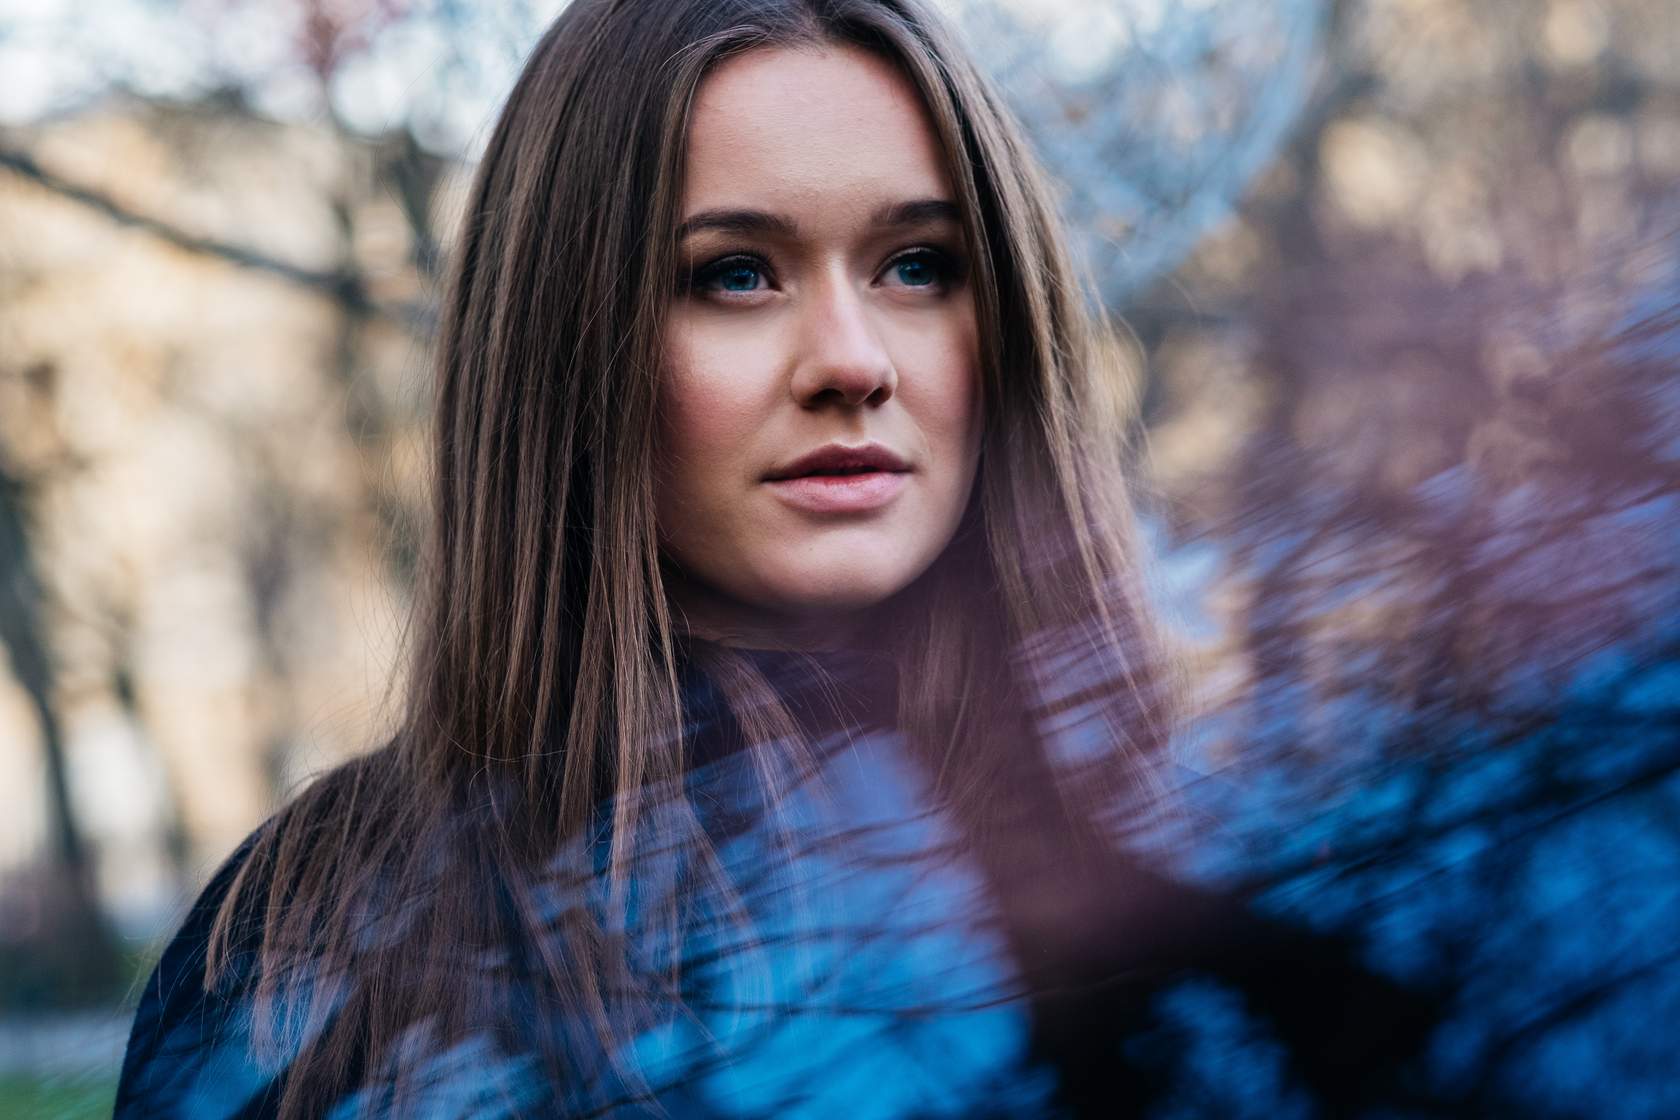
In this image, the light is being modified by the reflective back of an iPhone placed directly under the lens and positioned to create the desired effect.
Click each '+' to learn more.
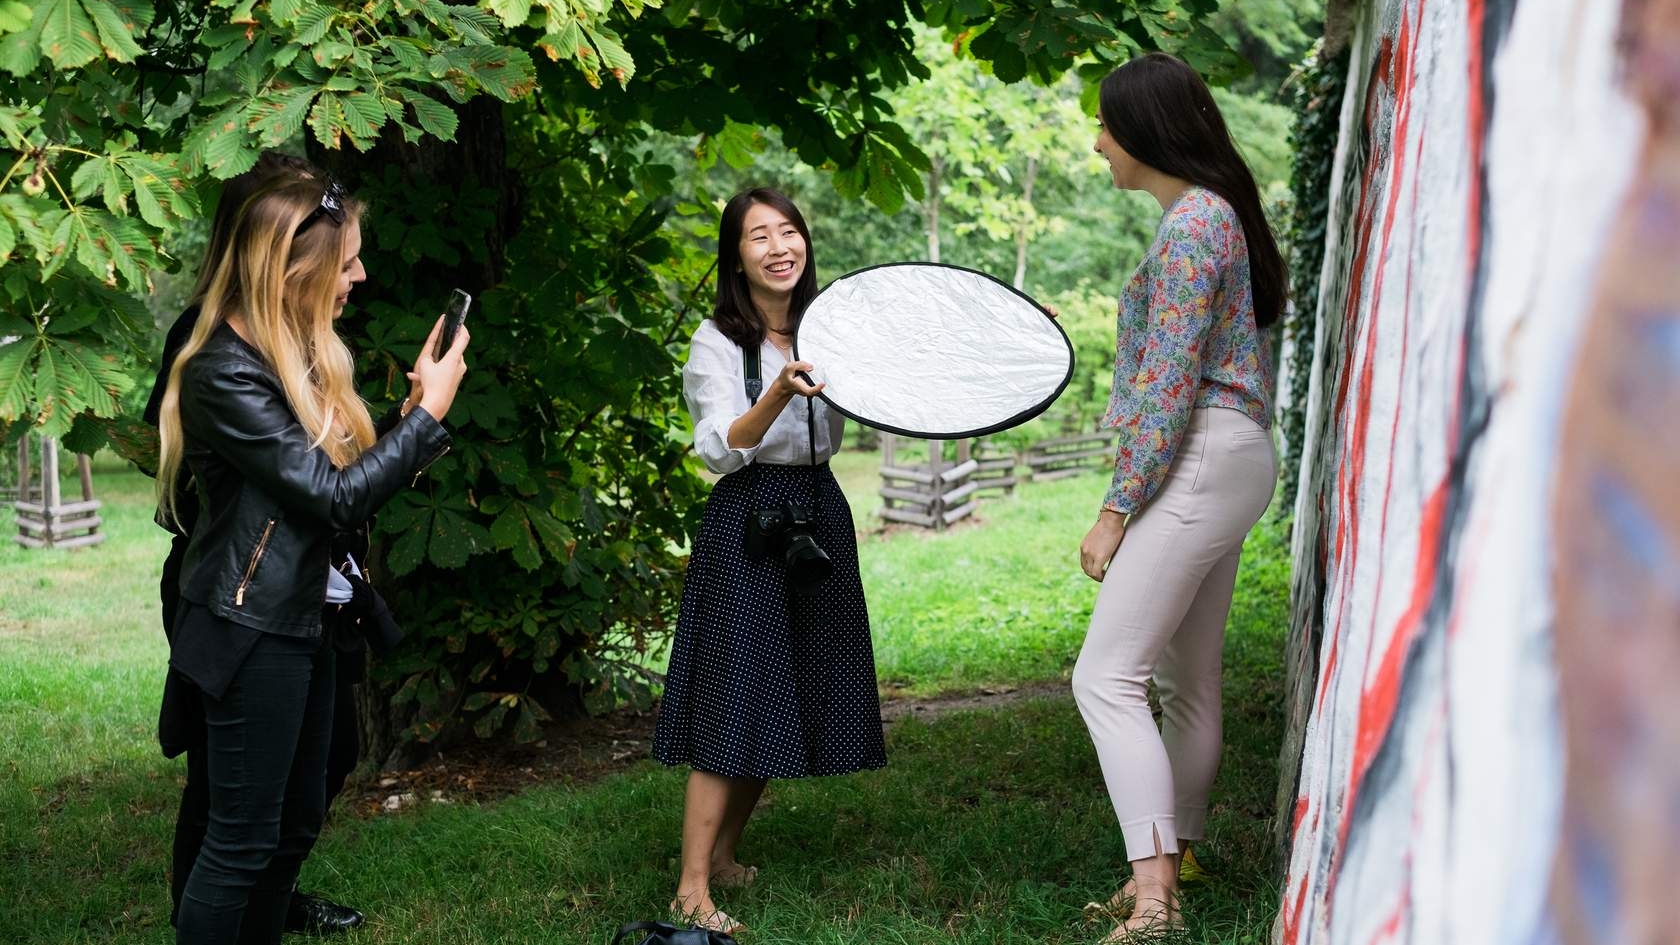
Reflectors bounce natural light back onto the subject, filling in shadows and creating a softer, more even illumination. They come in various colors like white, silver, gold, and translucent, each offering different qualities of light.
Remember: Anything can be a reflector when big enough and positioned where you need it; large cardstock, white van, mirrors, etc.
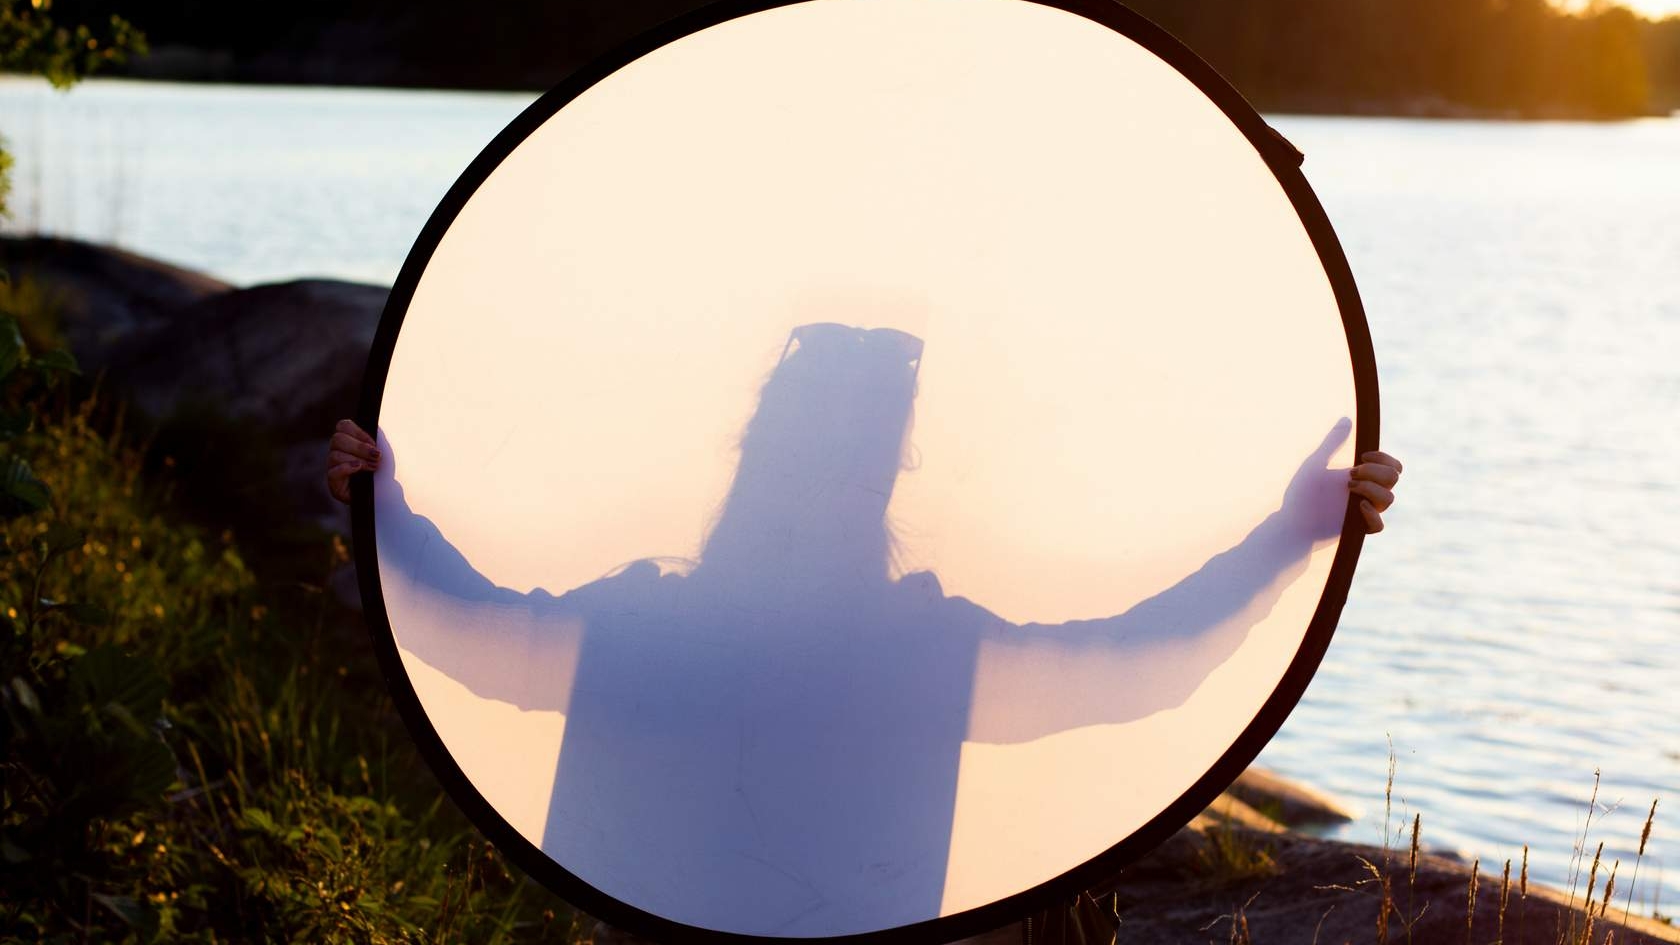
Diffusers soften harsh sunlight by scattering the light, resulting in a more gentle and flattering illumination. They are especially useful for portrait photography to achieve a smooth and even skin tone.

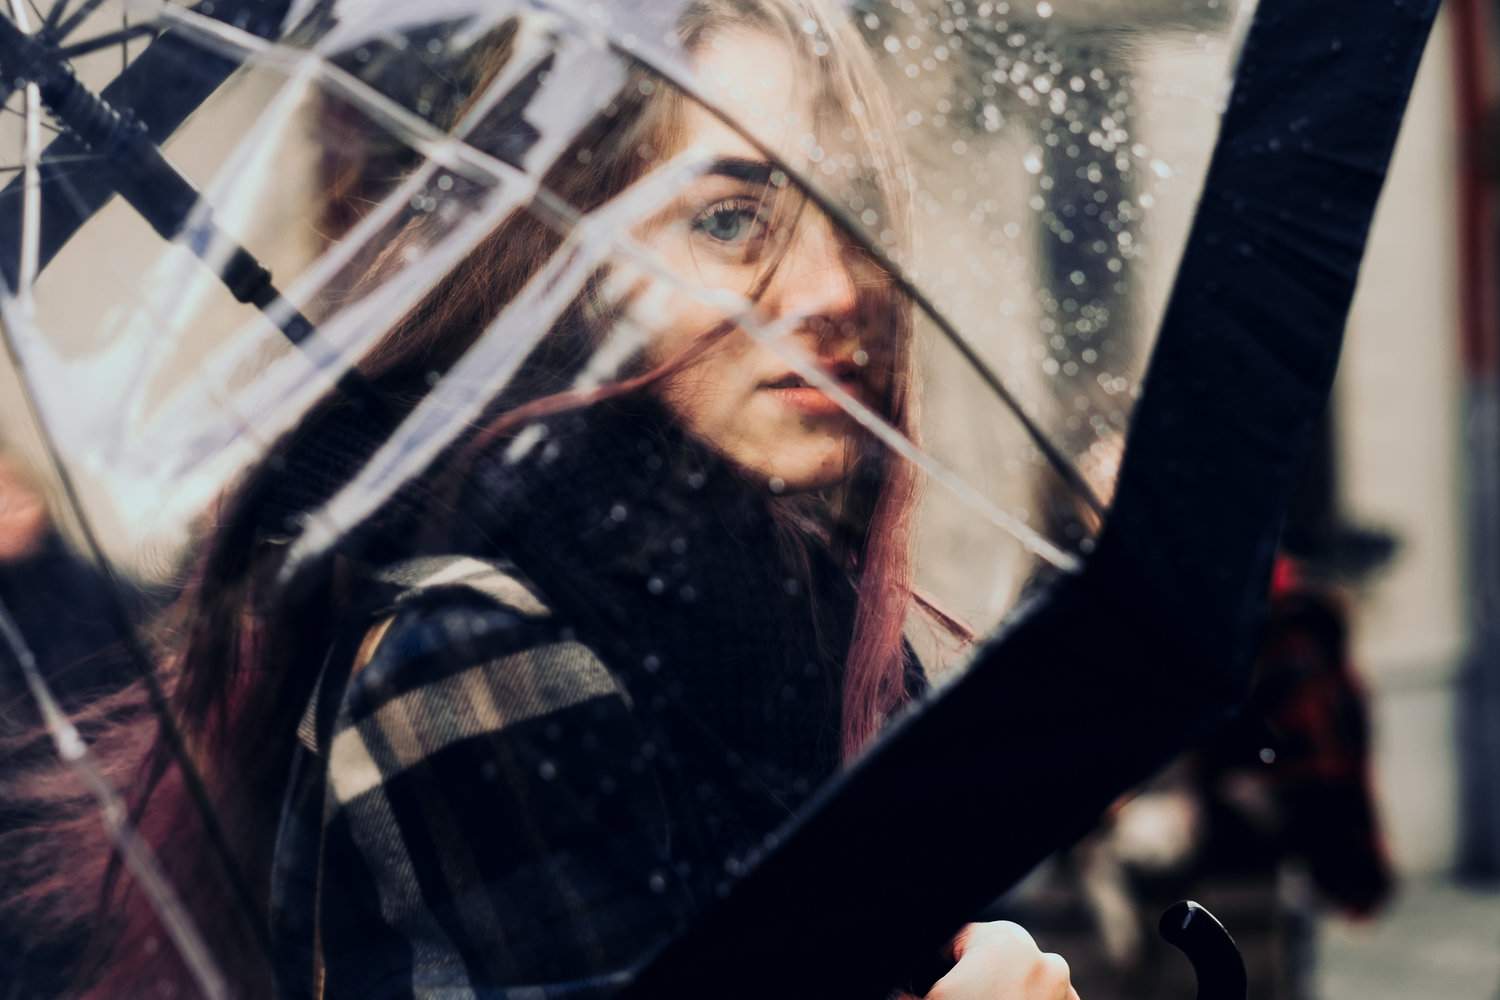
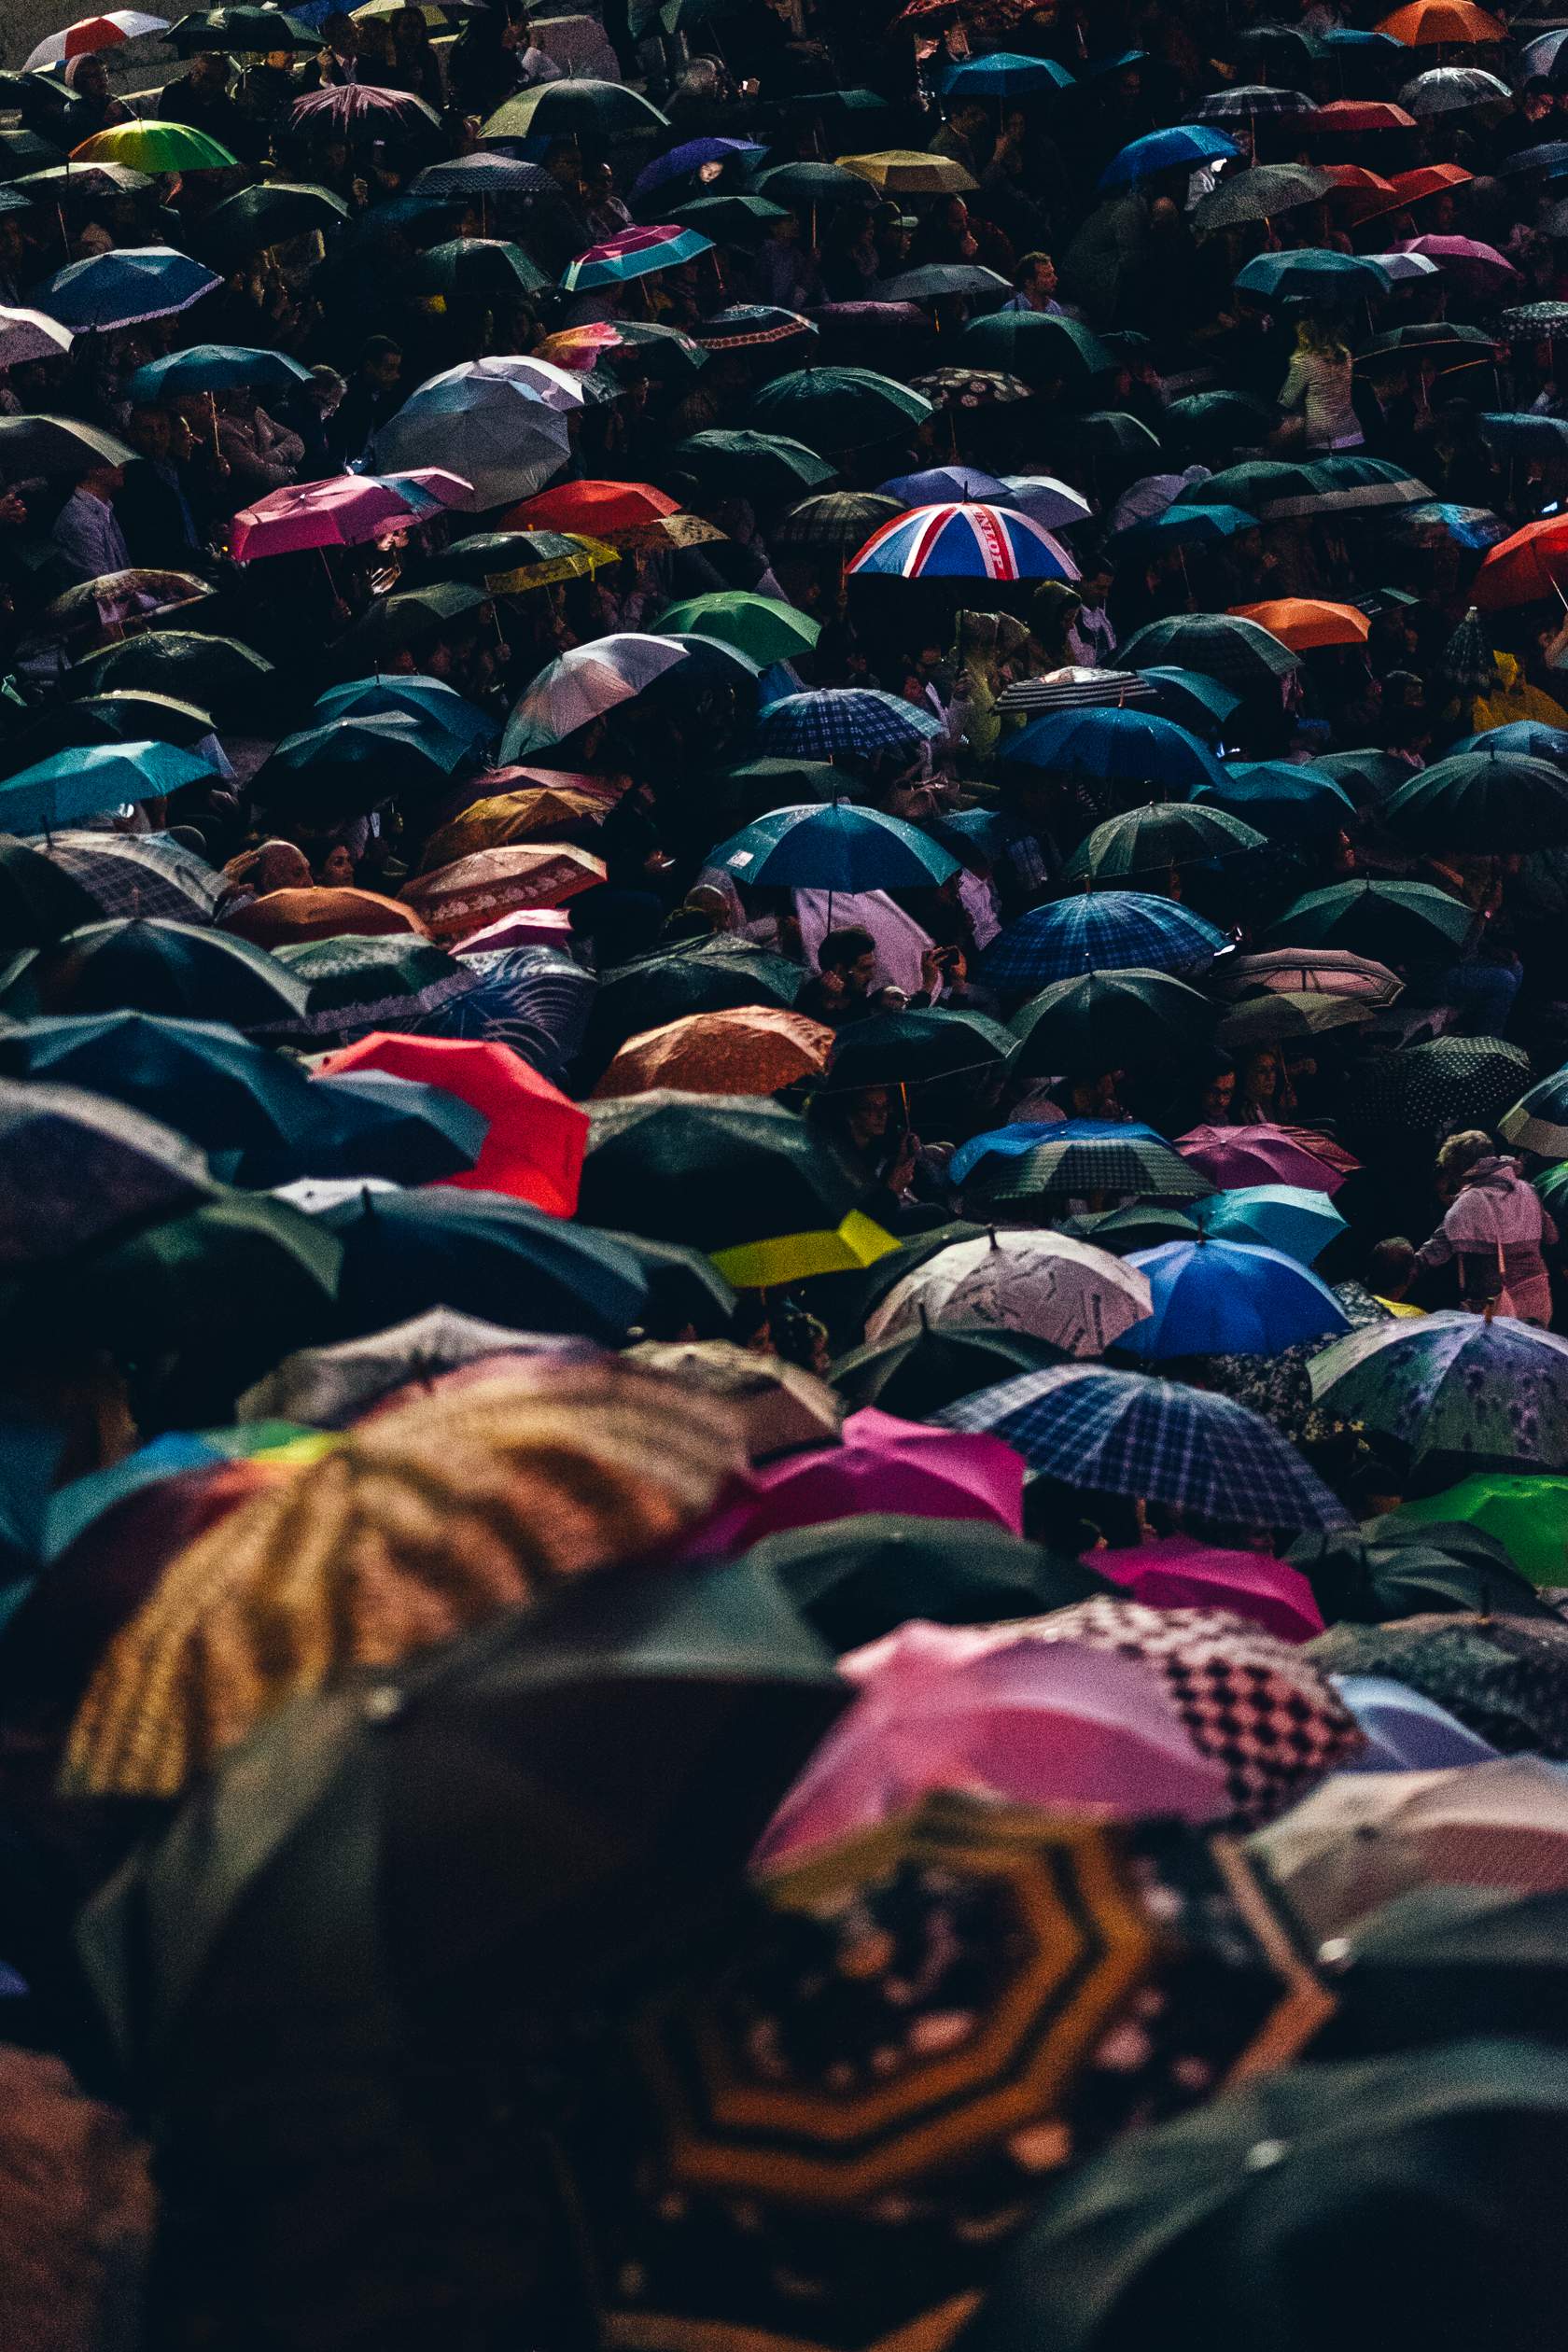
There are various types of photographic (or not!) umbrellas that can modify natural light. Placing a translucent umbrella between the sun and your subject softens harsh sunlight.
Reflective umbrellas will bounce sunlight onto your subject for an added punch of light.
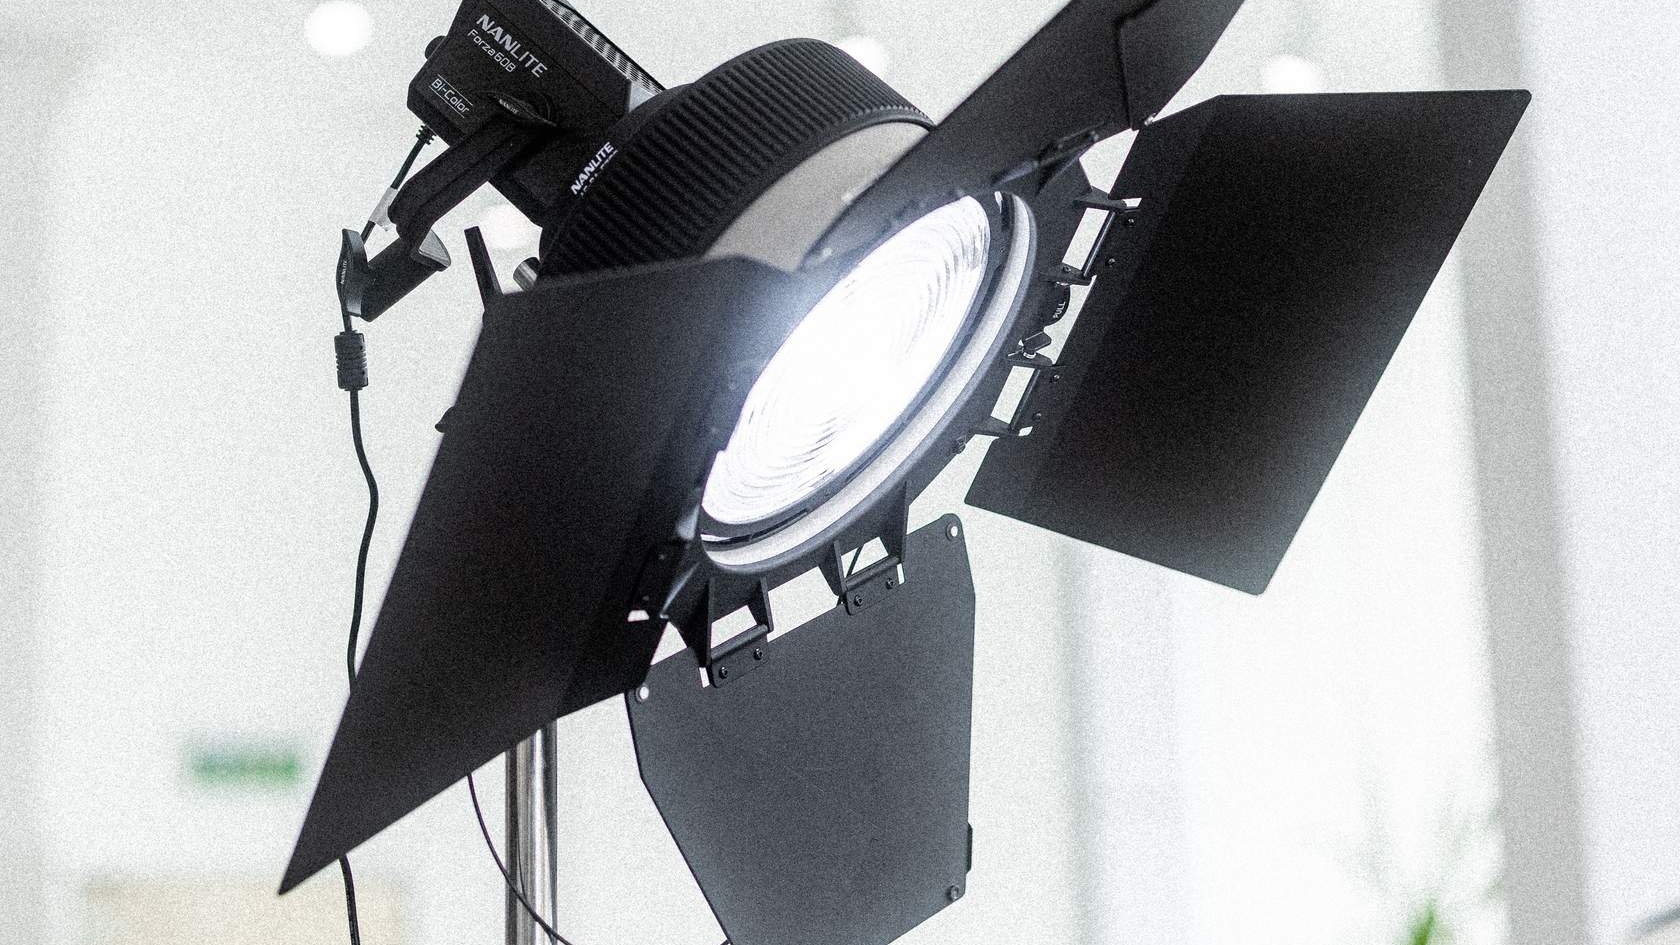
These are used to block or shape natural light, allowing photographers to control the direction and intensity of light falling on the subject.
Flags are opaque panels used to block light rather than soften or dim it. While they're often used in studio setups, they can be adapted for outdoor shooting as well. There are also budget-friendly options like a simple piece of black cardboard.

Similar to diffusers, scrims are larger panels that diffuse sunlight over a broader area, creating a soft and diffused lighting effect ideal for outdoor portraits or group shots.
A simple white sheet can make a perfect impromptu scrim!
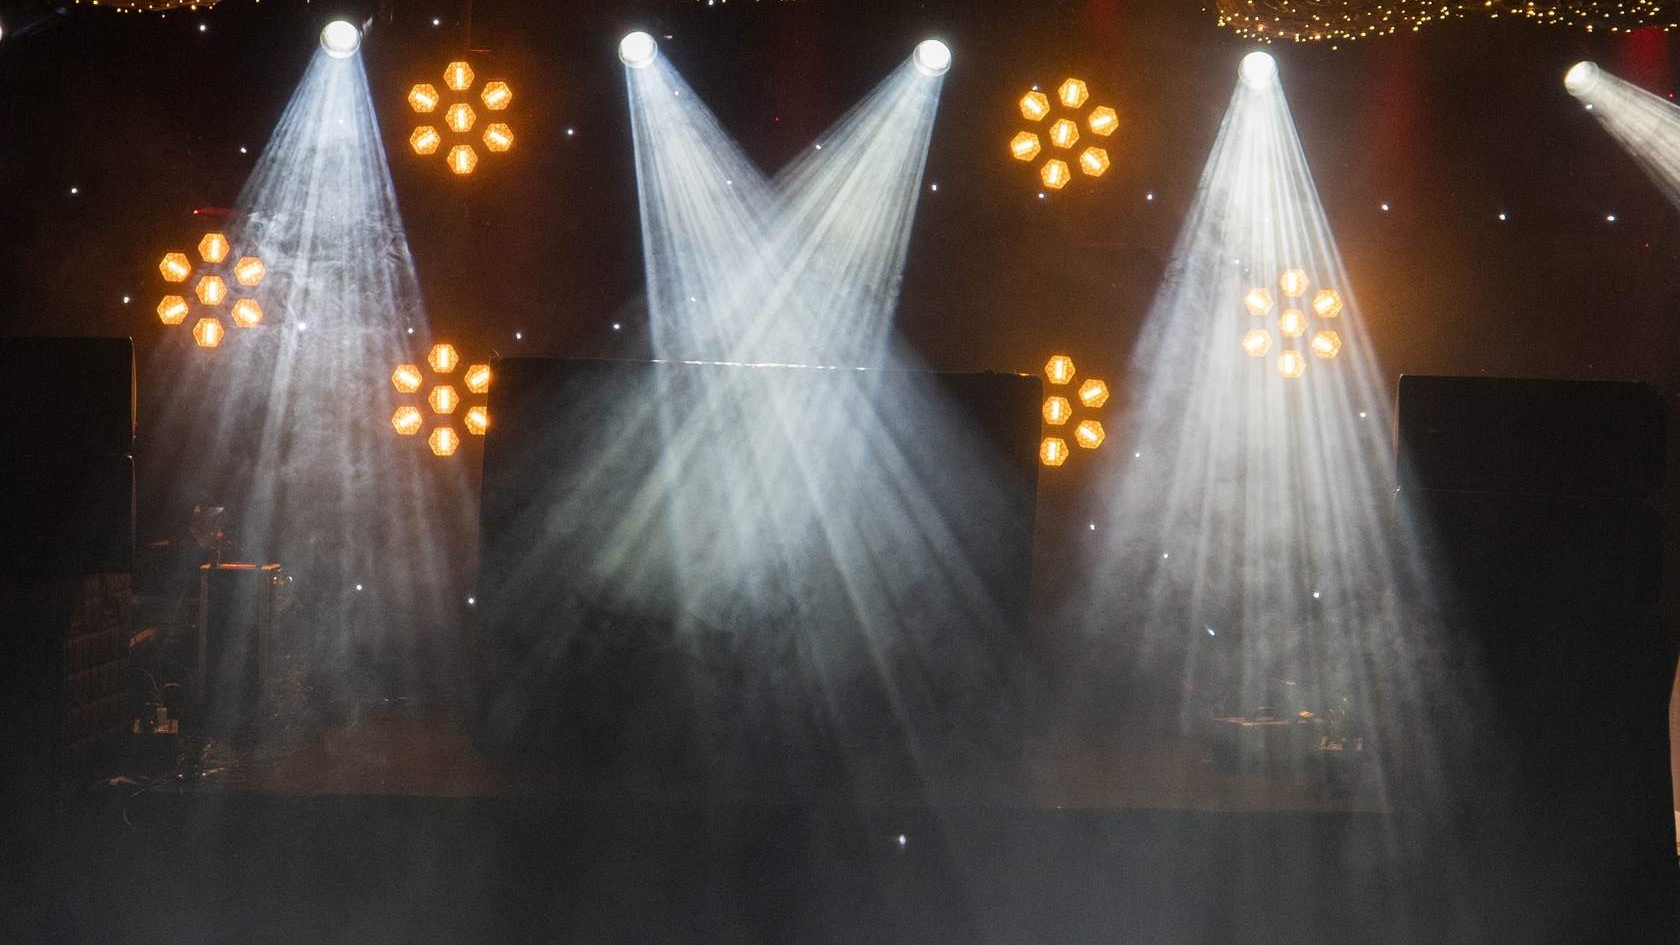
Gobos are used to create patterns or shapes with light. They can be placed in front of a light source to project interesting shadows or textures onto the subject or background.
It's easy to make your own gobo. Grab a large piece of cardboard and cut out your desired shape. Hold that up to block the light source, and you'll see your stencil lit up on your subject. You can also use any existing item you have with a cut-out pattern. Lace works perfectly, for example.
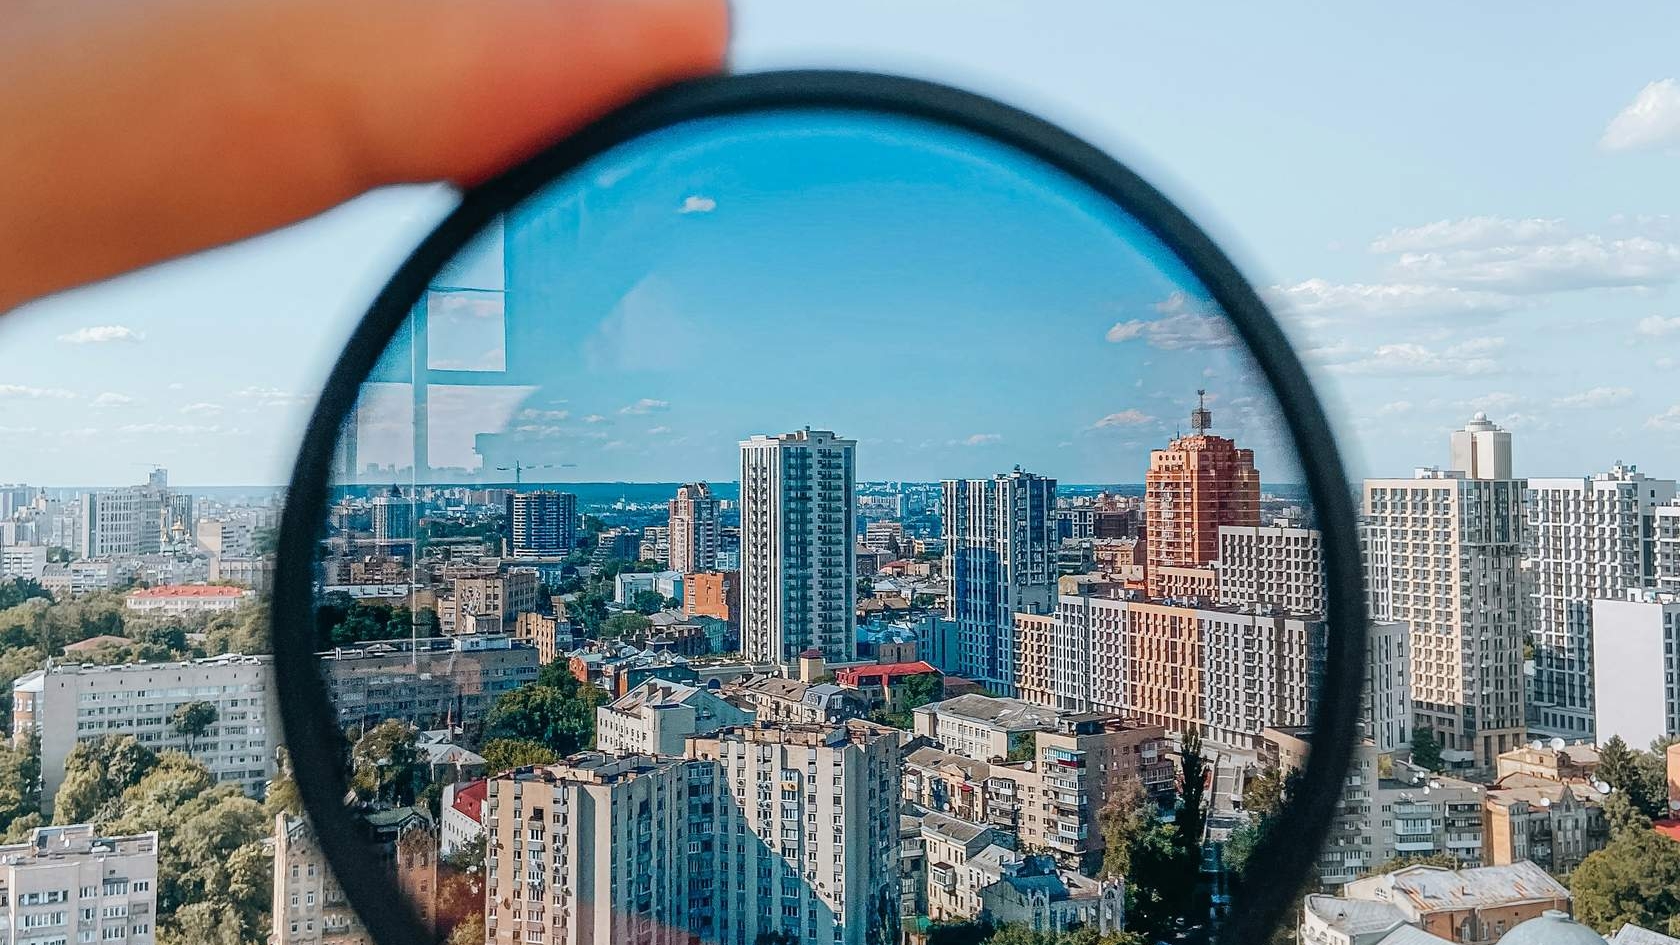
Different than the rest of this list. These are lens filters that reduce glare and reflections in photographs taken under bright sunlight, making colors more vibrant and enhancing overall image quality.
If you have a pair of polarized sunglasses, put them up to your lens, and take a photo of a blue sky or water. You'll see the effect clearly.
We're going to go into these much more deeply later in the course. This is meant to be just a teaser of what is available to you and to give you some vocabulary you can research further if it interests you.
Be resourceful! Sheets can be scrims, large white walls can be reflectors, poster boards can be flags.
Use what you have!